
 EN
EN
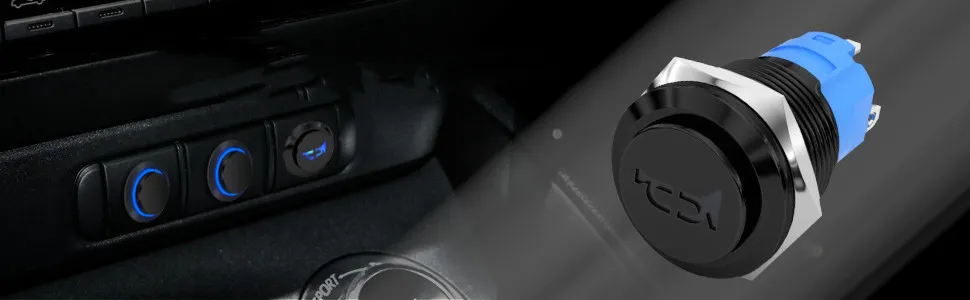
愛車のホーンをモメンタリ・プッシュボタン・ホーン・スイッチでアップグレードしたいとお考えですか?あなただけではありません。多くの車愛好家は、より個性的なタッチを望んでいます。 カスタムホーンボタン が違いを生み出します。このガイドでは、モメンタリホーンスイッチの機能、あなたのクルマに合ったモデルの選び方、そしてステップバイステップの取り付け手順についてご紹介します。これらのヒントに従うことで、このプロジェクトに取り組む際に自信を持つことができ、あなたの車の機能性とスタイルを向上させます。さっそくホーンをあなたのものにしましょう。 コンタクト 高品質のスイッチのために!
モメンタリホーンスイッチの機能
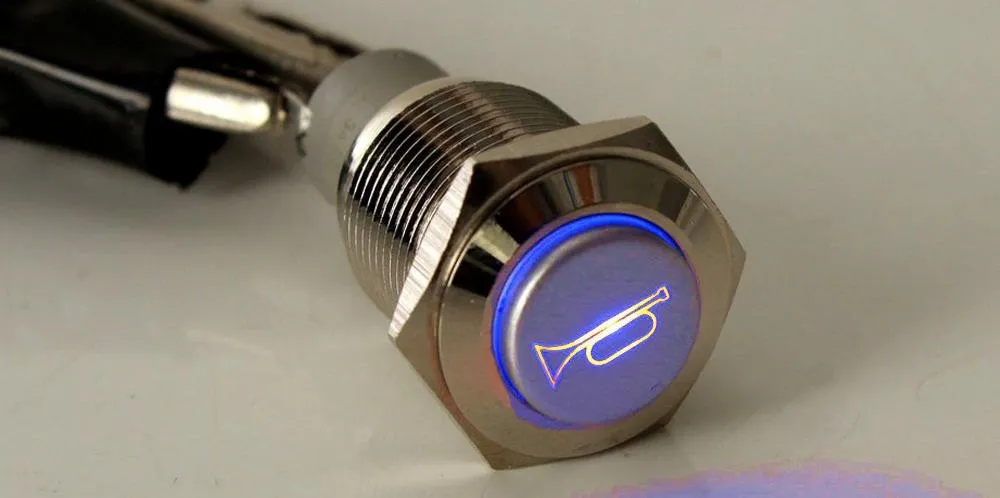
モメンタリホーンスイッチは、車の電気系統において重要な機能を果たします。スイッチを押すと回路が完成し、ホーンが瞬間的に鳴ります。この動作は、一般的に車のヒューズから電力が供給されるため、コンポーネントの損傷を招くことなく安全に動作します。
これらのスイッチの構造には、ステンレス鋼のような耐久性のある素材が使用されていることが多く、錆や摩耗に対する耐性があります。このため、風雨にさらされることが懸念される屋外での使用でも信頼できます。堅牢なワイヤー接続は、故障のない継続的な性能のためにこれらのスイッチに頼ることができることを意味します。
設置に関しては、良好な接続を確保することが重要です。高品質のコネクタを使用し、スチール配線が適切に固定されていることを確認し、中断を避けてください。特にメーカーの指示に忠実に従えば、会計時にクレジットカードをスワイプするのと同じように、モメンタリー・ホーン・スイッチの配線は簡単です:
自動車に適したモメンタリホーンスイッチの選択
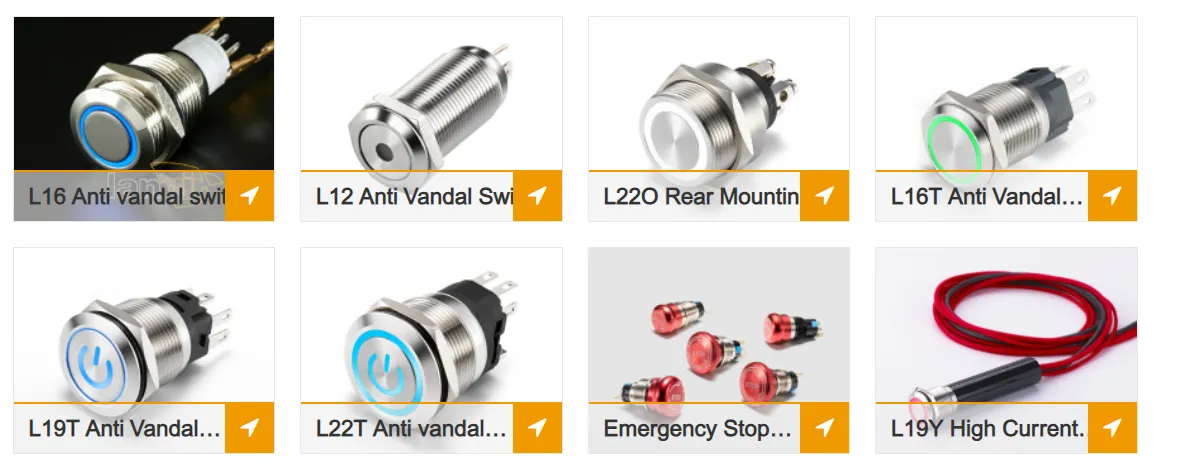
あなたの車のためのモーメンタリホーンスイッチを選択するときは、あなたのニーズに最適な様々なオプションを探索することに焦点を当てています。12Vプッシュボタンホーンスイッチの機能を評価し、トラックやカートに適したサーキットブレーカーを確実に入手できるよう、タイプ間の違いを考慮してください。また、レーザーカットの精度や信頼性の高い圧着接続などの要素についても考え、どのような状況でも長寿命と性能を確保できるようにしましょう。
モメンタリ押しボタン式ホーンスイッチのオプションを探る
正しいモメンタリ・プッシュボタン・ホーン・スイッチを選ぶには、特定のニーズを理解する必要があります。あなたの車が12ボルトシステムで動作している場合は、誤動作を避けるために、その電圧用に設計されたスイッチを選ぶことを確認してください。特に、簡単にアクセスできるようにステアリングホイールの近くに取り付けたい場合は、どのように取り付けるかを検討し、ヘッドランプのコントロールの横やダッシュボードに組み込むなど、カスタムの場所についても考えましょう。取り付け金具も見逃さないでください。スイッチのネジが確実に固定されていることが、確実な動作の鍵となります。
12ボルト押しボタン式ホーンスイッチの機能を評価する
12Vプッシュボタンホーンスイッチを検討する際には、車の機能に直接影響する機能をチェックすることをお勧めします。優れたリレーは、電気負荷をより効率的に管理することで性能を向上させることができるため、リレーのオプションを検討してください。また、メーカーからの保証情報を確認することも忘れずに。特に、平均より少し高い単価を支払っている場合は、投資に対する安心感を与えてくれます。
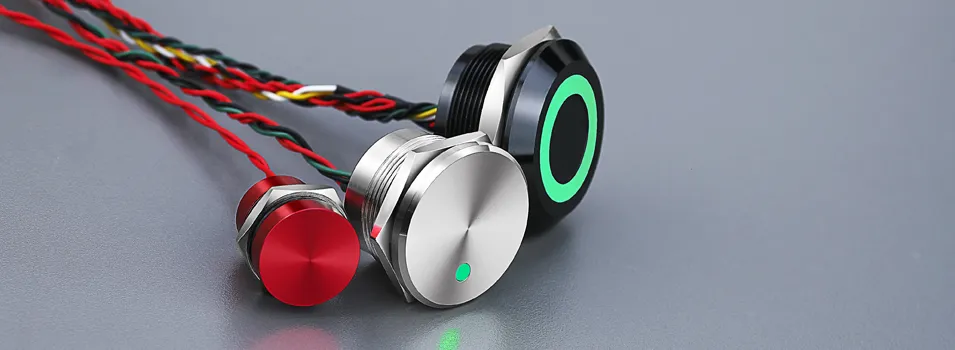
12V押しボタン式ホーンスイッチの種類を選ぶ
12Vプッシュボタン式ホーンスイッチのタイプを選ぶ際には、運転中にアクセスできるような配置を考慮してください。特にカリフォルニアのような交通量の多い地域では、運転中の注意散漫を避けるため、素早くアクセスできるステアリングホイールの近くがいいかもしれません。腐食に強い金メッキ接点を備えたスイッチもあり、長期間にわたって、特にさまざまな気象条件下で性能を向上させることができます。
ここでは、スイッチを選ぶ際に考えるべきいくつかの情報を紹介する:
設置に必要な工具と材料
モーメンタリー・ホーン・スイッチを効果的に取り付けるには、ワイヤーストリッパー、ドリル、ドライバーなど、いくつかの必須工具が必要です。また、車両の電気系統に合わせた適切なワイヤータイプとコネクターも用意しておきたい。取り付け時に身を守るための手袋やゴーグルなどの安全装備もお忘れなく。これらの要素は、標準的なホーンであれ、威勢の良いトレインホーンであれ、ホーンが適切に機能するために重要な役割を果たします。
次に、ライトとブレーキシステムを適切に接続するために必要な具体的なツールと材料について学び、耐久性と安全なインストールを確実にします。この準備により、スムーズな配線プロセスと信頼性の高いホーン性能が実現します。
モメンタリホーンスイッチの配線に必要な工具
モーメンタリー・ホーン・スイッチの配線には、いくつかの必要不可欠な工具が必要です。ワイヤーストリッパーは接続の準備に重要で、ドリルはスイッチを所定の位置に固定するのに役立ちます。ホーンスイッチに何か問題が発生した場合、長い目で見ればお金の節約になります。
推奨されるワイヤーの種類とコネクター
車やゴルフカートのモーメンタリー・ホーン・スイッチを接続する場合、選ぶワイヤーの種類によって大きな違いが生まれます。安全性を損なうことなく、信頼性の高い電力を供給できるものがいいでしょう。接続部をはんだ付けする場合は、流れがよく、接合部が強固な高品質のはんだを使用するようにしてください。また、アリババグループなどのプラットフォームでオプションを閲覧する場合は、ワイヤーゲージにも注意してください。
安全装置と取り付け時の注意事項
ホーンスイッチの取り付けに入る前に、手袋やゴーグルなど、安全対策が万全であることを確認してください。特にトレーラーやショッピングカートのように、振動で接続部が引っ張られる可能性があるものを作業している場合はなおさらです。これらの予防措置を講じることで、安全が確保されるだけでなく、取り付け作業中に貴重なフィードバックを得ることができます。
モメンタリホーンスイッチの取り付けステップバイステップガイド
安全のために車両のバッテリーを外して、モーメンタリー・ホーン・スイッチの取り付けを開始します。次に、ホーンとワイヤーハーネスの位置を確認し、正しいコンポーネントで作業していることを確認します。次に、モメンタリホーンボタンを正しく配線することに集中し、最後に、ホーンの機能をテストして、すべてが出荷可能であることを確認します。これらの手順は、金属製のボートや車両、特に特殊な照明やアクスルセットアップが装備されている場合に、信頼性と安全性を確保するために重要です。
バッテリーの取り外し
モメンタリー・ホーン・スイッチの接続を始める前に、まず車両のバッテリーを外す必要があります。この簡単な手順で、配線作業中の予期せぬ火花や感電を防ぐことができます。車の電気系統をいじっている間に混乱の糸を作りたくないので、特にホーンを作動させようとしているだけなら、最初にマイナス端子を外すことを確認してください。ネットで見つけたガイドや、選んだブランドの説明書に従っているなら、このパーツは通常、何の問題もありません。ちょっとした安全上の注意で、すべての真鍮と秩序が保たれるので、ステアリングホイールの近くなど、素早くアクセスできる必要な場所にスイッチを取り付けることに集中できます!
ホーンとワイヤーハーネスの場所
あなたの車のホーンとワイヤーハーネスを見つけるには、まずダッシュボードの下を見てください。ホーンは通常フェンダーに取り付けられているので、フェンダーの近くをチェックするのもよいでしょう。不明な場合は、オンラインまたは車両のマニュアルで特定のモデルをすばやく検索すると、あなたのモメンタリホーンスイッチのインストールを完了するために正しい電子を接続するように設定されていることを確認し、あなたを導くことができます。
- ダッシュボードの下で配線の接続を確認する。
- フェンダー付近のホーン取り付け部を点検する。
- 具体的なガイダンスについては、車両のマニュアルを参照してください。
モメンタリー・ホーンボタンの正しい配線方法
モメンタリホーンボタンを正しく配線するには、確実な接続と適切な電子の流れを確保することが重要です。通常、16AWGは、信頼性を必要とするほとんどの自動車用途に適しています。ワイヤーを接続する際は、緑色のコネクターを使用して、整理整頓し、簡単に識別できるようにしてください。
モメンタリホーン機能のテスト
モメンタリホーンスイッチの配線が完了したら、いよいよその機能をテストします。車両のバッテリーを安全に接続した状態でスイッチを押し、ホーンが期待通りに鳴るかどうかを確認します。青いワイヤーに適切な電圧がかかっていないと、ホーンが鳴らないことがあります。もし何も起こらなかったら、もう一度接続をチェックするか、車のマニュアルを参照して、ヒューズのボックスが無傷で機能しているかなど、トラブルシューティングを行ってください。
よくあるご質問
モメンタリー・ホーン・スイッチの機能は?
モメンタリホーンスイッチは、押すと一時的にホーンや警報装置が作動します。離すと回路が遮断され、音が止まります。このスイッチは、信号伝達や安全のために、車両や機械に不可欠です。
正しいモメンタリー・ホーン・スイッチの選び方は?
適切なモメンタリホーンスイッチを選択するには、定格電圧、耐久性、サイズ、アプリケーション要件などの要素を考慮する必要があります。ご使用の機器との互換性を確認し、人間工学に基づいた快適性と信頼性を備えたスイッチ設計を評価します。
取り付けに必要な工具は?
取り付けには、以下の必要な工具を集める:
- ドライバー
- ワイヤーストリッパー
- ドリル
- 電圧テスター
- カッターナイフ
これらは、押しボタンスイッチのセットアップをスムーズに行うのに役立つ。
モメンタリー・ホーン・スイッチを自分で取り付けることはできますか?
はい、自分でモメンタリー・ホーン・スイッチを取り付けることができます。ただ、適切な工具を用意し、配線図に従って、電気接続を慎重に行い、適切なセットアップを行ってください。
私の車では、モメンタリー・ホーン・スイッチはどのように機能しますか?
車のモメンタリー・ホーン・スイッチは、押すとホーンが作動します。電気回路を接続し、ホーンに電流を流し、スイッチを押している間だけ音を出し、オンデマンドでノイズを発生させます。
