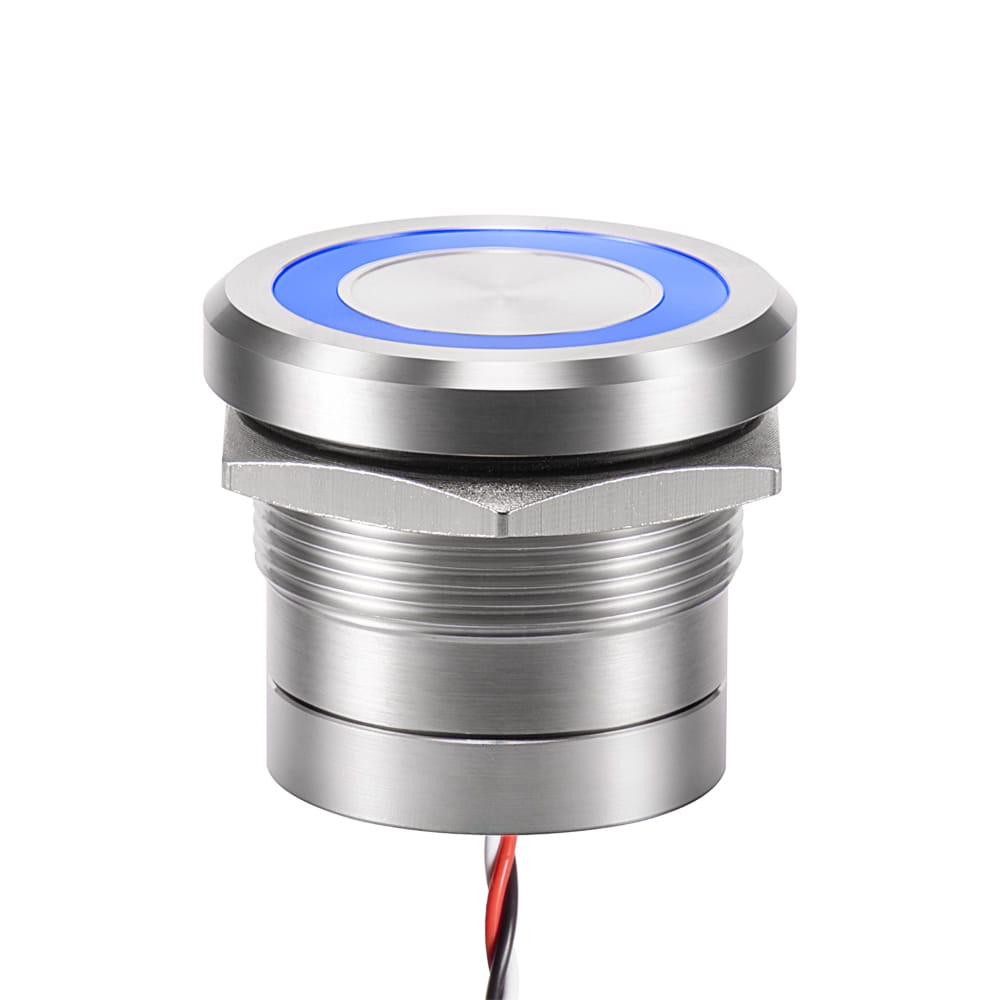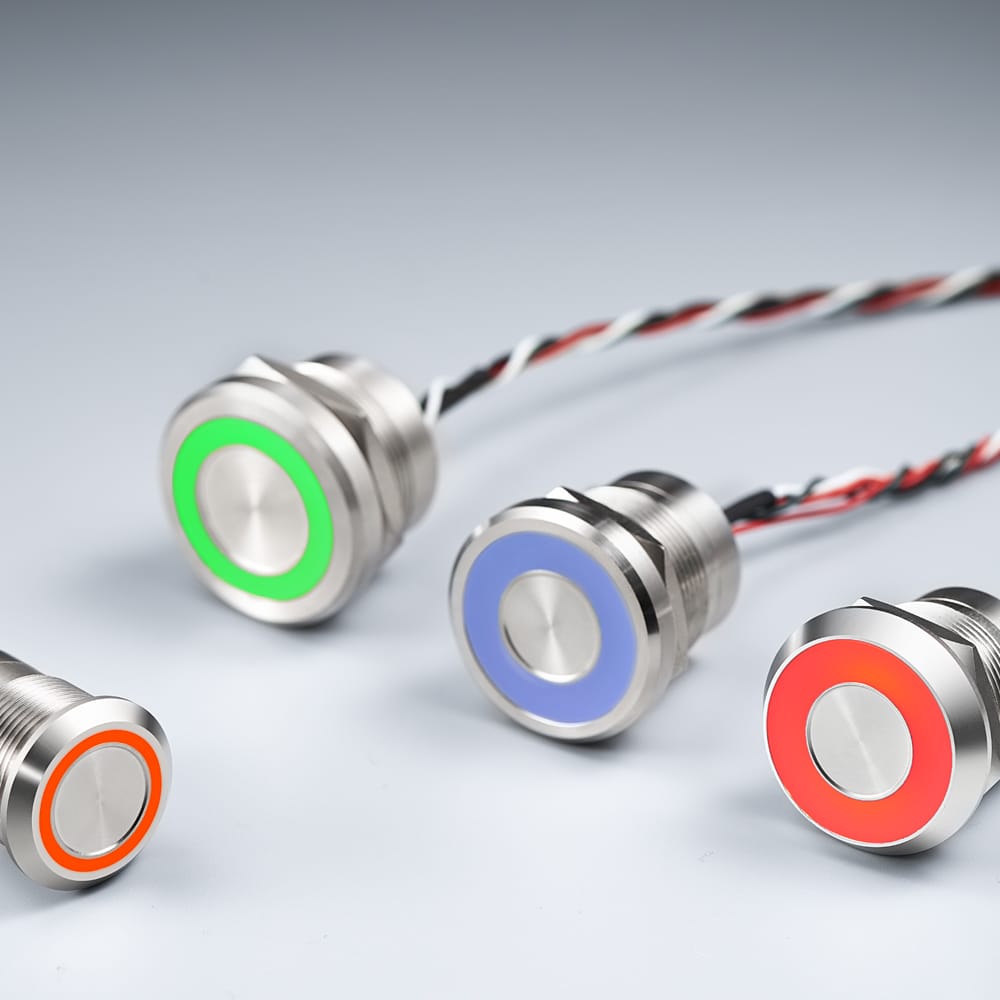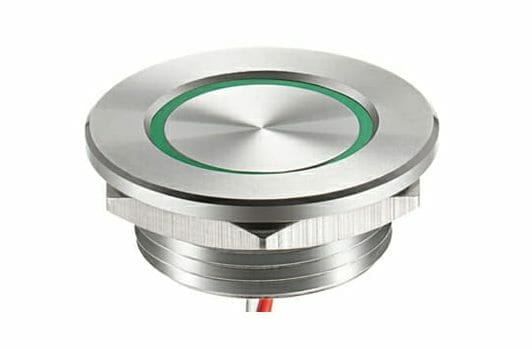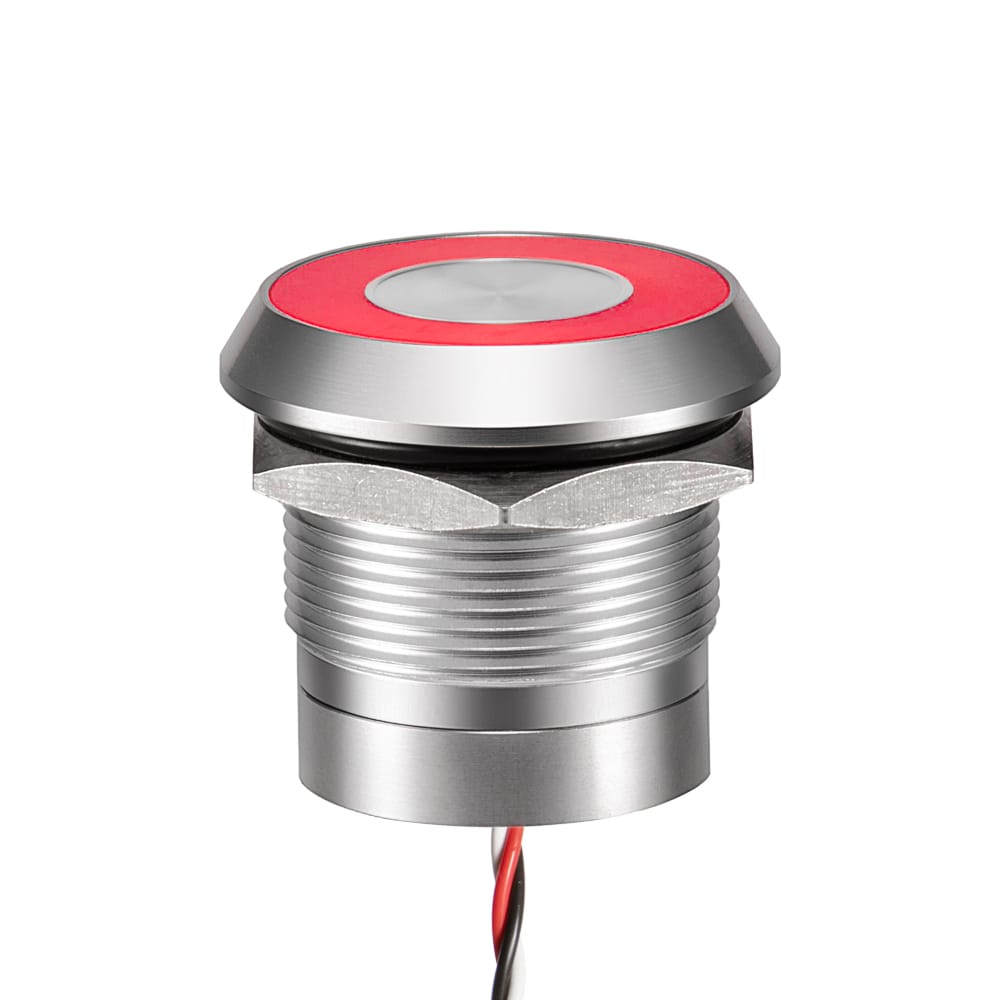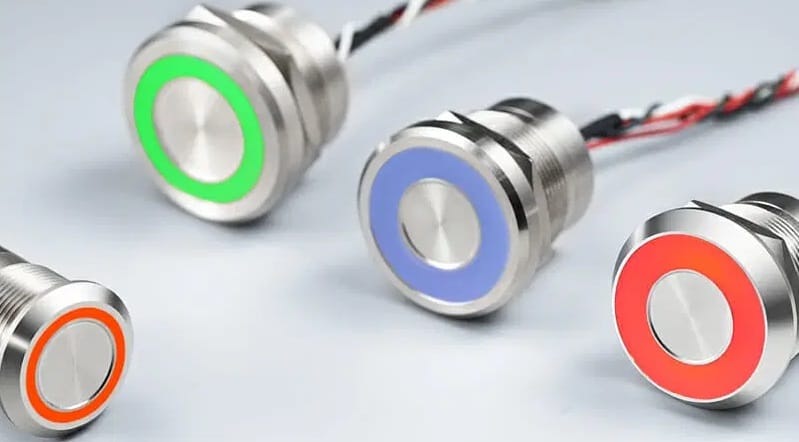
Capacitive switches have become integral components in various electronic devices, offering touch-sensitive control without the need for physical pressure. From smartphones and tablets to industrial machinery and automotive applications, capacitive switches provide a reliable and intuitive interface for users. However, like any electronic component, they can encounter issues over time, affecting their functionality and performance. Therefore, knowing how to effectively test and troubleshoot capacitive switches is essential for ensuring their proper operation. In this guide, we’ll delve into the step-by-step process of testing and troubleshooting capacitive switches to maintain their functionality and reliability.
What are Capacitive Switches
Capacitive switches utilize the principle of capacitance to detect touch or proximity. They consist of electrodes separated by an insulating material. When a conductive object, such as a finger, approaches the switch, it alters the capacitance, triggering the switch action.
How Do Capacitive Switches Work
To effectively test and troubleshoot capacitive switches, it’s essential to have a basic understanding of how they work. When a finger or another conductive object comes into close proximity to the switch, it disrupts the electric field between the electrodes, causing a change in capacitance. This change is detected by the switch’s circuitry, which then interprets it as a touch or proximity input, activating the desired function. Understanding this principle helps in diagnosing and resolving issues that may arise during testing and troubleshooting.
Importance of Testing and Troubleshooting
Testing and troubleshooting capacitive switches are crucial steps in ensuring their proper functionality and reliability. Regular testing helps identify any issues early on, allowing for timely repairs or adjustments before they escalate into more significant problems. By troubleshooting effectively, you can diagnose the root cause of issues and implement targeted solutions, minimizing downtime and optimizing performance.
How to Test a Capacitive Switch
Preparation for Testing
Before embarking on the testing process, it’s essential to make adequate preparations. This involves gathering the necessary tools and equipment, as well as taking appropriate safety precautions. Capacitive switch testing typically requires tools such as a multimeter and an oscilloscope, which are used to measure capacitance and analyze signals. Additionally, it’s essential to disconnect power sources and wear protective gear to prevent accidents or injuries during testing.
Start by assembling the tools and equipment required for capacitive switch testing. This may include:
- Multimeter: Used to measure capacitance and check continuity.
- Oscilloscope: Provides detailed insights into signal behavior and integrity.
- Cleaning materials: Used to remove dirt or debris from switch contacts.
- Safety gear: Includes gloves, safety glasses, and other protective equipment.
Having these tools on hand ensures that you can perform thorough testing and troubleshooting effectively.
Safety should always be a top priority when working with electronic components. Before beginning the testing process, take the following safety precautions:
- Disconnect power sources: Ensure that the device containing the capacitive switch is powered off and disconnected from any power sources to prevent electrical accidents.
- Wear protective gear: Use gloves and safety glasses to protect against potential hazards such as electric shocks or injuries from sharp edges.
- Work in a well-ventilated area: Avoid confined spaces or areas with poor ventilation to minimize the risk of exposure to harmful fumes or chemicals.
By taking these safety precautions, you can ensure a safe and secure testing environment for yourself and others involved.
Initial Testing Steps
Once you’ve gathered the necessary tools and taken safety precautions, you can proceed with the initial testing steps. These steps involve conducting a visual inspection of the capacitive switch and checking for power supply to ensure that the switch is functioning correctly.
Start by visually inspecting the capacitive switch for any physical damage, such as cracks, scratches, or signs of wear and tear. Pay close attention to the electrodes and surrounding areas to identify any abnormalities or contaminants that may affect switch performance. If you notice any issues during the visual inspection, take note of them for further investigation during testing.
After completing the visual inspection, check for the presence of a power supply to the capacitive switch. Ensure that the device containing the switch is properly connected to a power source and that the power supply is functioning correctly. You can use a multimeter to measure voltage or continuity to verify the presence of power. If the switch is battery-operated, check the battery status to ensure it has sufficient charge for testing.
By conducting these initial testing steps, you can assess the overall condition of the capacitive switch and identify any potential issues that may require further investigation.
Testing Capacitance
Once you’ve completed the initial testing steps, the next phase involves testing the capacitance of the switch to evaluate its sensitivity and responsiveness. Capacitance testing allows you to measure the ability of the switch to store an electric charge and detect changes in capacitance caused by touch or proximity.
A multimeter is a versatile tool that can be used to measure various electrical parameters, including capacitance. To measure the capacitance of a capacitive switch, set the multimeter to the capacitance measurement mode and ensure that the switch is disconnected from any external power sources to avoid interference with the measurement.
Carefully connect the multimeter probes to the terminals or electrodes of the capacitive switch, ensuring proper contact and alignment. Once the connections are established, initiate the capacitance measurement function on the multimeter and observe the displayed reading. The measured capacitance value provides valuable insights into the electrical characteristics of the switch and can help assess its overall health and functionality.
Interpreting the capacitance readings obtained from the multimeter requires careful consideration of various factors, including the expected capacitance range specified by the switch manufacturer and any deviations from this range. In general, capacitance readings within the expected range indicate normal operation, while readings significantly higher or lower than expected may indicate underlying issues or anomalies affecting the switch’s performance.
It’s essential to compare the measured capacitance readings to the specified capacitance range provided by the switch manufacturer to determine whether they fall within acceptable limits. Any deviations from the expected capacitance range should be thoroughly investigated to identify potential causes, such as electrical faults, contamination, or component degradation.
By accurately measuring and interpreting the capacitance of capacitive switches, you can gain valuable insights into their electrical properties and identify any issues affecting their functionality. Capacitance testing serves as a critical diagnostic tool in the overall testing and troubleshooting process, enabling you to assess switch health and integrity effectively.
Checking for Grounding Issues
In addition to capacitance testing, it’s essential to check for grounding issues that may affect the performance of capacitive switches. Proper grounding is crucial for maintaining electrical stability and preventing interference or noise that can disrupt switch operation.
Ensure that the capacitive switch is adequately grounded and that all grounding connections are secure and free from corrosion or damage. Loose or faulty grounding connections can result in electrical instability, leading to erratic switch behavior or false triggering.
Using a multimeter set to the resistance measurement mode, carefully probe the grounding connections associated with the capacitive switch to verify their integrity. A low resistance reading indicates a solid grounding connection, while a high resistance reading may indicate a faulty or compromised ground connection that requires further attention.
Additionally, inspect the surrounding environment for any potential sources of electrical noise or interference that may impact switch performance. Eliminating or mitigating these sources of interference can help ensure reliable and consistent operation of capacitive switches in various applications.
By checking for grounding issues and addressing any identified issues promptly, you can ensure optimal performance and reliability of capacitive switches in electronic devices and systems.
How to Troubleshoot a Capacitive Switch
Troubleshooting Common Problems
Despite their inherent reliability, capacitive switches may encounter various issues over time due to factors such as wear and tear, environmental conditions, or electrical faults. Troubleshooting common problems is essential for identifying and resolving issues promptly to restore switch functionality and maintain optimal performance.
By addressing false triggering issues through sensitivity adjustments and environmental shielding, you can enhance the reliability and performance of capacitive switches in various applications.
One common issue that may affect the performance of capacitive switches is false triggering or unintended activation. False triggering can occur due to various factors, including environmental interference, electrical noise, or improper sensitivity settings.
To troubleshoot false triggering issues, begin by adjusting the sensitivity settings of the capacitive switch to ensure that it responds appropriately to touch or proximity. Lowering the sensitivity level can help reduce the likelihood of false activations, especially in environments with high levels of electrical noise or interference.
Additionally, shield the capacitive switch from external sources of interference, such as electromagnetic fields or radio frequency signals, by enclosing it in a shielded enclosure or using shielding materials to protect sensitive electronics components from external interference.
By troubleshooting sensitivity issues through careful adjustment of sensitivity settings, you can optimize the performance of capacitive switches and ensure their reliable operation in different applications and conditions.
Another common issue that may affect the performance of capacitive switches is sensitivity problems, where the switch fails to detect touch or proximity accurately. Sensitivity adjustments allow you to fine-tune the switch’s responsiveness to ensure reliable operation in different environments and conditions.
To troubleshoot sensitivity issues, adjust the sensitivity settings of the capacitive switch using the provided controls or settings interface. Increase the sensitivity level gradually to enhance the switch’s responsiveness to touch or proximity, taking care not to exceed the optimal sensitivity range to avoid false triggering or erratic behavior.
Test the switch’s response to touch or proximity after each sensitivity adjustment to evaluate the effectiveness of the changes made. Fine-tune the sensitivity settings as needed until the desired level of responsiveness is achieved, ensuring reliable operation in various applications and environments.
By addressing environmental factors through proper environmental control, shielding, and grounding, you can optimize the performance and reliability of capacitive switches in various applications and conditions, ensuring consistent operation and minimizing the risk of issues such as false triggering or reduced sensitivity.
Environmental factors can significantly impact the performance and reliability of capacitive switches, leading to issues such as false triggering, reduced sensitivity, or erratic behavior. Understanding and mitigating the effects of environmental factors are essential for ensuring reliable operation of capacitive switches in various applications and conditions.
Temperature and humidity are two critical environmental factors that can affect the performance of capacitive switches. Extreme temperatures can cause changes in the electrical properties of materials used in switch construction, leading to variations in capacitance and sensitivity. High humidity levels can promote condensation and moisture accumulation, potentially affecting switch operation and reliability.
To mitigate the effects of temperature and humidity on capacitive switch performance, ensure that the switch is installed in a controlled environment with stable temperature and humidity levels. Use protective enclosures or housing to shield the switch from exposure to extreme temperatures, humidity, dust, and moisture, ensuring reliable operation in harsh environmental conditions.
Electromagnetic interference (EMI) and radio frequency interference (RFI) are other environmental factors that can impact the performance of capacitive switches. EMI and RFI sources such as power lines, motors, and electronic devices can induce electrical noise and interference, leading to false triggering or erratic behavior.
To minimize the effects of EMI and RFI on capacitive switch performance, use shielding materials or enclosures to protect the switch from external sources of interference. Ensure proper grounding of the switch and associated electrical components to dissipate electrical noise and interference effectively, ensuring reliable operation in environments with high levels of electromagnetic radiation.
Advanced Testing Techniques
While basic testing methods such as capacitance measurement and visual inspection are effective for identifying common issues with capacitive switches, more advanced testing techniques may be required to diagnose complex problems or verify switch performance under specific conditions.
Oscilloscope analysis is a powerful diagnostic tool that allows you to visualize and analyze electrical signals generated by capacitive switches in real-time. Oscilloscope waveforms provide valuable insights into switch behavior, allowing you to identify anomalies, irregularities, or aberrations that may indicate underlying issues affecting switch performance.
To perform oscilloscope analysis on capacitive switches, connect the oscilloscope probes to the terminals or electrodes of the switch and configure the oscilloscope settings to capture the desired waveform parameters. Trigger the oscilloscope to initiate waveform capture and observe the resulting waveform on the oscilloscope display.
Analyze the oscilloscope waveform for abnormalities such as noise, distortion, or signal irregularities that may indicate issues with switch operation or electrical integrity. Compare the observed waveform to reference waveforms or expected waveform characteristics to identify deviations or discrepancies that may require further investigation or troubleshooting.
Oscilloscope analysis provides detailed insights into switch behavior and performance, enabling you to diagnose complex issues, verify switch operation under specific conditions, and optimize switch performance for various applications.
Signal integrity testing is another advanced testing technique that focuses on verifying the integrity and reliability of signals generated or processed by capacitive switches. Signal integrity testing allows you to assess signal quality, integrity, and fidelity, ensuring reliable operation and performance of capacitive switches in various applications.
To perform signal integrity testing on capacitive switches, use signal integrity analysis tools or equipment capable of measuring signal quality parameters such as rise time, fall time, jitter, noise, and distortion. Connect the signal integrity analysis equipment to the terminals or electrodes of the switch and configure the analysis settings to capture the desired signal parameters.
Initiate signal integrity testing and observe the measured signal parameters to assess signal quality, integrity, and fidelity. Analyze the measured signal parameters for abnormalities such as excessive noise, distortion, or timing errors that may indicate issues with switch operation or signal integrity.
Signal integrity testing provides valuable insights into signal quality and integrity, enabling you to identify and resolve issues affecting switch performance, optimize signal transmission and reception, and ensure reliable operation of capacitive switches in various applications and conditions.
Repairing Capacitive Switches
Despite their inherent reliability and durability, capacitive switches may encounter issues over time due to factors such as wear and tear, environmental conditions, or electrical faults. Repairing capacitive switches is essential for restoring functionality, addressing issues, and ensuring reliable operation in various applications.
Cleaning the contacts of capacitive switches is a simple yet effective maintenance task that can help restore optimal functionality and performance. Over time, dust, dirt, debris, and other contaminants may accumulate on the switch contacts, leading to poor electrical connectivity, increased resistance, and reduced switch performance.
To clean the contacts of capacitive switches, use a soft, lint-free cloth or brush and a gentle cleaning solution to remove dirt, dust, and debris from the switch contacts. Gently wipe or brush the contacts to remove contaminants and ensure a clean, smooth contact surface.
Inspect the contacts of the capacitive switch after cleaning to ensure that all contaminants have been removed and that the contacts are clean and free from debris. Reassemble the switch and perform testing to verify functionality and performance.
Cleaning the contacts of capacitive switches regularly helps prevent issues such as poor electrical connectivity, increased resistance, and reduced switch performance, ensuring reliable operation and longevity in various applications.
In some cases, repairing capacitive switches may require replacing faulty or damaged components such as electrodes, circuit boards, or wiring harnesses. Component replacement is necessary for addressing issues such as component failure, physical damage, or wear and tear that cannot be remedied through cleaning or adjustment.In some cases, repairing capacitive switches may require replacing faulty or damaged components such as electrodes, circuit boards, or wiring harnesses. Component replacement is necessary for addressing issues such as component failure, physical damage, or wear and tear that cannot be remedied through cleaning or adjustment.
To replace components in capacitive switches, identify the faulty or damaged component and obtain a suitable replacement from the switch manufacturer or authorized distributor. Follow the manufacturer’s guidelines or service manual for disassembling the switch, accessing the faulty component, and replacing it with the new component.
Take care to handle components carefully and avoid damaging surrounding components or circuitry during the replacement process. Ensure proper alignment, connection, and seating of the replacement component to ensure reliable operation and performance.
After replacing the faulty component, reassemble the capacitive switch and perform testing to verify functionality and performance. Conduct comprehensive testing to ensure that the issue has been resolved and that the switch operates as expected in various applications and conditions.
Final Testing and Calibration
Once repairs and adjustments have been completed, it’s essential to perform final testing and calibration to verify the functionality and performance of capacitive switches. Final testing and calibration ensure that the switch operates as expected and meets the required specifications and performance criteria for various applications.
Maintenance Tips for Longevity
To maintain the optimal performance and longevity of capacitive switches, it’s essential to implement regular maintenance practices and preventive measures. Proper maintenance helps prevent issues, prolong switch lifespan, and ensure reliable operation in various applications and conditions.
Real-Life Application Examples
Capacitive switches find applications in various industries and sectors, including consumer electronics, automotive, industrial automation, medical devices, and more. Examples of real-life applications include touch-sensitive control panels, proximity sensors, human-machine interfaces (HMIs), interactive displays, and touchscreens.
Conclusion
In conclusion, testing and troubleshooting capacitive switches are essential processes for ensuring their functionality, reliability, and performance in various applications. By following proper testing procedures, employing troubleshooting techniques, and implementing preventive maintenance practices, you can identify and resolve issues effectively, optimize switch performance, and ensure reliable operation in various applications and conditions.
FAQs
Q1. Can any multimeter be used for capacitance testing?
A1. It’s recommended to use a multimeter with capacitance measurement capabilities for accuracy and reliability in capacitance testing.
Q2. How often should capacitive switches be tested for maintenance purposes?
A2. Capacitive switches should be tested periodically as part of routine maintenance to ensure optimal performance and reliability, especially in critical applications.
Q3. What should I do if a capacitive switch is unresponsive?
A3. If a capacitive switch is unresponsive, check for power supply, inspect for physical damage, and ensure proper grounding. If issues persist, further troubleshooting or repair may be necessary.
Q4. Are there any environmental factors that can affect capacitive switch performance?
A4. Yes, environmental factors such as temperature, humidity, and electromagnetic interference can impact capacitive switch operation and performance.
Q5. Can sensitivity settings of capacitive switches be recalibrated?
5. Yes, many capacitive switches allow sensitivity adjustments to be recalibrated to suit specific application requirements and environmental conditions.
Send your inquiry now
All Langier News:
Read Moreelectronica 2024 Hall-Stand No.: A2 160 November 12-15, 2024 Tr...

 English
 简体中文
简体中文