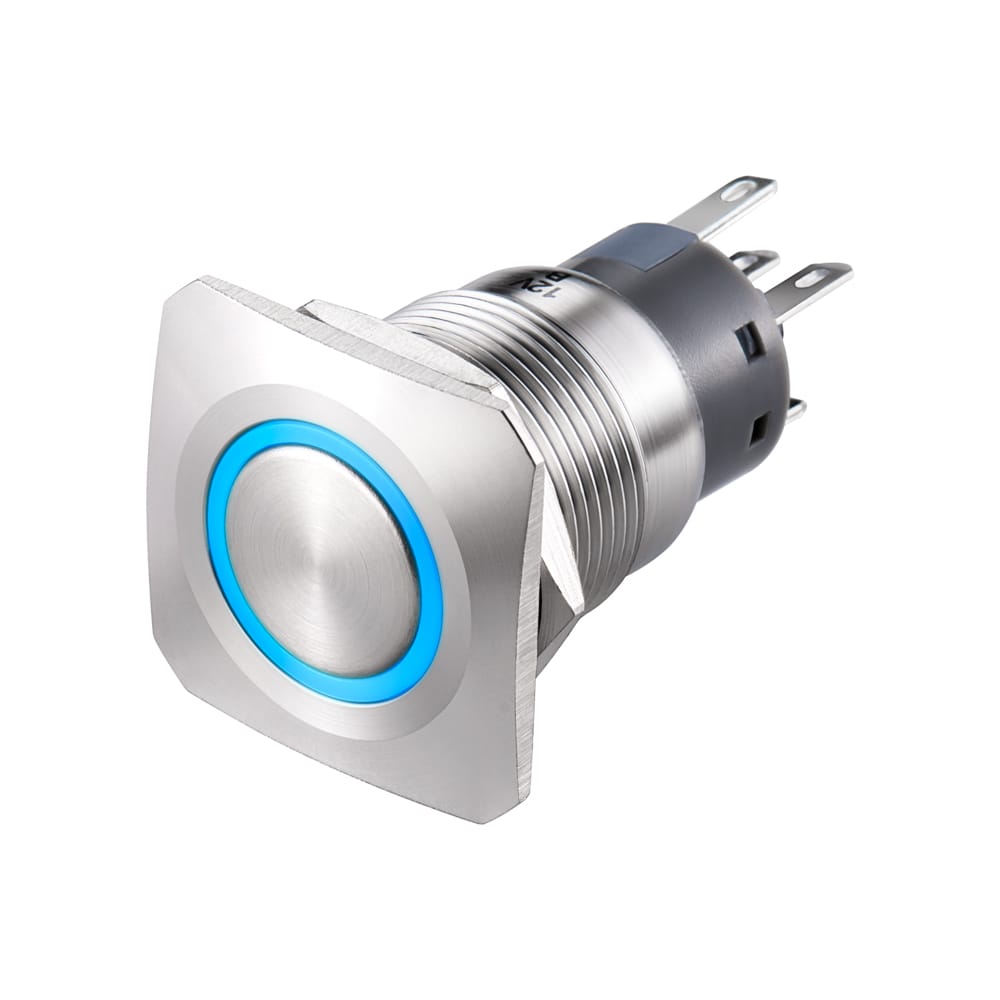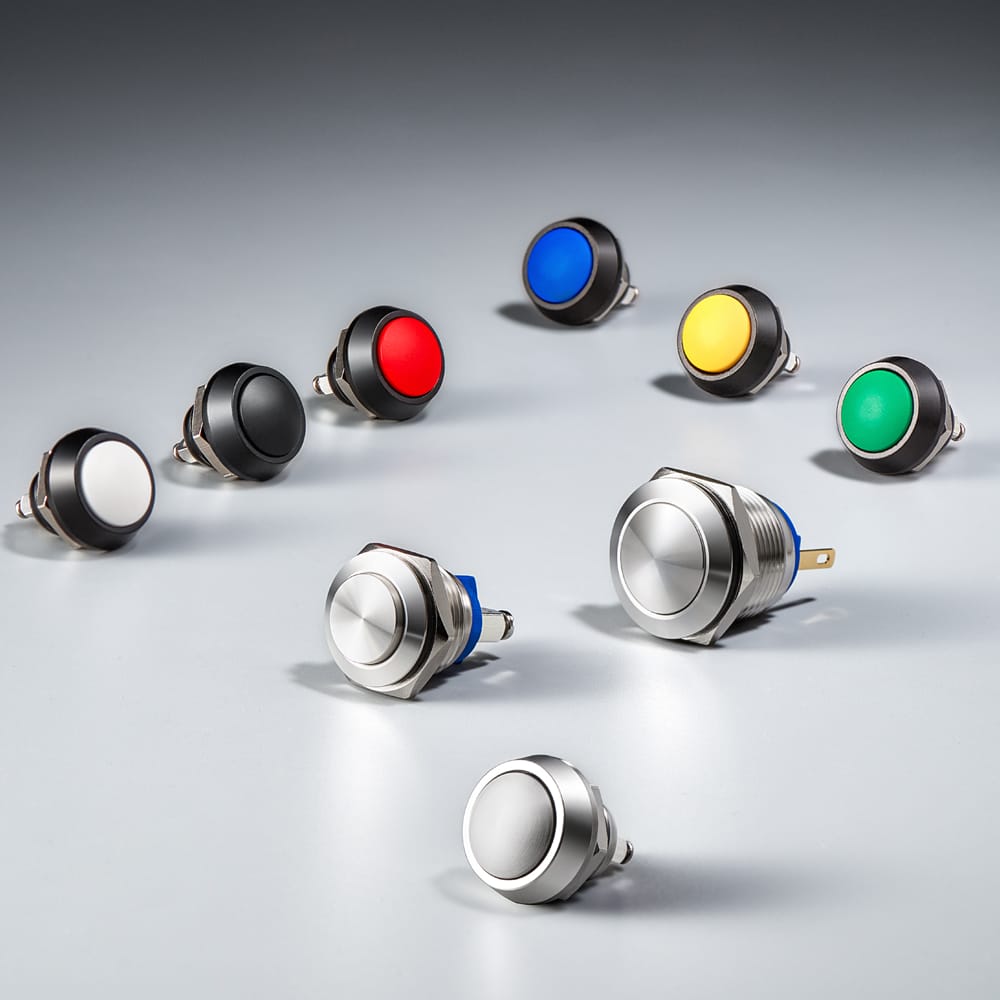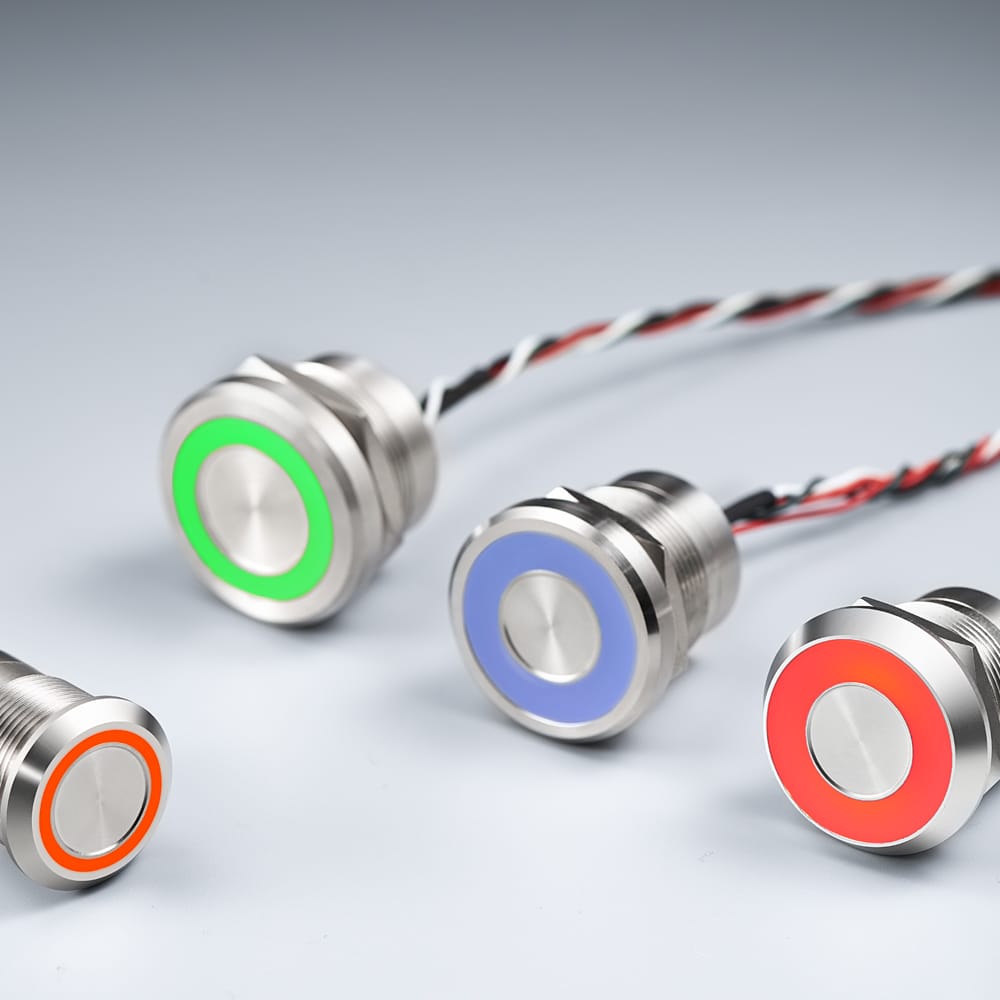
Latching switches are crucial components in various electronic devices and systems, serving to control power flow or signal transmission. These switches offer the convenience of staying in either the on or off position without the need for continuous pressure. However, like any electrical component, latching switches can encounter issues over time, requiring testing and troubleshooting to ensure proper functionality. In this article, we will delve into the process of testing and troubleshooting latching switches, providing valuable insights for both enthusiasts and professionals.
What is a Latching Switch
Latching switches, also known as bistable switches, are mechanisms that maintain their state after being activated until they receive another input to change states. This functionality makes them ideal for applications where maintaining the last setting is essential, such as power toggles in electronic devices or locking mechanisms in industrial systems.
How Does a Latching Switch Work
Latching switches operate on the principle of mechanical or magnetic locking, where an initial input toggles the switch to one position, and another input is required to toggle it back. These switches come in various types, including push-button, rocker, or toggle switches, each employing a unique mechanism to maintain their state.
How to Test a Latching Switch
For thorough testing, a multimeter for electrical tests and a continuity tester for verifying complete circuit paths are essential.
Safety is paramount when testing. Always disconnect power before testing to prevent any risk of electric shock or damage to the switch or device.
Step-by-Step Testing Guide
- Visual Inspection: Begin with a visual check for any physical damage or deformities on the switch.
- Detailed Continuity Testing: Use a multimeter to perform a detailed continuity test. Check each state of the switch for continuity and ensure there is no resistance where there shouldn’t be.
- Mechanical Performance Assessment: Manually actuate the switch multiple times to check for consistent performance and ensure it latches each time without sticking.
How to Troubleshoot a Latching Switch
Common Issues with Latching Switches
One of the most common issues with latching switches is faulty wiring. Loose connections or damaged wires can disrupt the flow of electricity, leading to intermittent functionality or complete failure of the switch.
Over time, the mechanical components of latching switches can wear out or become damaged, affecting their ability to toggle reliably. This can manifest as sticking, jamming, or inconsistent switching behavior.
Environmental factors such as moisture, dust, and extreme temperatures can also impact the performance of latching switches. Exposure to these elements can cause corrosion, oxidation, or other forms of damage, compromising the switch’s functionality.
Troubleshooting Steps
When troubleshooting a latching switch, it’s essential to follow a systematic approach to identify and address the underlying issues effectively. Here are some steps to consider:
Visual Inspection
Start by visually inspecting the switch and its surrounding components for any obvious signs of damage, such as loose wires, corrosion, or physical wear. Pay close attention to the connections and terminals.
Testing with a Multimeter
Use a multimeter to test the continuity and voltage across the switch terminals. This will help determine if the switch is functioning correctly and if there are any issues with the electrical circuit.
Checking for Loose Connections
Ensure that all connections associated with the switch are secure and tight. Loose connections can cause intermittent operation or failure of the switch. Tighten any loose screws or terminals as needed.
Cleaning and Maintenance
Clean the switch and its surroundings to remove any dirt, dust, or debris that may be affecting its performance. Use a soft brush or compressed air to dislodge any particles, and wipe down the switch with a clean cloth.
Advanced Troubleshooting Techniques
If basic troubleshooting steps do not resolve the issue, you may need to explore more advanced techniques:
Resetting the Switch
Some latching switches have a reset function that can help restore normal operation. Refer to the manufacturer’s instructions for specific guidance on how to reset the switch.
Inspecting Internal Components
Disassemble the switch (if possible) to inspect its internal components for any signs of damage or wear. Replace any worn-out parts or components as needed, following the manufacturer’s recommendations.
Seeking Professional Assistance
If you’re unable to troubleshoot the issue on your own, consider seeking assistance from a qualified technician or electrician. They will have the expertise and tools necessary to diagnose and repair more complex problems effectively.
Conclusion
Troubleshooting a latching switch requires patience, attention to detail, and a systematic approach. By following the steps outlined in this guide, you can identify and resolve common issues with your switch, ensuring reliable operation and longevity.
FAQs
What is the difference between a latching switch and a momentary switch?
A latching switch maintains its state until it is actuated again, whereas a momentary switch only remains in its state while being pressed.
Can a faulty latching switch cause power drain in a device?
Yes, if a latching switch fails in a closed position, it can cause continuous power consumption and potentially overheat the device.
How often should latching switches be maintained?
Latching switches should be maintained at least once a year or according to the usage frequency and environmental conditions.
What are the signs of a failing latching switch?
Common signs include inconsistent switching, unexpected state changes, or physical resistance during actuation.
Can I repair a latching switch myself, or should I seek professional help?
Simple repairs like cleaning or replacing a spring can be done at home, but deeper mechanical or electrical issues might require professional service.
Send your inquiry now
All Langier News:
Read Moreelectronica 2024 Hall-Stand No.: A2 160 November 12-15, 2024 Tr...

 English
 简体中文
简体中文


