 EN
EN
Elevators have become integral to our daily lives, seamlessly transporting us between floors in towering buildings. With increased usage, their industry is expected to reach $99.5 billion by 2032. However, have you ever wondered about the intricate design and functionality of elevator buttons?
From a piezo switch to touch-sensitive panels, these small yet significant components play a crucial role in shaping our elevator experiences.
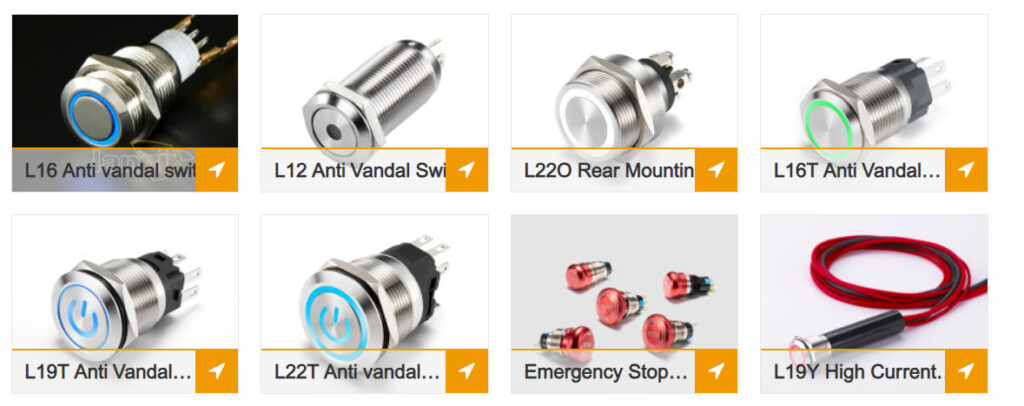
Contact Langir – A Leading Manufacturer of Anti-Vandal Switches
In this article, we delve into the fascinating world of elevator buttons, decoding their purpose, working mechanism, and evolution.
A Brief History of Elevator Buttons
The Early Periods
The concept of elevators dates back thousands of years, but it was not until the mid-19th century that push-button technology revolutionised vertical transportation. Before that, elevators relied on a system of levers and operators to manually control the lift’s movements. However, a more efficient and user-friendly method was needed as buildings grew taller and elevator usage increased.
In the late 1880s and early 1890s, the first push-button elevator systems were introduced in private residences and other places where having an operator wasn’t financially viable. This innovation allowed passengers to simply press a button corresponding to their desired floor, eliminating the need for manual operation. However, they weren’t as popular as people considered operator-less elevators unsafe.
The 20th Century
Things changed in 1945 when NYC’s 15,000 lift operators went on strike, which made office-goers walk up and down the building. However, it simply wasn’t possible in buildings with multiple floors.
Hence, the elevator industry started introducing buttons and encouraged people to use elevators without operators. The buttons were marked with different floors so people could stop at whatever floor they wanted.
Moreover, emergency stop buttons were installed to stop the elevator in case of an untoward event. Hence, people became comfortable with using push-button lifts by the 1950s.
Modern Innovations in Elevator Buttons
The advancements in lift buttons have improved the efficiency and functionality of elevators and enhanced the overall user experience. They’re much more robust today, thanks to better materials, IP67 & IP68 ratings, and much more.
Let’s dive into the details of different innovations happening in lift buttons today.
Touchless Controls

Contact Langir – A Leading Manufacturer of Anti-Vandal Switches
Given the fact that some elevator buttons can have way more bacteria than toilets, touchless controls have become increasingly popular in elevator design. These buttons employ proximity sensors or infrared technology to detect a user’s presence and enable operation without physical contact. By eliminating the need to touch the buttons, these systems help minimize the spread of germs and enhance user safety.
Intuitive User Interfaces
Traditional lift buttons are often criticized for their complex layouts and confusing symbols. Intuitive user interfaces with simple graphics make it easier for passengers to select their desired floors and navigate through the elevator system.
Smart Destination Dispatch Systems
Contact Langir – A Leading Manufacturer of Anti-Vandal Switches
Destination dispatch systems utilize advanced algorithms to optimize elevator traffic flow and reduce passenger wait times. Passengers input their desired floors on a panel, and they’re assigned the most appropriate elevator based on factors like destination, occupancy, and efficiency. It minimizes unnecessary stops and improves overall elevator performance.
Haptic Feedback
Haptic feedback is a tactile technology that provides users with a physical response when interacting with lift buttons. These buttons incorporate small vibrations or sound cues to confirm button presses, ensuring users receive feedback without visual confirmation. Haptic feedback helps users with visual impairments and enhances user experience by providing a sense of engagement.
Interactive Displays
Lift buttons with interactive displays offer a more engaging and informative experience. They can provide useful information such as news updates, weather forecasts, building directories, or advertisements.
The Working Principle of Elevator Buttons
When users want to select a floor, they press the corresponding button on the elevator control panel. Each button is typically labeled with a number or symbol indicating the floor or direction of travel. Let’s dive into the details of the working principle of lift buttons.
The Circuit
A button completes an electrical connection when pressed, sending a signal to the elevator’s main control system or a local controller specific to that floor.
The control system receives and processes the signal, determining the requested floor or direction. Based on the processed signal and the elevator’s current position, the control system assigns the appropriate elevator car to fulfill the passenger’s request.
Illumination
Elevator control panels often have indicator lights above each button. These lights illuminate to show the selected floor or indicate the active direction of travel.
Stops
Once the elevator car arrives at the selected floor, the control system opens the doors and indicates the user’s destination floor. If there are multiple stops, the control system ensures the car stops at the appropriate floors in the correct order. After the user exits the elevator, the control system resets the button for the next use.
Types of Elevator Buttons
Lift buttons come in various types and designs, catering to different functionalities and user needs.
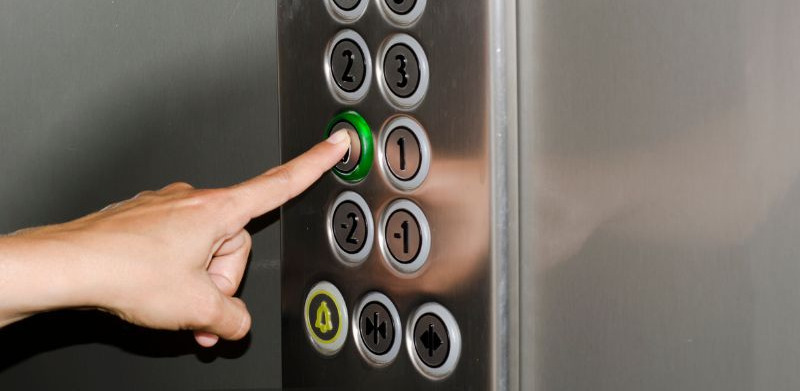
Floor Buttons
These buttons are the most prevalent in elevators and are used to select the desired floor. They are typically arranged in a vertical panel inside the elevator cabin or outside on the landing. Floor buttons usually have numbers or labels representing different floors and are illuminated to indicate the selected floor.
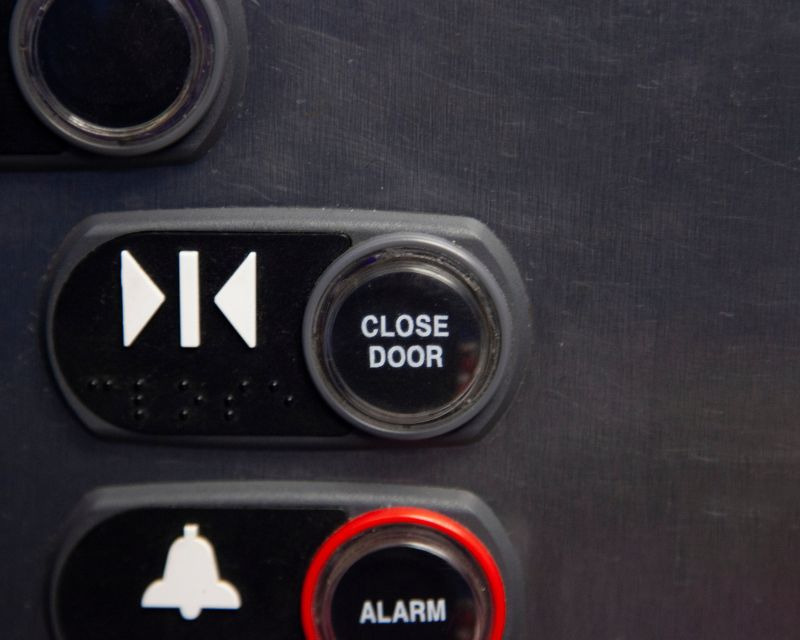
Door Open & Close Buttons
Contact Langir – A Leading Manufacturer of Anti-Vandal Switches
These buttons allow you to open and close the elevator doors. They are often represented by icons such as arrows pointing in opposite directions or symbols depicting an open or closed door. Pressing the open button holds the doors open for extended periods, while the closing button accelerates the door-closing process.
Alarm Buttons
Contact Langir – A Leading Manufacturer of Anti-Vandal Switches
The alarm button is a prominent and easily accessible feature in elevators, enabling passengers to signal an emergency. When pressed, it activates an audible alarm and may send a distress signal to a monitoring station or security personnel.
Emergency Stop Button
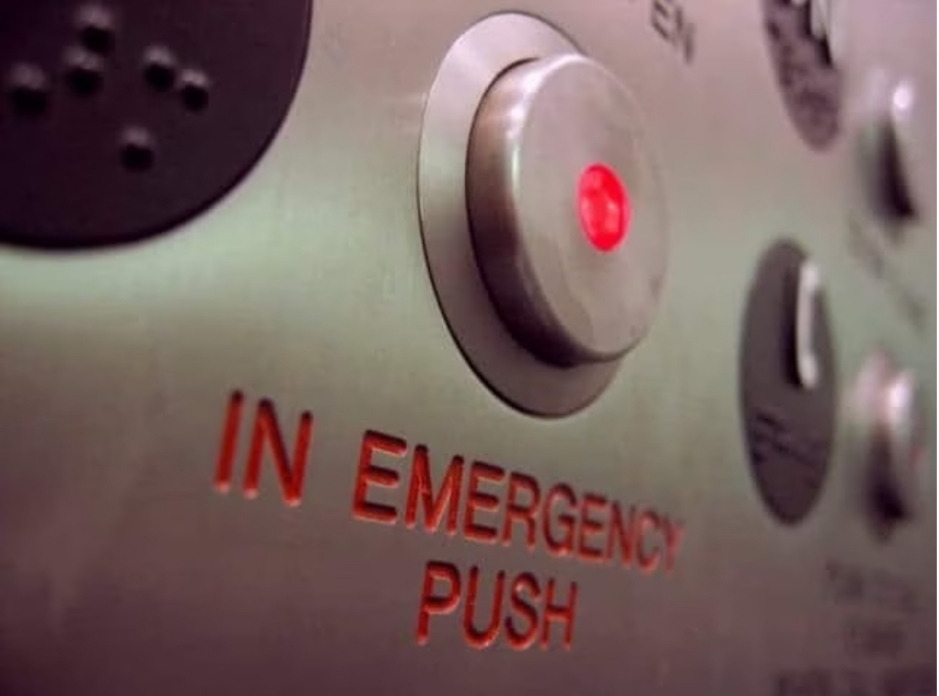
Contact Langir – A Leading Manufacturer of Anti-Vandal Switches
Located within easy reach of passengers, the emergency stop button allows immediate halting of elevator movement in critical situations. Pressing it brings the elevator to an instant stop, and the doors remain closed until the button is reset or released by authorized personnel.
Significance of User Experience and Interface Design in Elevator Buttons
Here are some key considerations for UX and interface design in lift buttons.
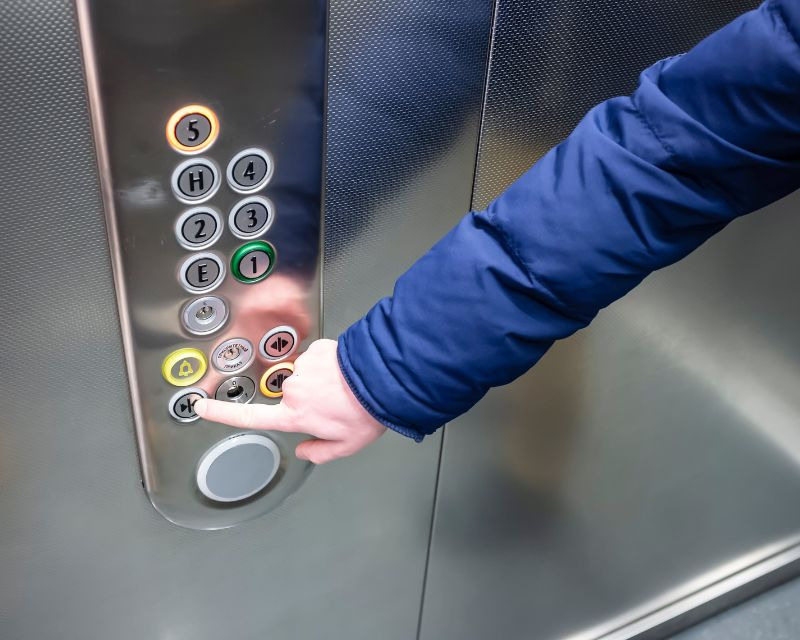
Button Placement and Layout
The arrangement of buttons should be intuitive and easy to understand. Commonly, buttons are organized vertically or horizontally, with floor numbers clearly indicated. They should be placed within easy reach and at a height that accommodates users of different heights, including those with disabilities.
Clear Labeling
Each button should be labeled with the corresponding floor number or a clear designation that users can easily understand. The labels should be legible and visible in various lighting conditions. Clear typography and adequate contrast between the text and the button background are essential for readability.
Responsive Feedback
Lift buttons should provide clear feedback to users when pressed. It can include visual indicators such as illuminating the selected button or providing a visual cue on the floor selection panel. Auditory feedback, such as a beep or a tone, can also be useful for users with visual impairments.
Emergency Situations
Elevator buttons should incorporate clear and easily identifiable emergency buttons or call buttons. They should be prominently placed and distinguishable from other buttons. Including tactile indicators, such as braille, can ensure accessibility for visually impaired individuals.
Different Layouts of Elevator Buttons
Elevator push buttons can be arranged in different layouts, depending on the specific elevator system and the design preferences of the manufacturer or building owner.
Vertical Layout
It is the most common layout, where the buttons are arranged in a vertical column. The buttons typically represent each floor, starting from the ground floor at the bottom and progressing upwards. It is intuitive, as users can simply press the button corresponding to their desired floor.
Horizontal Layout
Like the vertical layout, each button represents a specific floor, with the lowest floor at one end and the highest floor at the other end of the horizontal line. This layout is suitable when space constraints or design preferences favor a horizontal arrangement.
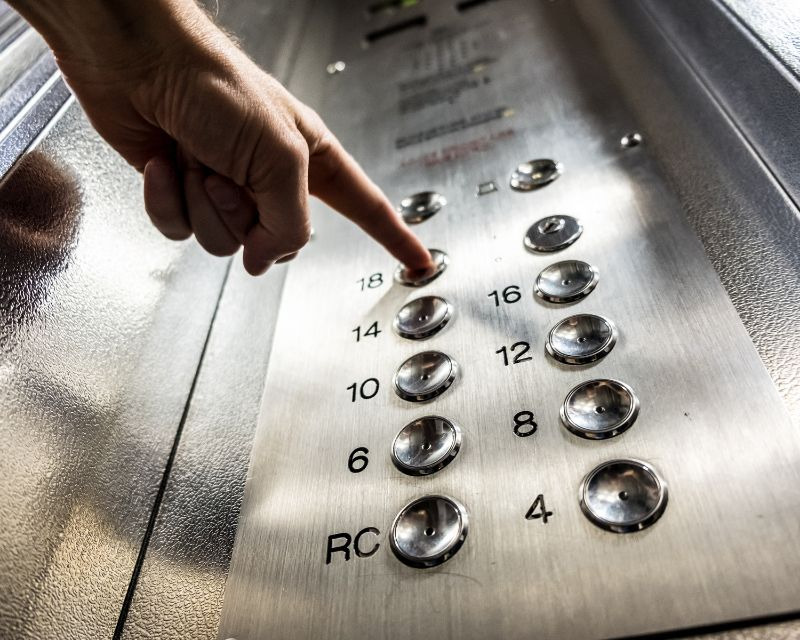
Grid Layout
A grid layout is used when there are many floors. The buttons are placed in rows and columns, forming a grid, and users can select their desired floor by pressing the corresponding button at the intersection of the row and column.
Circular Layout
These buttons can be arranged in a circular pattern in some elevator systems, especially older ones or those designed for architectural aesthetics. They are placed along the circumference of a circular panel or on multiple concentric rings. The floors are labeled clockwise or counterclockwise, and users select their floor by pressing the corresponding button.
Contact Langir – A Leading Manufacturer of Anti-Vandal Switches
Maintenance and Safety Considerations
Cleaning & Sanitization
Various individuals frequently touch elevator push buttons, so regular cleaning and sanitization are essential to maintain hygiene. The buttons should be designed to allow easy cleaning and prevent accumulating dirt, debris, or germs. It’s important to follow recommended cleaning protocols and use appropriate cleaning agents that do not damage the buttons or their labels.
Durable Materials
Elevator push buttons should be made of durable materials that can withstand heavy use, cleaning procedures, scratches, and fading over time. They should also be designed to prevent water ingress, which can cause damage or malfunction.
Emergency Buttons
Elevator push buttons should include marked emergency buttons that are easily distinguishable from regular floor selection buttons. They should be prominently placed and have features like tactile indicators, high visibility, and immediate response to ensure quick access during emergencies.
Electrical Safety
The electrical components and wiring associated with the elevator push buttons should comply with safety standards and regulations. It includes proper grounding, insulation, and protection against electrical hazards.
Compliance with Standards & Regulations
Elevator push buttons should adhere to applicable safety standards and regulations, which may vary depending on the country or region. Compliance with standards such as EN 81-70, the Americans with Disabilities Act, or other local codes helps ensure that the buttons meet the necessary safety requirements.
Common Issues of Elevator Buttons and Their Troubleshooting
Let’s discuss some common issues with elevator push buttons and the ways to troubleshoot them.
Unresponsive Buttons
If pressing the buttons does not yield any response, it could be due to a power supply issue or a malfunctioning button. Check if the elevator has power and other electrical systems are functioning properly. If the problem persists, a technician should be contacted to inspect and replace the faulty button.
Sticky Buttons
Buttons that stick when pressed can be caused by dirt, debris, or spilt liquids. Clean the buttons using a mild cleaning solution or a damp cloth. If the problem persists, the button mechanism may need lubrication or replacement.
Inconsistent Sensitivity
If some buttons require excessive force to activate while others are overly sensitive, it could indicate a calibration issue. Contact an elevator technician to recalibrate the button sensitivity settings.
Malfunctioning Lights
If the buttons are not illuminated, it may be due to a burned-out bulb or a faulty LED. Replace the bulb or LED to restore proper illumination.
Button Panel Damage
Physical damage to the button panel may occur due to excessive force or vandalism. In such cases, a professional technician should replace the damaged components.
Contact Langir – A Leading Manufacturer of Anti-Vandal Switches
Frequently Asked Questions (FAQs)
Q. What are the names given to the elevator buttons?
The names given to elevator buttons usually indicate their respective functions. Common names include “Ground Floor” or “1” for the lowest floor, “Up” or “↑” to go up, “Down” or “↓” to go down, and floor numbers to select specific levels. Additionally, you may find buttons like “Open Door,” “Close Door,” or symbols such as arrows and alarm buttons.
Q. Which elevator buttons to use to keep it open?
To keep an elevator door open, press “Open Door” or simply an image that says the same. Pressing it will prevent the doors from closing, allowing more time for people to enter or exit the elevator. Remember that the door will eventually close automatically unless the button is held down continuously.
Q. Which buttons to press to stop an elevator during an emergency?
You typically need to use the “Emergency Stop” button to stop an elevator. This button is usually marked with a red color and may be located in a prominent position on the elevator control panel. Pressing the emergency button immediately halts the elevator’s movement. It is important to use the emergency stop button only in genuine emergencies to ensure the safety of all passengers. In some cases, alarm sign buttons are also meant for emergencies.
Q. Where are elevator buttons usually located?
Typically, the buttons are placed on a panel beside the elevator doors inside the cabin. The buttons are usually arranged vertically, starting from the lower floor numbers at the bottom and progressing upwards. The position and arrangement of buttons may differ in elevators with multiple cabins or special configurations.
Q. What is the working principle of elevator buttons?
When a button is pressed, it sends a signal to the control unit, indicating the desired floor or function. The control unit then processes the signal and initiates the appropriate actions, such as starting the elevator motor, opening or closing doors, or stopping at the requested floor. Elevator buttons serve as user interfaces to interact with the elevator’s control system.
Conclusion
Push buttons are an integral part of elevators, without which the latter is rendered useless.
Therefore, getting them from a reputable and experienced manufacturer like Langir is crucial. We have provided robust elevator buttons and piezo switches to the industry for several years. Our quality is second to none, as we follow international safety and manufacturing standards, such as ISO9001:2015.
Contact us today and book your order to keep your elevators running smoothly!