 EN
EN
Ever been stuck wondering why your push button switch isn’t working right? This blog post breaks down how to check push button switch using multimeter in a clear, simple way. It covers common issues with switches and practical steps to test them. Readers will learn how to quickly spot problems and fix them. This guide aims to make testing easy and stress-free for anyone handling switch maintenance.
Common Issues With Push Button Switches
Electricians and DIYers often spot signs of malfunctioning push button switches. This section gathers key data on common switch hiccups, such as wiring mix-ups or low voltage issues, and shows how to test a switch with a multimeter. It also highlights troubleshooting on a light switch within any electrical network. For more assistance, contact Langir.
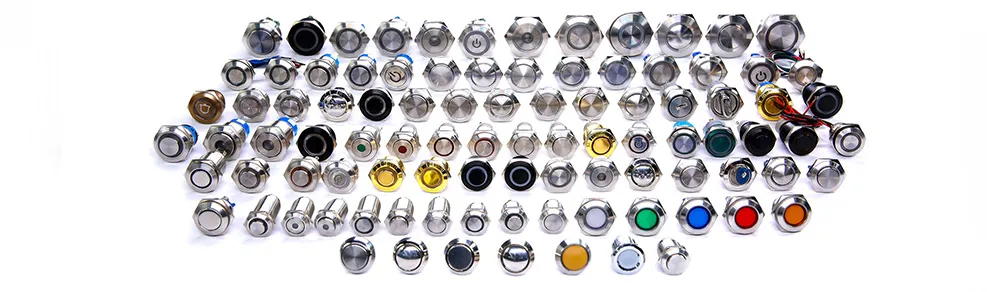
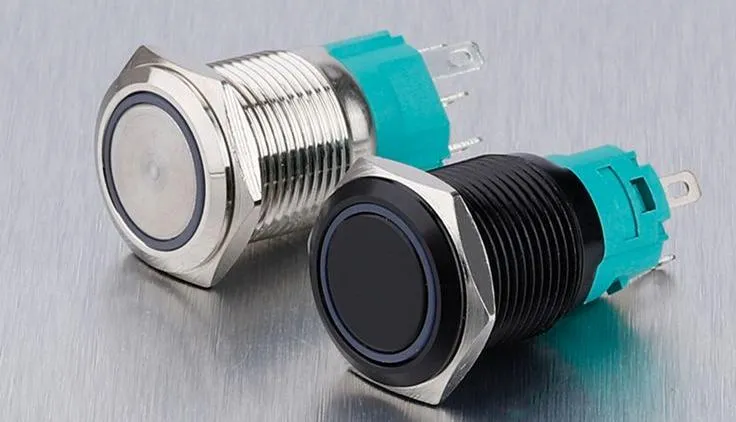
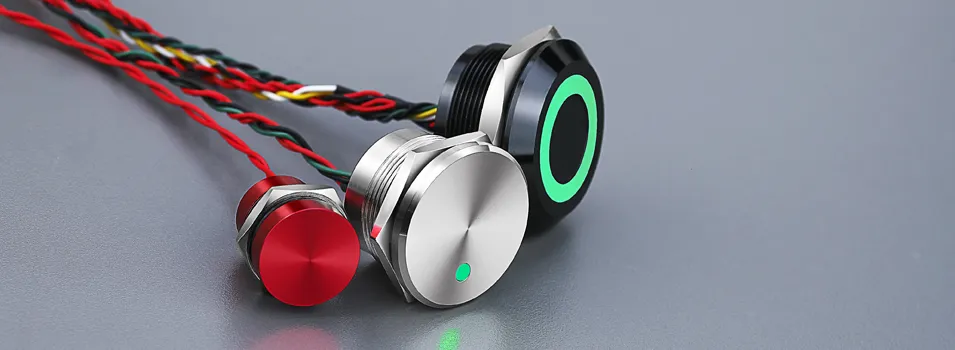
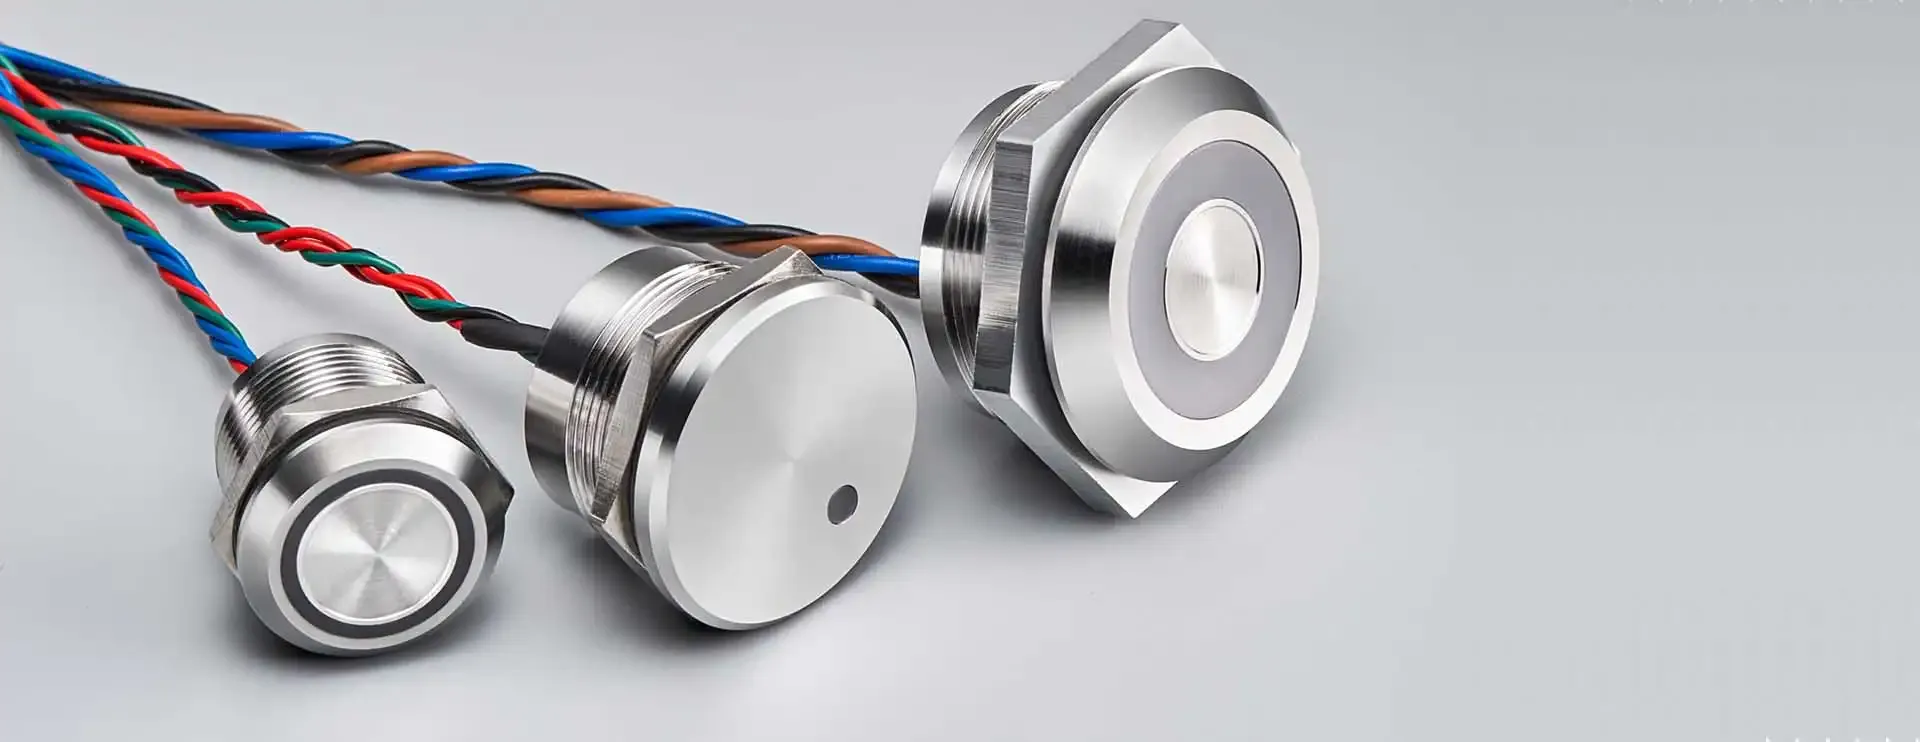
Contact Langir for Custom Push Button Switches
Signs of Malfunctioning Push Button Switches
When push button switches act up, it usually means the wire is loose, the ohm reading is off, or the circuit breaker might be tripping—classic troubleshooting signs that point to a potential fault; a quick test light check can zero in on the exact issue:
Gather Information on Common Switch Problems
In gathering key facts on common switch problems, experts suggest checking the volt readout, fuse condition, and electric current integrity to pinpoint where issues lie when testing switches within an electrical network. This hands-on approach helps expose weaknesses such as loose wire connections that could later trigger an unexpected fuse trip:
Investigate Wiring Issues Related to the Switch
Langir experts note that wiring issues often reveal themselves when there’s a noticeable voltage drop along the power supply, hinting that the ground or a screw might be misaligned. They suggest a quick check around the switch and light circuit to spot loose connections that can hinder proper operation.
How to Use a Multimeter Effectively
This guide breaks down the key steps to test push button switches safely. It covers finding the right settings on your multimeter, placing the probes correctly, and doing a clear-cut continuity test. The tool tips here prevent any hazard, provide crucial data, and boost safety—straight from a trusted source you might even check on google chrome.
Contact Langir for Custom Push Button Switches
Select the Right Multimeter Settings for Testing Switches
When setting up the multimeter, it’s all about simplicity and precision—choose the resistance mode and set it to the correct Ohm range before testing the electronics in your push button switch. The testing process feels more secure when personal protective equipment is nearby, especially when your light fixture setup plays a role; a quick search on the internet can provide helpful bits from seasoned engineering folks who forecast no complications if you follow the basic guide.
Familiarize Yourself With Multimeter Probe Placement
Multimeter probe placement is all about precision and ease — a quick pair of hands with a screwdriver and a clear view of the sensor connections during maintenance helps ensure that the heat of operations doesn’t overwhelm any component, and expert advice hints that a firm but gentle touch leads to accurate readings every time.
Learn About Continuity Testing With a Multimeter
When testing a push button switch, continuity testing with a multimeter is all about clear and confident steps. Experts say that placing the probes with care confirms whether the connection flows or if there’s a break in the circuit, giving a quick answer to any lingering doubts. This hands-on approach helps nail down issues quickly, so any missteps can be addressed without the hassle of spending extra time on guesswork.
Steps to Test Push Button Switches With a Multimeter
Turn off the power before testing, then connect the probes to the terminals. A quick continuity check shows if the connection is solid, while reading measurements helps confirm the switch works as it should. This guide offers clear steps that cover both safety and functionality, making troubleshooting simple and effective.
Contact Langir for Custom Push Button Switches
Disconnect the Power Supply Before Testing Switches
Before starting, the power must be turned off to avoid any nasty shocks or mix-ups. This step protects the user and confirms that the push button switch is ready for accurate testing with a multimeter:
- Cut the main circuit breaker.
- Use the multimeter to check for zero voltage.
- Ensure all extra power sources are off.
Connect Probes to Terminals and Measure Continuity
The technician connects the probes firmly to the terminal points and gently presses the test button on the multimeter to check for a clear circuit flow. This quick method confirms if the push button switch has a solid connection or if there’s a break that needs attention:
Analyze the Readings for Proper Functionality
When analyzing the readings, the technician checks for steady values that indicate the switch is working correctly; any sudden dips or inconsistent numbers signal trouble, such as a faulty connection or worn-out contacts. This method gives a clear picture of the switch’s health so Langir experts can quickly decide whether a simple fix or a full replacement is necessary. The process is straightforward yet precise, ensuring every reading leads to a better understanding of the overall performance of the push button switch.
Troubleshoot Voltage and Current Issues in Switches
Langir experts break it down: measure voltage across switch terminals and check current flow with your multimeter. This section offers hands-on tips to spot wiring issues and ensure your readings are on point. Clear methods take the guesswork out of diagnosing power inconsistencies, keeping your system running smooth and safe.
Contact Langir for Custom Push Button Switches
Measure Voltage Across the Switch Terminals
Techies can check the voltage across the switch terminals to spot any irregularities that might cause trouble later. This quick test gives hands-on insights into current flow and helps pinpoint any misalignment in the connections, ensuring safe and efficient operation. Langir experts stress the value of clear readings that lead to smart fixes without wasting time on guesswork.
Check Current Flow Using the Multimeter Correctly
The technician sets the multimeter to the current mode and places the probes with care to ensure accurate readings. This method offers hands-on insight into wiring issues and helps pinpoint any irregular readings that could point to faulty connections:
Analyze Multimeter Readings for Accurate Diagnosis
Langir experts check ohm readings to see if switches are performing up to par, comparing each value with manufacturer specs. This brief look offers a clear route to pinpointing wiring issues and faulty connections, setting the stage for detailed steps in reading, verifying, and troubleshooting performance.
Interpret Ohm Readings for Switch Performance
Langir experts note that crisp ohm readings reveal a lot about a switch’s performance, helping technicians pinpoint issues quickly. A stable ohm value means the wiring and contacts are solid, while erratic numbers flag potential wear or loose connections. This simple check saves time and headaches during troubleshooting.
Compare Findings With Manufacturer Specifications
Technicians check multimeter readings against the manufacturer’s specs to ensure the switch performs as expected. They compare key values like resistance and voltage to spot any mismatches that might signal wear or loose connections:
Repair Options for Malfunctioning Switches
Langir experts outline simple fixes: clean sticky push button switches, swap out worn parts, or call a pro when things get tricky. This guide smoothly covers cleaning techniques, replacement tips, and when a technical hand is needed, offering clear insights for safe, reliable repairs.

Contact Langir for Custom Push Button Switches
Cleaning Techniques for Push Button Switches
The technicians suggest a quick wipe-down with a soft cloth dipped in rubbing alcohol to remove sticky debris from push button switches, ensuring a clean surface before any multimeter testing. They note that regular cleaning not only boosts switch performance but also helps spot any stubborn dirt that could interfere with proper voltage readings.
Replacement Options for Defective Switches
The technician finds that swapping out defective switch components can be handled quickly by ordering certified parts from trusted sources. When a replacement is needed, reliable options include:
- Original parts meeting manufacturer specs
- Compatible push button switches for quick fixes
- Custom components for unique projects
This method ensures steady performance and minimizes downtime for smooth operations.
When to Consult a Professional Technician
Technical issues with push button switches can sometimes be a DIY job, but when the readings are off or the repairs seem too tricky, it’s wise to call an expert. Experts suggest consulting a technician if multimeter results show surprising discrepancies, if loose wiring persists, or if recurring failures occur – here’s a brief overview of warning signs and actions:
How to Check Push Button Switch Using Multimeter | FAQs
How do I recognize common push button switch issues?
Common push button switch issues show up as springs that don’t rebound, sticky contacts, or erratic behavior. Inspect your contacts for buildup or damage and test response times to catch any problems early.
What multimeter setting tests push button switches best?
Set your multimeter to continuity. That mode tests push button switches best. When pressed, you’ll hear a beep, indicating a complete circuit and proper switch function.
How do I measure voltage with a multimeter?
Turn on the multimeter and switch to the voltage setting. Connect the red probe to the positive terminal and the black probe to the negative terminal. Read the value on the screen to measure voltage accurately.
How can current problems be identified in switches?
A push button switch manufacturing expert suggests routine testing and visual checks for connection drops, wear, or faulty contacts. Regular inspections help spot issues early, keeping switches reliable and efficient.
What are key steps for accurate switch diagnosis?
Begin by checking the switch’s wiring and mechanical response. Next, test cycle functions and stress conditions. Finally, record data to catch faults early. This step-by-step diagnosis keeps each push button switch running reliably.
