 EN
EN
This article digs into the compatibility of illuminated push button switches with flashlights. For those interested in illuminated push button switch wholesale options, the discussion offers insights into how these switches function within various lighting systems. It breaks down how these switches function, the basics of flashlight circuits, and what makes these buttons stand apart from standard ones. It then walks through the benefits of tweaking your flashlight with a lighted switch and highlights challenges—like battery life and space issues—that you may face. Finally, it covers the tools and steps needed to safely rewire your flashlight and offers tips on ensuring long-term safety and reliability. For further guidance, you can always contact Langir if you encounter any difficulties.
Illuminated Push Button Switch and Flashlight Compatibility
Contact Langir for Custom Illuminated Push Button Switches
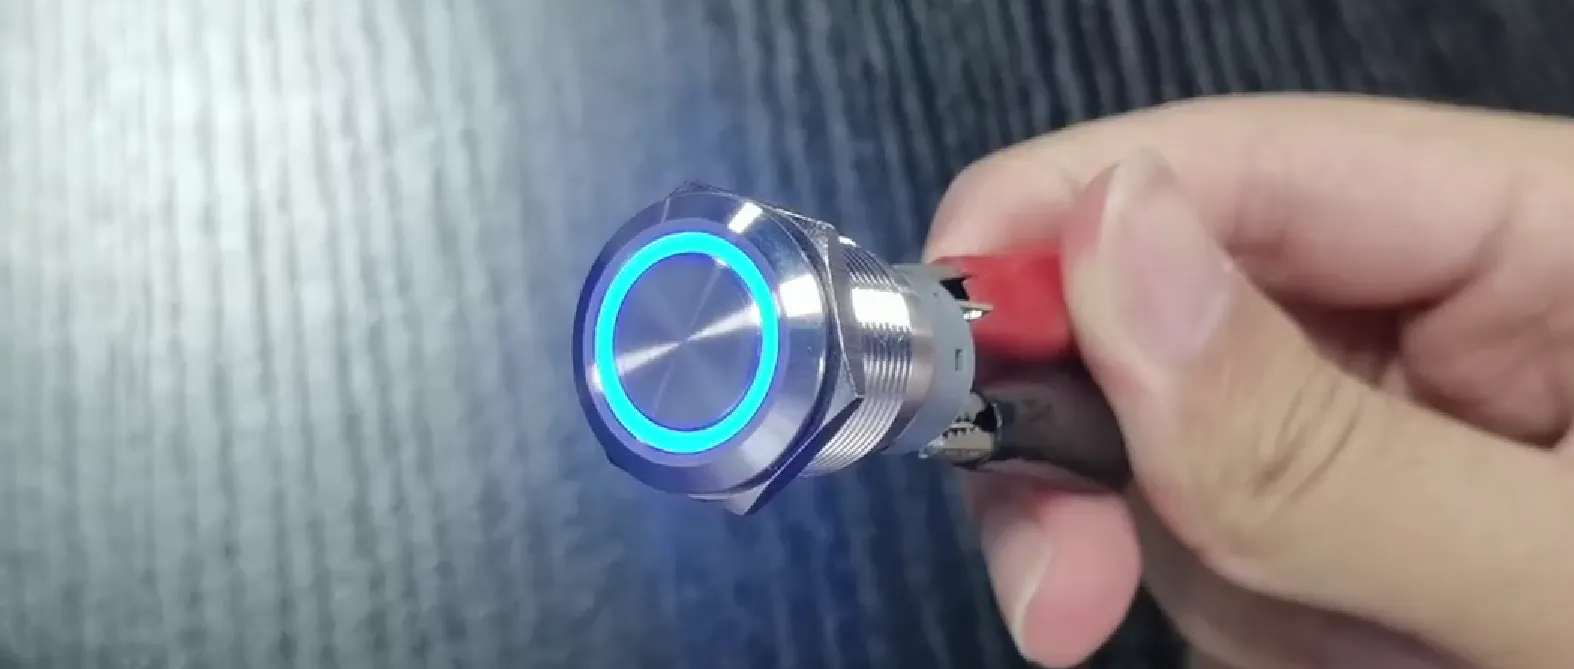
Illuminated Push Button Switch Functionality
An illuminated push button switch is designed to light up when activated, making it easier to operate in the dark. Its internal LED illuminates to signal the switch’s status, providing both a functional and aesthetic upgrade for a flashlight. This extra light helps users quickly locate the flashlight in low-visibility conditions.
Basic Electrical Principles of a Standard Flashlight Circuit
In a typical flashlight, the circuit connects a rechargeable battery or another power source through the LED emitter. Resistance and current flow are carefully regulated for optimal brightness. Understanding these principles is key when integrating an illuminated switch, since the additional LED needs proper wiring without drawing too much current.
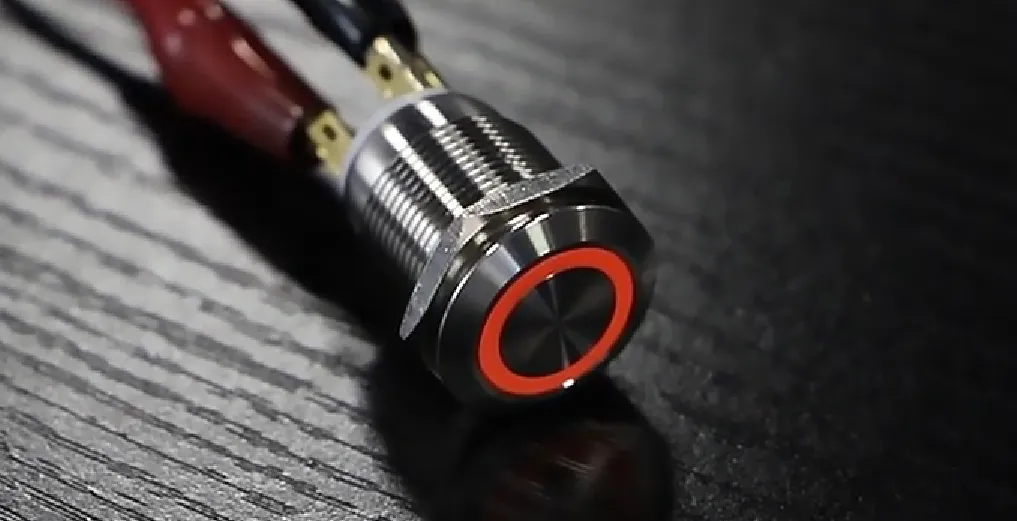
How an Illuminated Switch Differs From a Standard Flashlight Button
Unlike standard non-illuminated buttons, the illuminated version has a built-in light that shows whether the circuit is powered. This visual cue can indicate proper functionality or alert the user to a low-battery condition. The added LED makes the operation intuitive during darkness.
Assessing Power Requirements for an Illuminated Push Button Switch
The switch must match the flashlight’s power supply. It requires an appropriate voltage and current rating to ensure both the flashlight and the switch LED function safely. Calculations must include the extra power draw from the illumination, ensuring that the battery isn’t overly burdened.
Initial Feasibility of Integrating an Illuminated Switch Into a Flashlight
Before modifying a flashlight, it’s important to check if there is enough physical space and if the design supports additional wiring without compromising waterproofing. Initial tests using a breadboard can determine if the integration is feasible without interfering with existing components.
Advantages of Modifying Your Flashlight With an Illuminated Push Button Switch

Contact Langir for Custom Illuminated Push Button Switches
Enhanced Visibility for Locating Your Flashlight in Low Light
The illuminated button makes it easier to find the flashlight even in pitch-dark conditions. Studies show that a glowing indicator can reduce search time significantly during emergencies, improving overall efficiency in low-light scenarios.
Modern Aesthetic and Improved User Interface for the Flashlight
A lighted switch adds a modern look while providing practical feedback. Users can tell at a glance if the flashlight is on or off, enhancing the overall interaction and convenience during quick activations in emergencies.
Potential for Switch to Indicate Flashlight Power Status (On/Off)
The light not only shows activation but can also signal battery levels or malfunction warnings. An illuminated push button switch may be designed to change brightness or color based on the circuit’s status, adding an extra layer of information at a glance.
Increased Ease of Use With a Clearly Identifiable Illuminated Button
A bright, well-placed LED embedded in the button reduces the risk of pressing the wrong control in stressful conditions. This reliability is especially important for industrial or search-and-rescue contexts, where every second counts.
Potential Challenges and Considerations for Flashlight Modification
Contact Langir for Custom Illuminated Push Button Switches
Impact of an Illuminated Push Button Switch on Flashlight Battery Life
Wiring an additional LED can consume extra power, which might shorten battery life if not calculated precisely. Choosing energy-efficient LEDs and adjusting the resistor settings can help balance the power burden.
Physical Space Constraints Within the Flashlight Housing
Flashlight interiors are compact. Integrating an extra switch may require creative adjustments or even modifying internal structures. Ensure that every added component fits without obstructing airflow or affecting waterproof seals.
Ensuring Electrical Compatibility Between the Switch and Flashlight Components
The new switch must work harmoniously with existing circuit elements. Misalignment in voltage or wiring technique can lead to short circuits or reduced performance. Reviewing manufacturer specifications for both components is essential.
Maintaining Weather Resistance of the Flashlight Post-Modification
Modifying the circuit should not compromise the flashlight’s ability to withstand water, dust, or shock. Sealing the modified sections and using appropriate gaskets or adhesive compounds can preserve the device’s rugged nature.
Complexity of Wiring an Illuminated Push Button Switch Correctly
While the wiring process can be straightforward, errors may introduce faults. Following a precise wiring diagram is critical, and employing soldering techniques with proper insulation will ensure a robust modification.
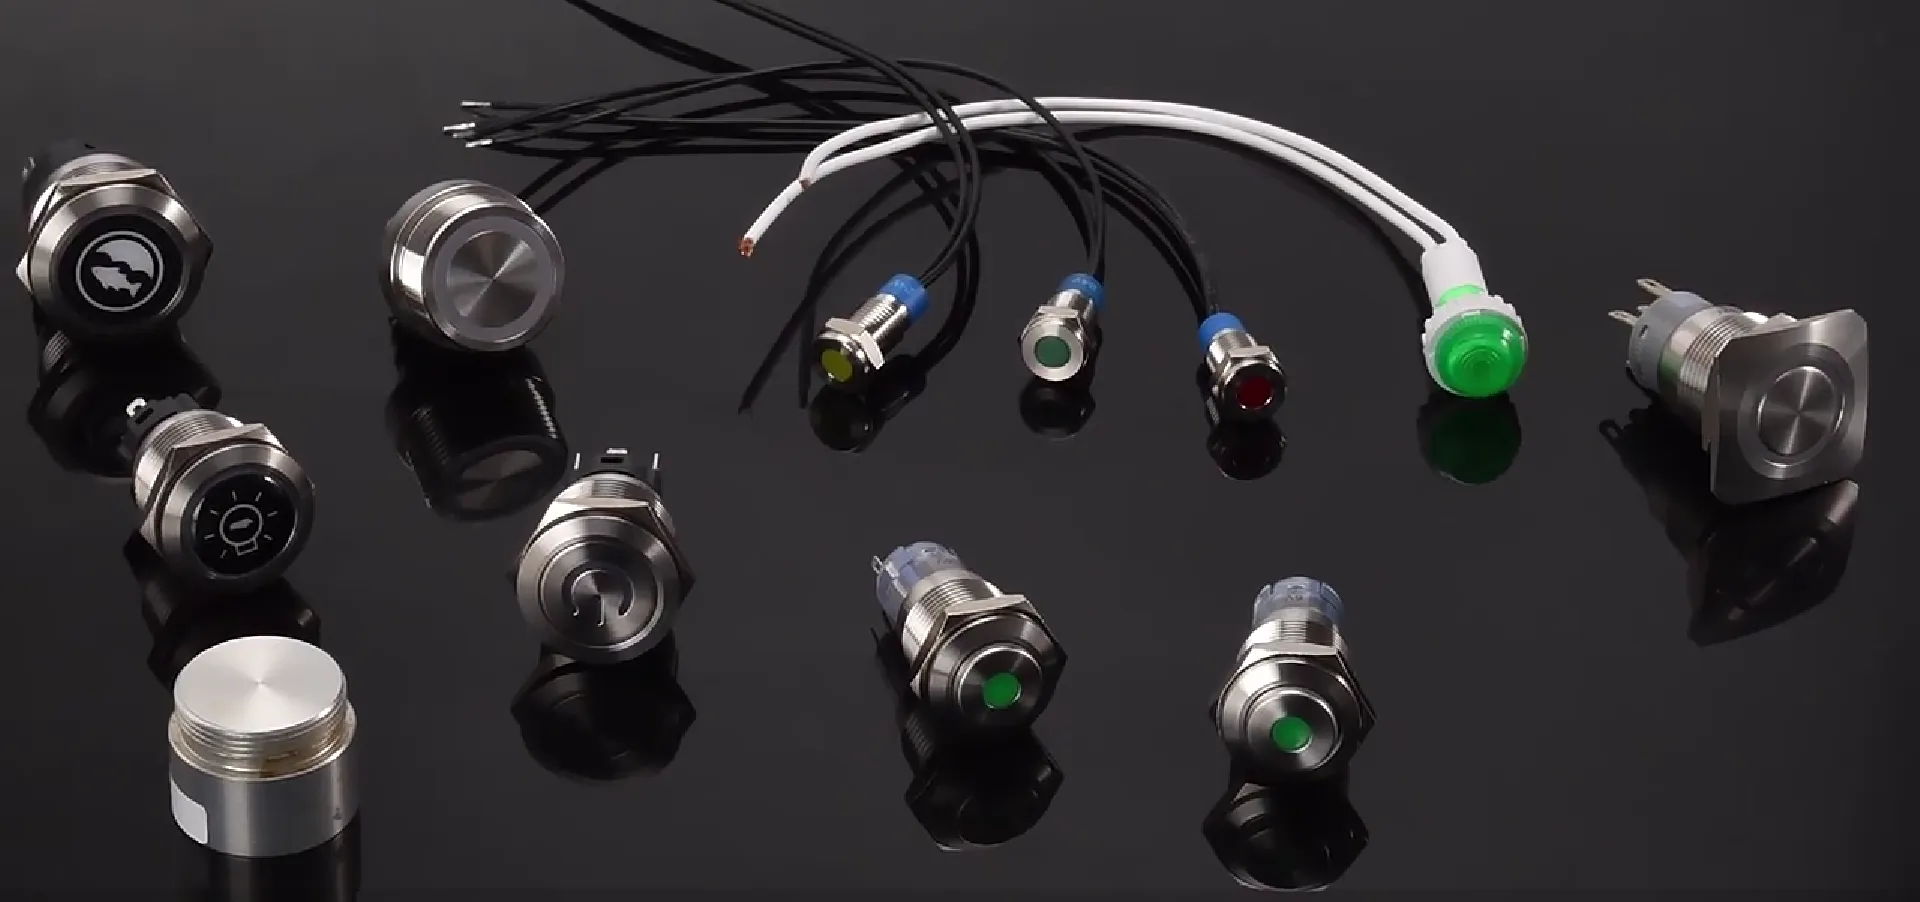
Selecting the Appropriate Illuminated Push Button Switch for Your Flashlight
Contact Langir for Custom Illuminated Push Button Switches
Matching Switch Voltage and Current Ratings to Your Flashlight’s Power Source
Choosing the right switch means checking the voltage and current ratings. Ensure that the switch’s specifications align with your flashlight’s battery output, so the extra LED does not overwhelm the circuit.
Choosing Between Momentary and Latching Illuminated Push Button Types
Momentary switches require continuous pressure and revert when released, whereas latching switches maintain state until another press. The choice depends on usage—momentary for temporary signaling or latching for a persistent indicator.
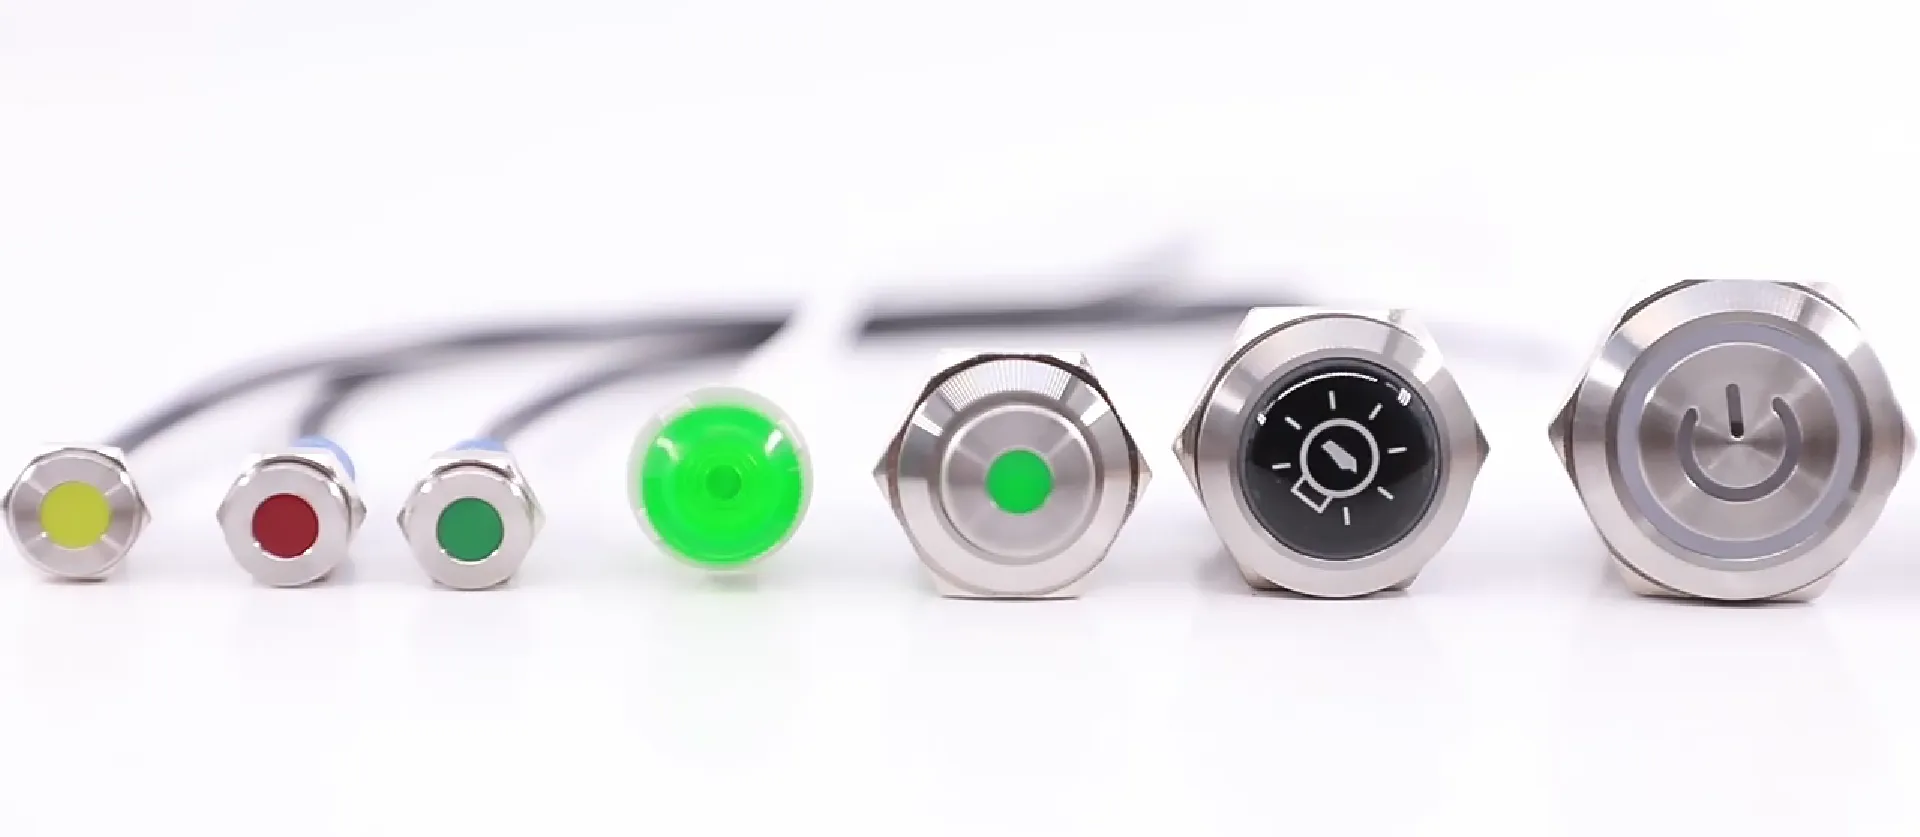
Considering the Size and Mounting Style of the Illuminated Switch
The switch should be compact enough to fit within the flashlight housing. Its mounting style must allow secure attachment without interfering with other controls. Evaluate dimensions and design compatibility before purchase.
Selecting LED Color and Brightness for the Illuminated Push Button
Different LEDs provide varying levels of brightness and hue. Choosing an LED that offers clear visibility in different lighting conditions while conserving power is essential. Select a color that contrasts well with the flashlight body for maximum visibility.
Identifying an Illuminated Push Button Switch With Suitable Durability for a Flashlight
Industrial-grade switches are built to withstand shocks, vibrations, and temperature fluctuations. Look for switches with high durability ratings, ensuring they will survive the rigors of field use and extended everyday carry.
Wiring an Illuminated Push Button Switch Into a Flashlight Circuit

Contact Langir for Custom Illuminated Push Button Switches
Gathering Necessary Tools and Materials for the Flashlight Modification
Before starting, collect tools like soldering irons, wire cutters, multimeters, and additional wiring. Also, have replacement LEDs, resistors, and proper connectors readily available.
Safely Disassembling the Flashlight Casing and Accessing Wiring
Disassembly should be careful to prevent damage. Remove screws gently and note the wiring layout. Documenting steps can help during reassembly, ensuring that no components are misplaced.
Identifying Positive and Negative Terminals in the Flashlight and on the Switch
Locate and mark all battery connections. Clear identification helps avoid wiring mistakes. Using a multimeter can confirm terminal polarity before soldering or connecting the push button switch.
Soldering or Connecting the Illuminated Push Button Switch to the Flashlight Circuit
Join the switch wires to the designated circuit points. Ensure that the solder joints are robust and insulated, preventing any short circuits. Take time to confirm each connection.
Testing the Functionality of the Newly Wired Illuminated Switch and Flashlight
After reassembly, test the switch under various conditions. Verify that the LED lights correctly and that the flashlight turns on and off as intended. This step ensures that the modification meets both performance and safety requirements.
Safety Measures and Operational Checks for Your Modified Flashlight
Contact Langir for Custom Illuminated Push Button Switches
Preventing Short Circuits When Wiring the Illuminated Push Button Switch
Use heat shrink tubing or electrical tape to cover exposed connections. Double-check all solder joints and wiring paths, ensuring no loose wires can cause a short.
Verifying Secure Connections for the Illuminated Switch and Flashlight Components
Inspect and test each connection repeatedly. A loose wire or a poorly soldered joint can affect performance. Confirm that all components are firmly attached and undisturbed.
Testing the Flashlight in Various Conditions After Adding the Illuminated Button
Operate the flashlight in different scenarios: low-light outdoors, indoors, and potentially wet conditions. This real-world testing is crucial especially in safety-critical environments like search and rescue.
Long-Term Reliability Concerns for a Flashlight With an Added Illuminated Switch
Continual use may degrade connections over time. Regular maintenance and periodic checks can mitigate issues, with pre-emptive replacement of wires or connectors if any signs of wear are apparent.
Troubleshooting Common Issues With an Illuminated Push Button Switch in a Flashlight
Common issues include a non-illuminating LED, intermittent connections, or reduced battery performance. Troubleshooting should follow logical steps: verify voltage at key points, inspect physically for corrosion or loose joints, and re-solder connections as needed.
Final Thoughts
This exploration shows that integrating an illuminated push button switch into a flashlight is both feasible and beneficial. With careful planning, precise wiring, and attention to electrical compatibility, users can enhance both the functionality and usability of their devices. The improved visual cues lead to better performance during emergencies. For industrial and search-and-rescue applications, these modifications provide an edge in usability and reliability.
Connecting an Illuminated Push Button Switch to Flashlight | FAQs
Can an illuminated push button switch affect the battery life of my flashlight?
Yes, the extra LED draw can reduce battery lifespan, but using energy-efficient switches and proper resistors minimizes this effect.
Is wiring an illuminated switch into a flashlight complex?
It can be challenging if you don’t follow a detailed wiring diagram. The process involves careful disassembly, identifying wires, soldering, and testing.
Will the modification compromise the waterproofing of my flashlight?
If done correctly with proper sealing and use of waterproof adhesives, the modification should not compromise the unit’s weather resistance.
What tools do I need for this modification?
Essential tools include a soldering iron, multimeter, wire cutters, and heat shrink tubing. These help ensure precise connections and safety.
Where can I source durable illuminated push button switches?
Trusted manufacturers like Langir offer industrial-grade, customizable illuminated switches that meet high durability standards required for rugged use.
