 EN
EN
Is a non-responsive control panel switch bringing your production line to a halt? Fixing a push button control panel restores uptime by pinpointing electrical faults, mechanical jams, corrosion and damage before they cascade into costly downtime. In this guide you’ll learn to diagnose common panel failures, test switches with a multimeter, decide when to repair versus replace, perform safe switch replacement, and establish preventive maintenance routines—all while discovering how Langir’s bulk industrial push button switches and customization services back your operations with reliable components.
We’ll cover:
- Typical panel faults and their symptoms
- Multimeter-based diagnostic procedures
- Repair vs. replacement decision factors
- Step-by-step switch replacement methods
- Preventive maintenance best practices
- Wiring diagram troubleshooting essentials
- Expert guidance on supported solutions from Langir
Contact Langir for Custom Panel Mount Switches
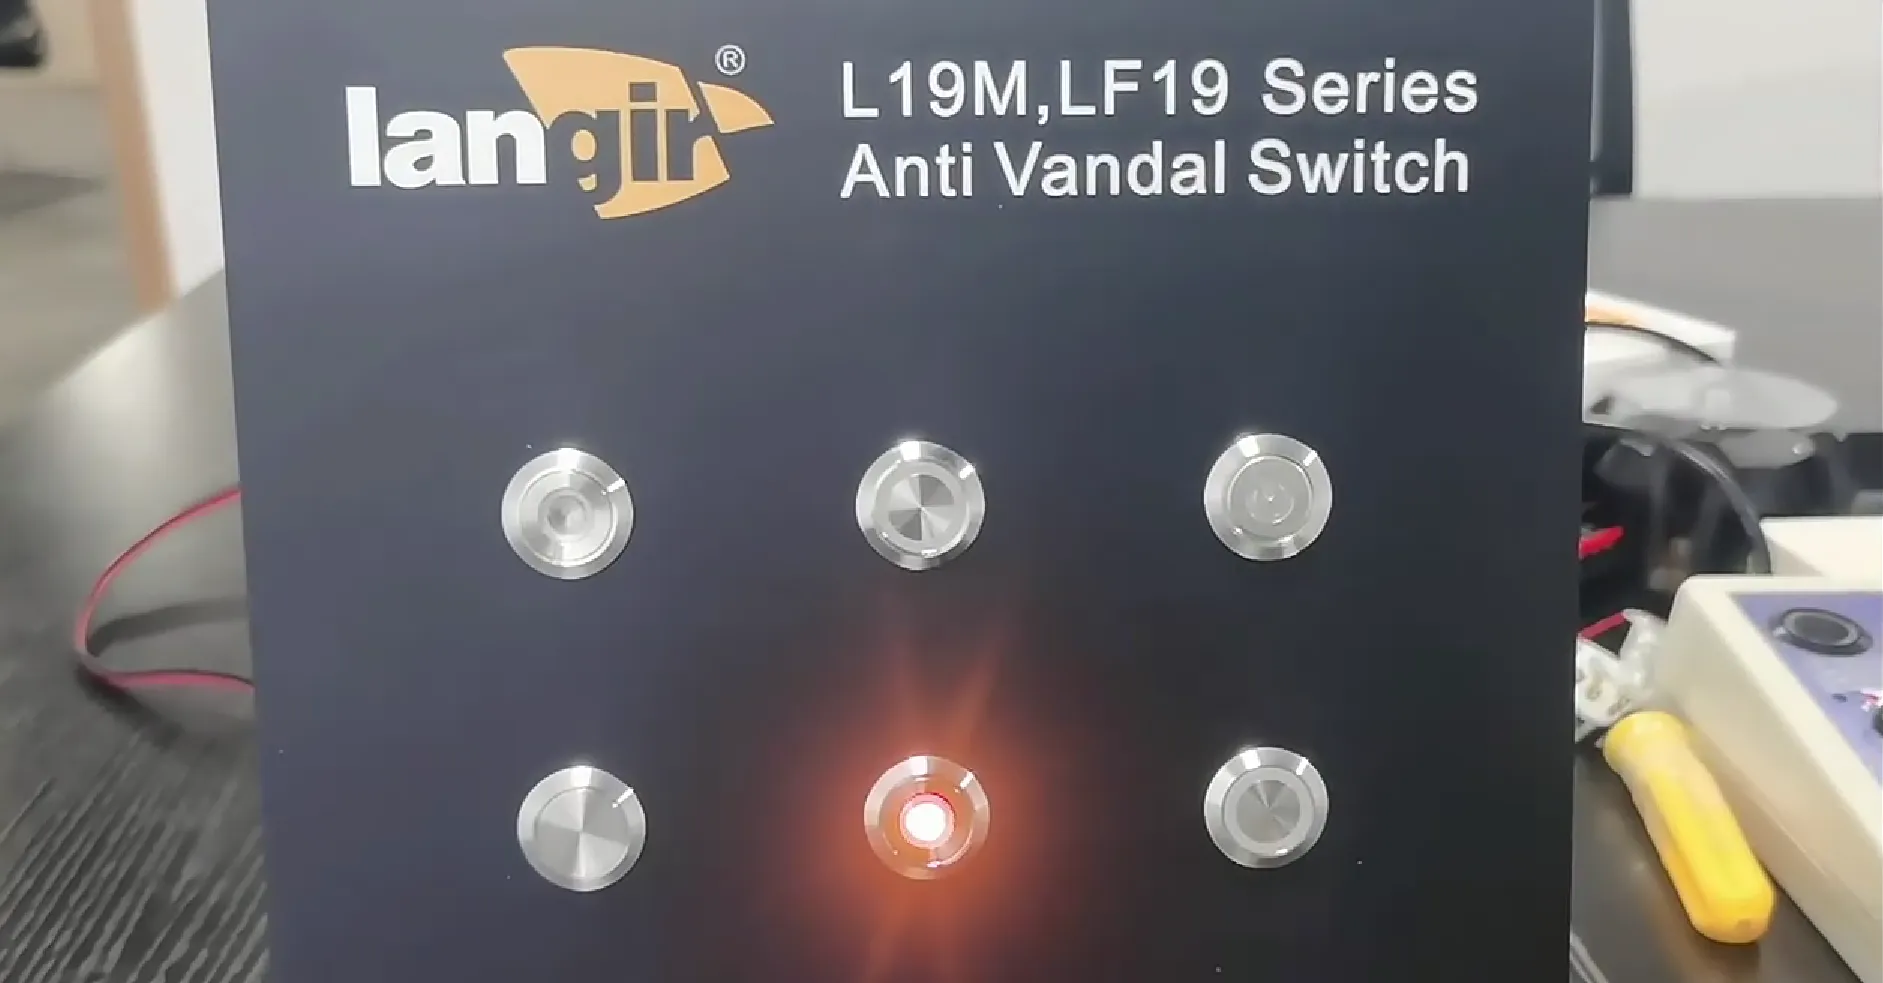
Common Problems Causing a Push Button Panel Not to Work
A malfunctioning push button panel often arises from worn contacts, mechanical obstruction, intermittent wiring faults, environmental corrosion or physical damage, each of which interrupts circuit continuity and delays machine response. Identifying these root causes quickly reduces downtime and extends switch lifespan.
Each symptom points to a specific diagnostic path, leading us to detailed multimeter testing for confirmation.
What Causes Unresponsive or Dead Push Button Switches
Unresponsive switches occur when internal contacts become pitted or oxidized, preventing the metal surfaces from completing the circuit. Cleaning or replacing the contact assembly restores reliable conductivity and machine control.
A quick internal inspection often reveals darkened contact faces or melted plastic around the actuator, signaling that circuit integrity has been compromised. Next, we’ll examine how mechanical obstructions manifest as sticky buttons.
How Do Sticky or Jammed Buttons Affect Panel Functionality
Sticky or jammed buttons prevent the plunger from moving freely, so the switch can’t engage or disengage on command. Lubricating moving parts and removing debris clears the actuator path, ensuring smooth operation and consistent signal transmission.
When dust or particulate settles around the bezel or spring, it acts like sandpaper inside the actuator, further degrading switch responsiveness and leading us into intermittent failure symptoms.
What Are the Signs of Intermittent Push Button Switch Failures
Intermittent failures show up as erratic machine behavior—sometimes the panel responds, sometimes not—due to loose wiring, micro-arcing at pitted contacts, or poor solder joints. Tightening connections and reflowing solder joints secures consistent contact closure and eliminates unpredictable signal dropouts.
Erratic output lamps or flickering indicator lights often accompany intermittent switch faults, guiding us toward environmental factors like corrosion.
How Does Corrosion Impact Push Button Switch Performance
Corrosion forms when moisture or chemicals attack silver-alloy contacts, increasing resistance and heating under load. Cleaning contacts with a specialized solution and applying dielectric grease prevents re-oxidation and sustains low-resistance connections.
Environmental seals and IP-rated housings also shield switch internals from contaminants, setting the stage for physical damage assessment.
What Physical Damages Commonly Affect Push Button Panels
Impact cracks, broken springs or frayed wiring harnesses interrupt mechanical return actions and circuit integrity. Inspect housings for hairline fractures and test spring tension; replacing springs or rewiring damaged leads restores both mechanical resilience and electrical continuity.
Addressing physical faults completes our overview of common panel problems and leads directly into precise multimeter-based diagnostics.
How Do You Diagnose Push Button Switch Problems Using a Multimeter
Contact Langir for Custom Panel Mount Switches
Multimeter Testing for Electrical Faults
Multimeters are essential tools for diagnosing electrical faults in push button panels, allowing technicians to verify circuit continuity, measure voltage, and assess resistance. These tests help pinpoint issues like worn contacts or wiring problems, ensuring safe and effective troubleshooting.
This logical sequence prevents hazards and ensures accurate fault isolation.
What Safety Precautions Should You Take Before Testing
Always de-energize the control panel, lock out power sources, and wear insulated gloves and eye protection before accessing switch terminals. Confirm absence of voltage with a non-contact tester to safeguard against accidental shocks and protect both technician and equipment.
Ensuring a safe work environment clears the way for precise continuity testing.
How to Perform a Continuity Test on a Push Button Switch
Set your multimeter to continuity mode, connect probes to the switch’s terminals, and observe the reading: an open circuit (no beep) when idle and a closed circuit (beep) when pressed. A failing continuity response indicates pitted contacts or broken internal links requiring contact replacement or switch swap.
After confirming switch continuity, measuring actual circuit voltage and resistance refines the diagnosis.
How to Measure Voltage and Resistance in Push Button Circuits
With the panel powered and probes placed across the switch load side, measure voltage drop under actuation; high resistance readings above spec point to contact degradation. Remove power to test resistance across terminals in ohms mode; values outside manufacturer tolerances reveal compromised contacts or wiring.
Accurate readings feed into fault-type interpretation for targeted repairs.
How to Interpret Multimeter Readings for Fault Detection
Continuous beep on actuation confirms circuit integrity; inconsistent beeps or high resistance reveal contact wear or intermittent wiring. Document readings against reference values—typically under 0.1 Ω for closed contacts—and replace or clean components if thresholds are exceeded.
Interpreting these results lets us decide whether a repair can restore service or if full replacement is warranted.
Repair vs. Replace a Push Button Switch or Panel
Deciding between repair and replacement balances cost, downtime and long-term reliability by assessing damage severity, parts availability and production impacts.
Evaluating these allows equipment managers to optimize maintenance budgets while sustaining uptime.
What Factors Determine If Repair Is Feasible
Minor contact pitting, adhesive residue or loose wiring can often be resolved through cleaning, lubrication and terminal tightening, keeping costs low and restoring switch functionality without waiting for parts delivery.
When more extensive damage appears, full replacement becomes the more reliable approach.
How to Identify Irreparable Damage in Push Button Switches
Cracked housings, mangled springs or severely corroded contacts that cleaning can’t restore signal integrity are signs of irreparable switches. At that point, replacement ensures consistent performance and prevents recurring failures.
Quantifying these limitations clarifies the true cost of downtime vs. ordering new components.
What Are the Cost and Downtime Implications of Replacement
Replacing individual switches typically takes 10–20 minutes per unit and bypasses recurring faults, whereas panel-level swaps require complete rewiring and calibration. Choosing bulk orders from a trusted supplier like Langir minimizes lead times and secures volume discounts.
With replacement scope clear, let’s explore how Langir supports swift solutions.
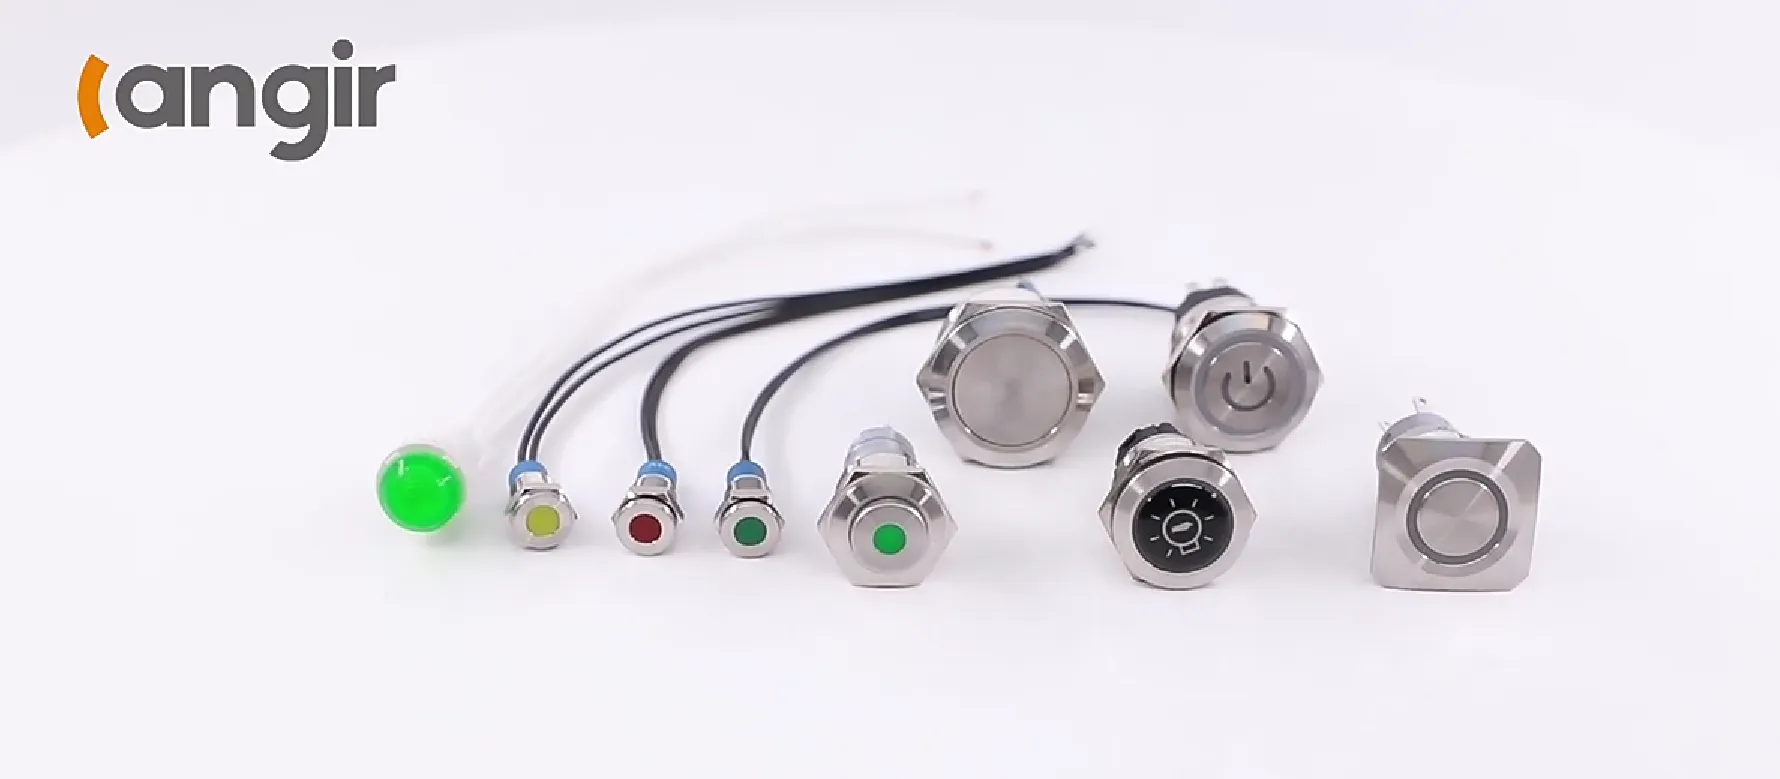
How Does Langir Support Replacement with Industrial Switch Solutions
Langir supplies IP-rated momentary, latching and illuminated push button switches with silver-alloy contacts and TÜV certifications, backed by bulk-order pricing and custom engraving services. Browse Langir’s industrial push button switches to secure the exact replacement and reduce procurement delays.
Equipped with new components, follow the detailed replacement procedures below.
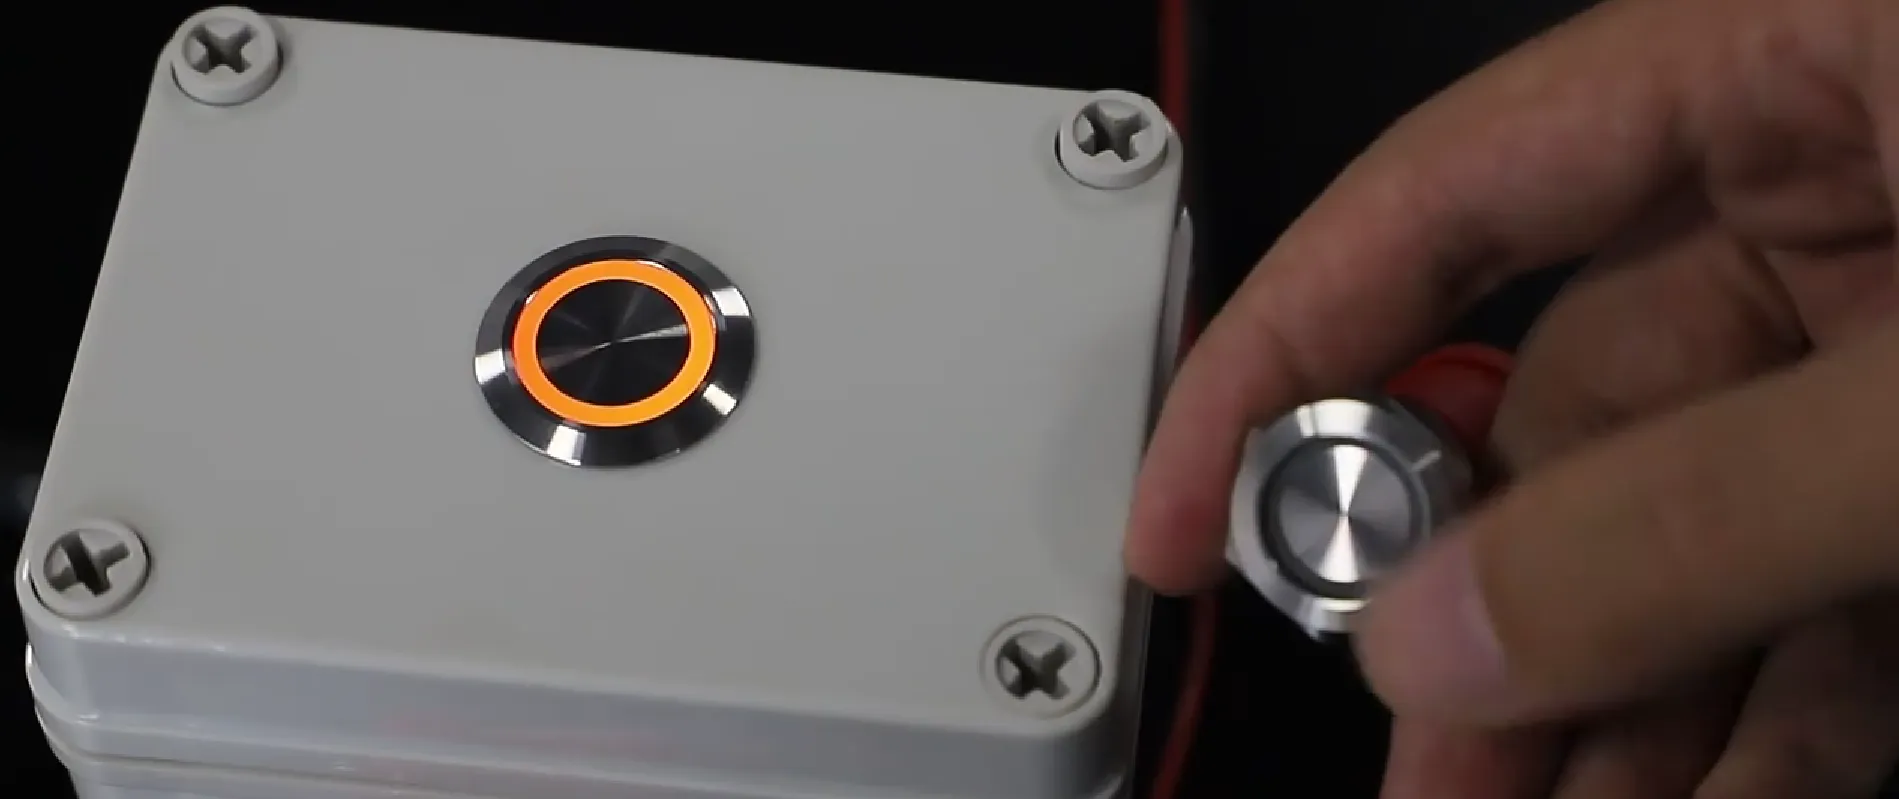
Step-by-Step Procedures for Replacing Industrial Push Button Switches
Replacing a faulty switch involves choosing the correct new unit, gathering tools, desoldering the old part, wiring the new switch, and verifying operation to ensure seamless reintegration into the control panel.
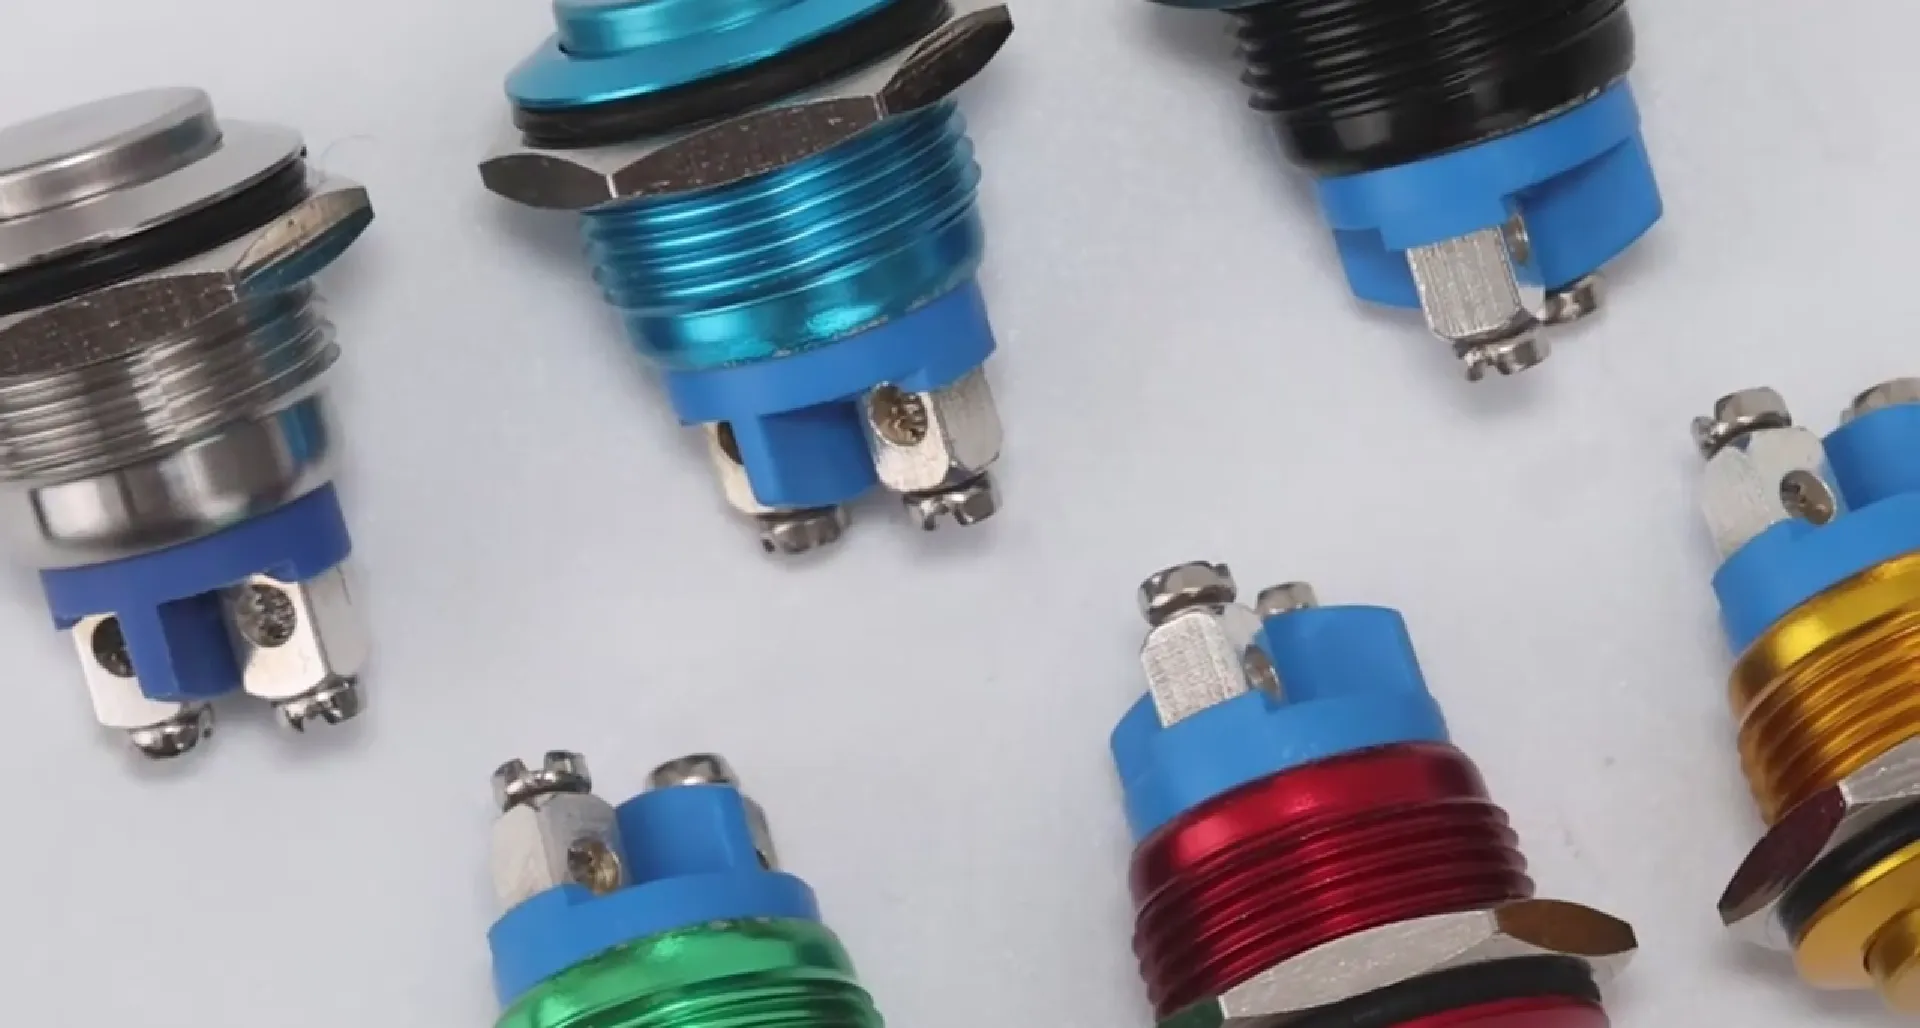
How to Select the Right Replacement Switch for Your Control Panel
Match the new switch’s mounting diameter, contact ratings, IP classification and actuator style to the panel’s requirements. Consulting Langir’s datasheets ensures proper fit and compliance with machine specifications, preventing mis-mating and premature failures.
Selection accuracy directly influences installation ease and panel reliability.
What Tools Are Required for Safe and Effective Replacement
A temperature-controlled soldering iron, desoldering braid, insulated screwdrivers, contact cleaner and a quality multimeter form the essential toolkit. Each instrument guarantees controlled removal, cleaning, and verification of new switch installation without collateral damage to the panel.
Prepared technicians can then focus on removal with minimal risk.
How to Desolder and Remove a Faulty Push Button Switch
With power off and panel unlocked, apply the soldering iron to each terminal, wick away solder using desoldering braid, then gently pull the switch body out of its mounting hole. Clean remaining flux with isopropyl alcohol before seating the new switch to ensure a solid mechanical and electrical bond.
Clean terminals pave the way for precise wiring of the replacement switch.
How to Wire and Install a New Push Button Switch Correctly
Seat the new switch in the panel cutout, then solder each terminal to its corresponding wire according to the wiring diagram, ensuring no stray strands cause shorts. Securely fasten mounting hardware to maintain IP protection and maintain consistent contact pressure inside the control cabinet.
Proper wiring supports accurate testing and long-term performance.
How to Test the New Switch After Installation
Re-energize the panel and use a multimeter to confirm continuity on actuation and proper voltage under load. Cycle the switch multiple times to verify mechanical return and electrical stability, then observe connected equipment response to ensure seamless integration and restored control panel functionality.
Verification completes the replacement process and leads into preventive maintenance strategies.
How Can Preventive Maintenance Extend the Life of Push Button Panels
Contact Langir for Custom Panel Mount Switches
Preventive Maintenance for Industrial Equipment
Regular maintenance, including cleaning, environmental protection, and inspection, is crucial for extending the lifespan of push button panels. These practices prevent common failures like debris buildup and corrosion, ensuring reliable performance in industrial settings.
- Routine Cleaning Clean external surfaces and internal contacts with contact cleaner to remove dust and oxidation.
- Environmental Protection Apply weather seals or upgrade to higher IP-rated enclosures to shield switches from moisture and particulate.
- Inspection Checkpoints Examine actuators, springs, wiring harnesses and panel seals for signs of fatigue or degradation.
- Lubrication Practices Use dielectric grease sparingly on moving parts to reduce friction and prevent corrosion without impeding electrical contact.
Implementing these steps quarterly or as dictated by your maintenance plan prevents many common failures and keeps panels operating smoothly.
How Do Wiring Diagrams Help Troubleshoot Push Button Panel Issues
Wiring diagrams map each switch’s normally-open (NO) and normally-closed (NC) contacts to control circuits, revealing mis-wiring, shorts or open circuits so technicians can pinpoint faults without guesswork.
What Are the Basic Wiring Principles for Push Button Switches
A normally-open contact remains open until actuated, while a normally-closed contact breaks a circuit when pressed. Correct wiring ensures each switch performs its intended control function, preventing unintended motor starts or stops.
Understanding these fundamentals prepares you for identifying wiring faults.
How to Identify and Fix Loose or Damaged Wiring Connections
Visually inspect terminal blocks for stray wire strands or discoloration, then tighten or re-terminate wires using proper crimp connectors. Replacing frayed leads and re-soldering cold joints restores solid conductivity and prevents intermittent failures.
Secured connections support reliable panel operation and avert heat-related damage.
What Are the Signs of Short Circuits or Open Circuits in Panels
Short circuits trigger blown fuses, tripped circuit breakers or burnt wiring insulation, while open circuits cause unresponsive buttons and dead indicator lights. Observing these symptoms on a wiring diagram helps trace faults back to specific switch terminals or harness splices.
Accurate symptom mapping speeds repair and averts repeated failures.
How to Safely Troubleshoot Electrical Wiring in Control Panels
De-energize circuits, verify zero voltage with a non-contact tester, then follow your wiring diagram step-by-step using insulated tools. Tag each disconnected wire and document your steps to maintain clarity throughout the troubleshooting process and ensure safe power-up testing.
Safe wiring practices close the loop on panel diagnostics and reinforce maintenance routines.
How to Fix a Push Button Panel | FAQs
Contact Langir for Custom Panel Mount Switches
What tools are essential for troubleshooting push button panels?
To effectively troubleshoot push button panels, essential tools include a multimeter for testing continuity and voltage, insulated screwdrivers for safe access, and a soldering iron for any necessary repairs. Additionally, having contact cleaner on hand helps maintain clean connections, while dielectric grease can be used to protect against corrosion. A non-contact voltage tester is also recommended to ensure safety before working on live circuits. These tools collectively enable technicians to diagnose and resolve issues efficiently.
How often should preventive maintenance be performed on push button panels?
Preventive maintenance for push button panels should ideally be performed quarterly or as dictated by operational demands. Regular inspections help identify early signs of wear, such as corrosion or debris buildup, which can lead to failures if left unaddressed. Cleaning, lubrication, and environmental protection measures should be part of this routine to ensure optimal performance. Establishing a maintenance schedule tailored to the specific usage and environment of the equipment can significantly extend the lifespan of the panels.
What are the benefits of using IP-rated enclosures for push button panels?
IP-rated enclosures provide essential protection for push button panels against dust, moisture, and other environmental contaminants. These ratings indicate the level of ingress protection, ensuring that the switches remain functional in harsh conditions. By using IP-rated enclosures, you can prevent corrosion and mechanical failures, which are common in industrial settings. This not only enhances the reliability of the control systems but also reduces maintenance costs and downtime, ultimately improving operational efficiency.
How can I tell if a push button switch needs to be replaced?
A push button switch should be replaced if it exhibits signs of irreparable damage, such as cracked housings, severely corroded contacts, or broken internal components that cleaning cannot restore. Additionally, if the switch fails to provide consistent functionality despite repairs, it may be time for a replacement. Regular testing with a multimeter can help identify persistent issues, and if the switch does not meet the manufacturer’s specifications for resistance or continuity, replacement is advisable to ensure reliable operation.
What is the role of dielectric grease in push button panel maintenance?
Dielectric grease plays a crucial role in push button panel maintenance by providing a protective barrier against moisture and corrosion on electrical contacts. When applied sparingly to moving parts and connections, it reduces friction and prevents oxidation without impeding electrical conductivity. This helps maintain reliable performance and extends the lifespan of the switches. However, it is important to use it judiciously, as excessive application can attract dirt and debris, potentially leading to operational issues.
What should I do if my push button panel is still unresponsive after troubleshooting?
If your push button panel remains unresponsive after thorough troubleshooting, it may indicate a more serious underlying issue, such as a fault in the control circuitry or a problem with the power supply. In such cases, it is advisable to consult the wiring diagram to check for shorts or open circuits. If the problem persists, consider seeking professional assistance to conduct a more in-depth analysis and repair, as further diagnostics may require specialized knowledge and tools.
Can I perform repairs on push button panels myself, or should I hire a professional?
Minor repairs, such as cleaning contacts or tightening loose connections, can often be performed by individuals with basic technical skills and the right tools. However, for more complex issues, such as replacing internal components or dealing with electrical faults, hiring a professional is recommended. Professionals have the expertise to ensure safety and compliance with electrical standards, which is crucial in industrial settings. Assess the severity of the issue to determine the best course of action.
