
 EN
EN
Ever struggle with mounting a panel switch the right way? This guide breaks down panel switch mounting techniques, workspace setup, and proper wiring. It shows each step to secure and test your installation so that nothing goes wrong later. Readers save time and avoid errors with these clear, hands-on tips.
The Basics of Panel Switch Mounting Techniques
Panel switch mounting starts here. It breaks down different panel switches—from simple buttons to setups using resistors on a printed circuit board. The guide lists key tools each machine needs and points out safety tips for working with a power supply. Every step is straightforward and practical.
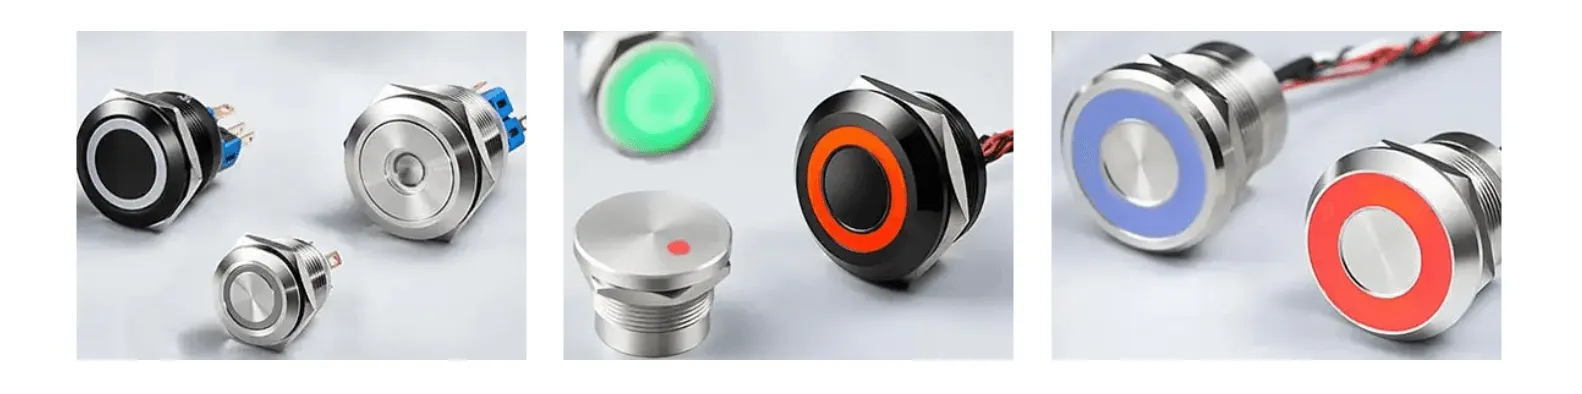
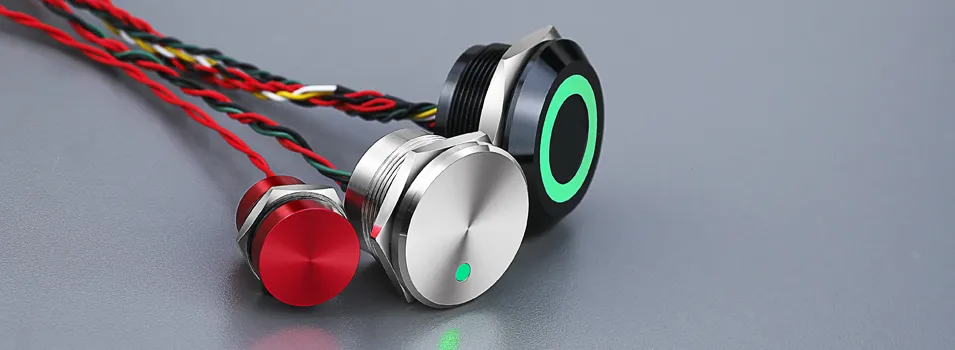
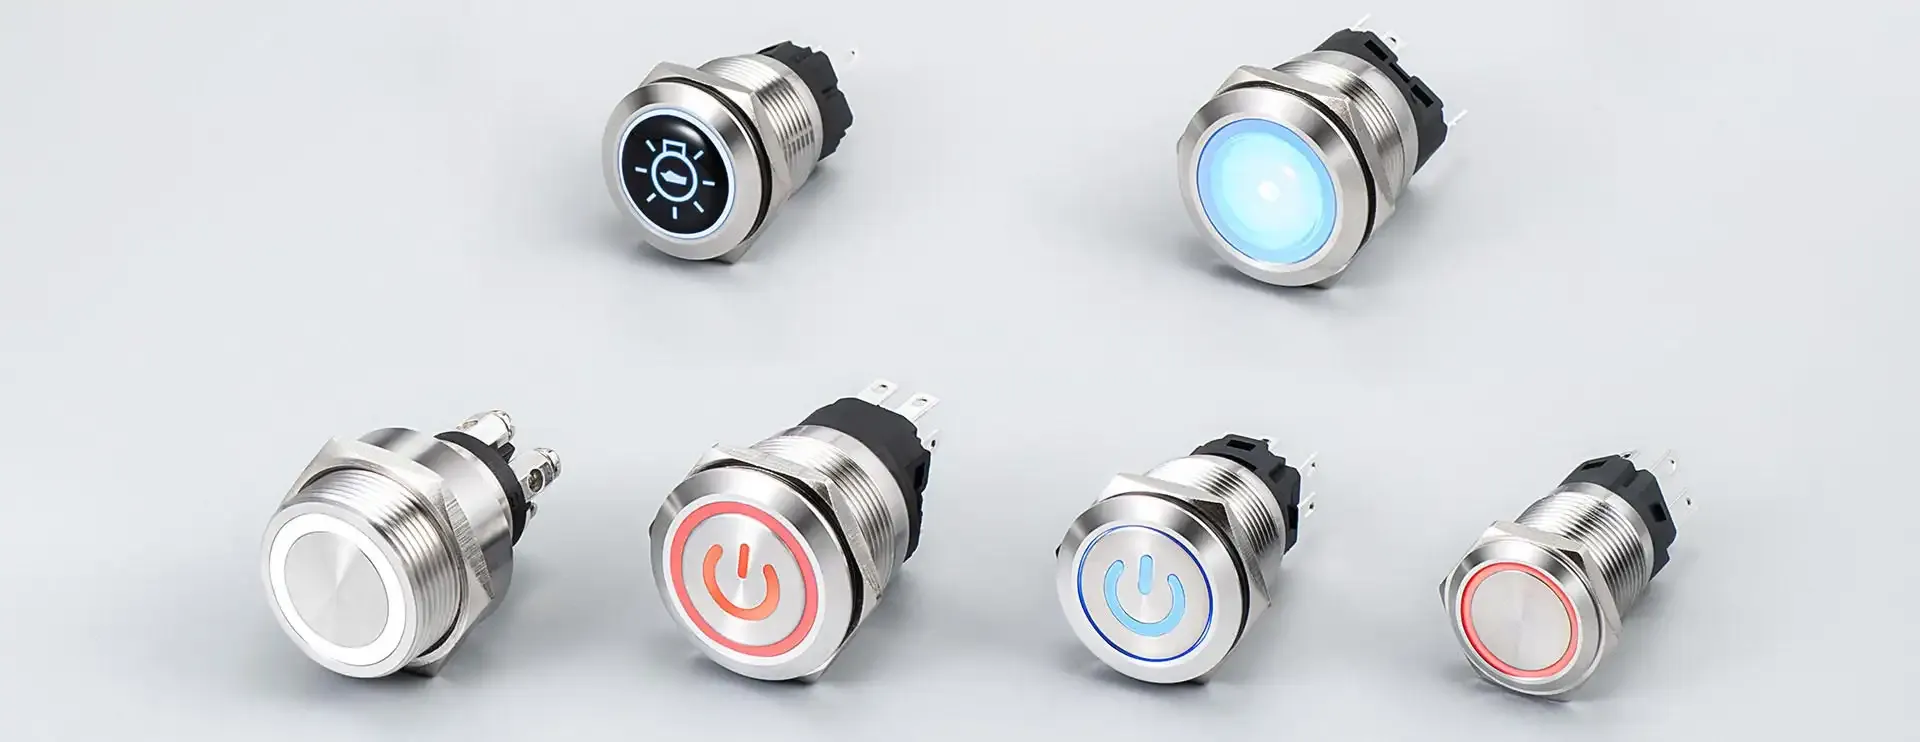
Different Types of Panel Switches for Installation
When it comes to mounting panel switches, a variety of types suits every project need. Experts note that some devices rely on a panel mount toggle switch with ratings in volt and parts made from alloy and copper to keep work looking sharp, while others even integrate with a raspberry pi for added functionality.
Essential Tools Required for Mounting Panel Switches
The right gear is what makes mounting panel switches smooth. Experts gather a capacitor, brass fittings, a reliable power cord, a clear lens, and silver contacts to keep things tight and efficient:
Electrical Safety Precautions for Switch Mounting
During switch mounting panel work, experts check each wire for damage and tighten every nut like they’re setting down a hot plate. They measure the diameter of every plastic piece to make sure nothing is wobbly. This method keeps everything safe, sidestepping any surprises when current flows.
Prepare Your Workspace for Efficient Panel Switch Installation
Clear your space. Keep a cart, arduino kit, and rotary switch close by. Ensure proper lighting and set up a sturdy table. Each tool—from a basic symbol to stainless steel fittings—plays its part in a smart setup. This approach makes the rest of the steps feel straightforward and friendly.
Clear the Area and Organize Tools for Easy Access
The workspace gets cleared, and every tool finds its own little nook—a circuit breaker, a dimmer, all safely arranged where the light cuts through any confusion. Experts compare each part against a solid operating temperature to ensure that nothing stumbles during the setup, making installation as smooth as a well-practiced routine.
Ensure Proper Lighting for Safe Workspace Conditions
Good lighting makes every detail count in an electronics workspace, letting technicians see sensors, actuators, and screw terminals clearly in a neat square setup. This simple upgrade helps prevent errors and guides every step with ease.
Set Up a Solid Work Surface to Handle Mounting Tasks
A sturdy work surface makes all the difference in mounting panel switches, letting pros solder with ease and keep voltage in check like a calm mushroom standing its ground. Using a solid table means contact components stay secure, which helps everyone get the job done without the usual fuss.
Step-by-Step Instructions for Panel Switch Mounting
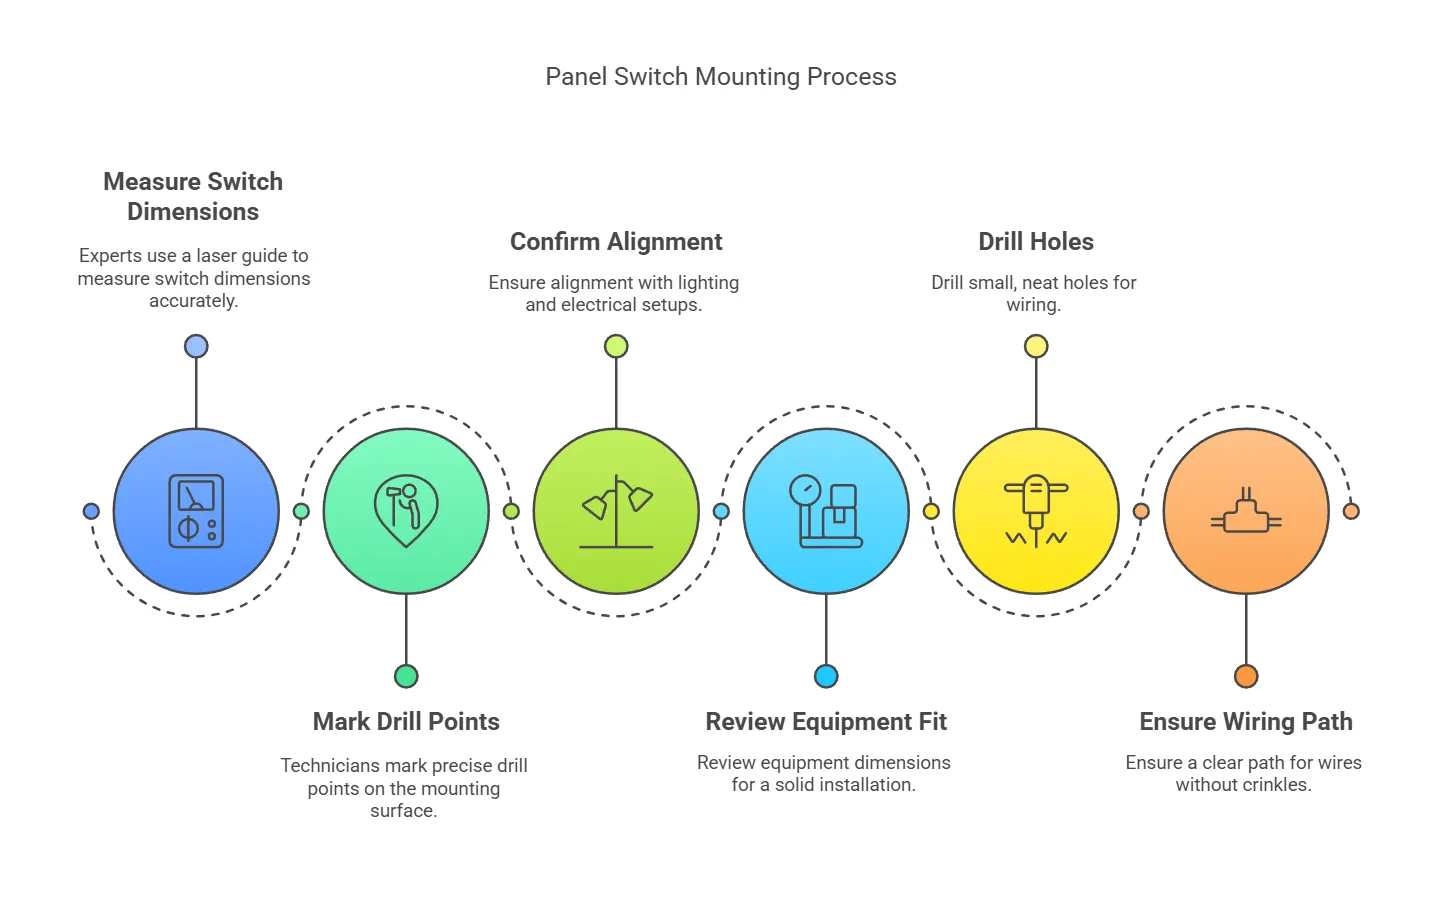
Begin with accurate measurements for switch placement, marking drill points precisely. Then, drill holes to allow wires to pass through. This method checks the fuse for proper electric current, uses a lever for smooth operation, and aims for a fair price—almost like a good shopping cart deal. Each step feeds into the next practical move.
Outline the Initial Measurements for Switch Placement
Experts kick things off by using a laser guide to pinpoint spots while marking the panel for the 12v switch surface mount, keeping all electrical parts and lighting fixtures in their right places. They jot down equipment dimensions to avoid any future hassles and follow these steps:
- Measure the switch dimensions
- Mark precise drill points
- Confirm alignment with lighting and electrical setups
- Review equipment fit for a solid installation
Mark Drilling Points Accurately on the Mounting Surface
The technician marks each drilling point on the metal surface with precision, ensuring that every switch—especially the panel mount push button switch—and relay aligns perfectly with the flow of electricity. This careful setup not only eases the installation but also guarantees reliability when the current kicks in.
Drill Holes and Make Room for Wires to Pass Through
The technician drills small, neat holes while keeping the wiring path in mind. Carefully, they work to leave enough room for wires to pass without any crinkling or pinch. The process creates a smooth setup that clearly benefits the overall panel switch mounting effort.
Connect Wires Securely to the Panel Switch

Experts emphasize the need to identify your panel switch’s wire configuration, strip each wire end carefully, and secure every connection with the right tools. This method builds a reliable electrical setup and paves the way for clear, practical step-by-step instructions that follow in the guide.
Identify Wire Configurations for Your Specific Panel Switch
The expert checks the wiring layout carefully before hooking up any switches, ensuring that every conductor finds its proper spot on the panel. With a practical eye for detail, the technician uses the switch specifications as a guide to match each wire with its right connection, keeping the setup straightforward and reliable.
Strip Ends of Wires Before Making Connections
Skilled experts strip the wire ends neatly, exposing just enough metal for a secure bond without any fuss. This careful prep makes connecting wires to the panel switch smooth and reliable, cutting down on rework and giving peace of mind during installation.
Secure Connections With Appropriate Tools for Durability
Experts rely on tools like insulated crimpers and torque screwdrivers to secure wires firmly, ensuring the panel switch operates reliably. They work carefully to lock every connection in place and keep voltage steady, which means less chance for future rework. Using the right gear makes the setup long-lasting and hassle-free, meeting industry standards for durability and performance.
Test Your Panel Switch After Installation
Check functions before closing the panel and hiding wires. Review every electrical connection to ensure safe operation while troubleshooting common issues that surface after mounting. This step sets the stage for a reliable panel switch installation with clear insights and practical tips.
Check Functions Before Closing the Panel and Hiding Wires
They test each switch press and verify every connection before sealing up the panel, ensuring the switch works as it should. This hands-on check saves a lot of hassle later, keeping the installation process straightforward and reliable.
Ensure Safe Operation by Reviewing Electrical Connections
Experts double-check every connection to confirm that the panel switch is working safely. They review wiring, test terminals, and ensure no loose parts remain during installation:
- Inspect wiring pathways
- Secure all terminal connections
- Test for proper signal flow
Troubleshoot Common Issues That May Arise Post-Mounting
The technician spots that post-mounting issues often come from a few loose wires or skewed contacts, so he checks every connection and reaffirms wiring paths. He tweaks the setup with a careful test run, ensuring the panel switch works perfectly while sidestepping future mishaps.
Maintain Your Panel Switch for Long-Term Performance
Experts say keeping a panel switch in good shape is a must. They recommend scheduled inspections to catch faults, regular cleaning to keep dust at bay, and quick replacement of damaged switches for safety. These steps set the stage for a reliable, long-lasting setup.
Schedule Regular Inspections to Catch Potential Faults
Regular inspections keep the panel switch working right. Experts recommend checking each part for signs of wear and ensuring firm connections to catch faults early before they become a problem:
Skilled technicians stick to a strict schedule, checking and tightening every connection to avoid any hiccups and ensure long-term performance.
Clean Panel Surfaces to Avoid Dust and Debris Buildup
Experts keep panel surfaces neat with regular wipe-downs to cut down on dust and debris buildup. A tidy area means a safer, more reliable switch setup that stands up to daily use without unexpected issues.
Replace Damaged Switches Promptly to Ensure Safety
When a panel switch shows signs of wear, swapping it out right away can save a lot of trouble later on. The technician points out that a quick replacement avoids messy repairs and keeps the whole system running without a hitch. Smart upkeep like this gives everyone a bit more peace of mind and keeps things safe and steady.
How to Mount a Panel Switch | FAQs
What are the key mounting techniques for panel switches?
Push button panel switches use three main techniques: flush, surface, and recessed. Flush places the switch in line with the panel, surface mounts it on top, and recessed fits it into a carved spot for a neat, secure setup.
How do you set up your workspace for switch installation?
Clear your workspace and arrange essential tools with care. Make sure lighting counts and map out wiring paths before installing push button switches. A neat, well-organized area makes switch installation a breeze.
What steps do you follow for mounting a panel switch?
Disconnect power. Mark the switch spot, drill holes, mount the bracket, connect wiring correctly, then test the panel switch.
How can wires be secured to the panel switch?
Wires may be secured to the panel switch by using dedicated mounting clips or screw-connected terminals. The clamp holds wires firmly and prevents movement, ensuring steady and safe performance.
How do you test and maintain the panel switch?
Testing panel switches can be done with a multimeter to check voltage and ensure proper contact. A visual inspection for wear, combined with routine cleaning and adjustment, keeps the system running smoothly and safely.

