 EN
EN
Is your starter button acting up and leaving you stranded? You’re not alone. Many people face issues with their ignition switch, and the good news is that replacing it can be straightforward. In this guide, you’ll discover the tools you need, a step-by-step process for effectively replacing your starter button, and tips for maintaining it once installed. We’ll also cover common mistakes to avoid, ensuring your work stands the test of time. Addressing these problems with the right knowledge can save you time and money, getting you back on the road in no time. Let’s get started!
Key Takeaways
- Regular cleaning of the starter button prevents malfunction and ensures reliability
- Ensure safe disconnection of power sources before replacing the starter button
- Check for signs of wear and tear to know when to replace the starter button
- Use high-quality replacement parts to enhance the longevity of your starter button
- Seek professional help if you encounter complex wiring issues during replacement
Understanding the Importance of a Functional Starter Button

When dealing with a starter button, particularly an anti-vandal switch, identifying symptoms of a faulty lever is key. This can affect your device’s performance and may lead you to assess issues, such as problems with the solenoid or even the spark plug. Knowing when to replace the starter button is crucial to keeping everything running smoothly, especially if it impacts your steering column. Let’s dive into the specifics to ensure your device remains reliable.
Identifying Symptoms of a Faulty Starter Button
To spot a faulty starter button or anti-vandal switch, watch for signs like the absence of a click when you press it or delayed activation. You might also notice that wires connected to the button appear frayed or damaged, which indicates it’s time for a replacement. If you’ve recently changed the air filter, but starting issues persist, it could be due to a malfunctioning button rather than other components like the solenoid or spark plug. For further assistance, visit our contact page.
Assessing the Impact on Device Performance
Assessing the impact of a faulty starter button on your device’s performance is essential for maintaining reliability. When you press the button, if there’s a delay or no response, it could disrupt the flow of voltage needed not just for the starter but also for the ignition coil to function properly. This interruption can lead to issues, especially in vehicles where a malfunctioning starter affects fuel delivery from the tank, resulting in frustrating engine start problems.
- Watch for delayed responses when you press the button.
- Ensure the voltage is consistent to the ignition coil.
- Check that the button connects smoothly to the tank’s fuel delivery system.
Recognizing When to Replace Your Starter Button
Recognizing when to replace your starter button is key to keeping your vehicle operating smoothly. If you notice that you need to press harder or repeatedly to get your engine going, it’s time to take action. Grab a flashlight and check the button’s connections, looking for any signs of wear, like frayed wires or oil buildup that might affect performance. The last thing you want is to find yourself stuck, running late because the button won’t respond, so make sure to address the issue promptly by turning it clockwise to ensure a secure fit before deciding to replace it.
Tools Needed for Replacing Your Starter Button
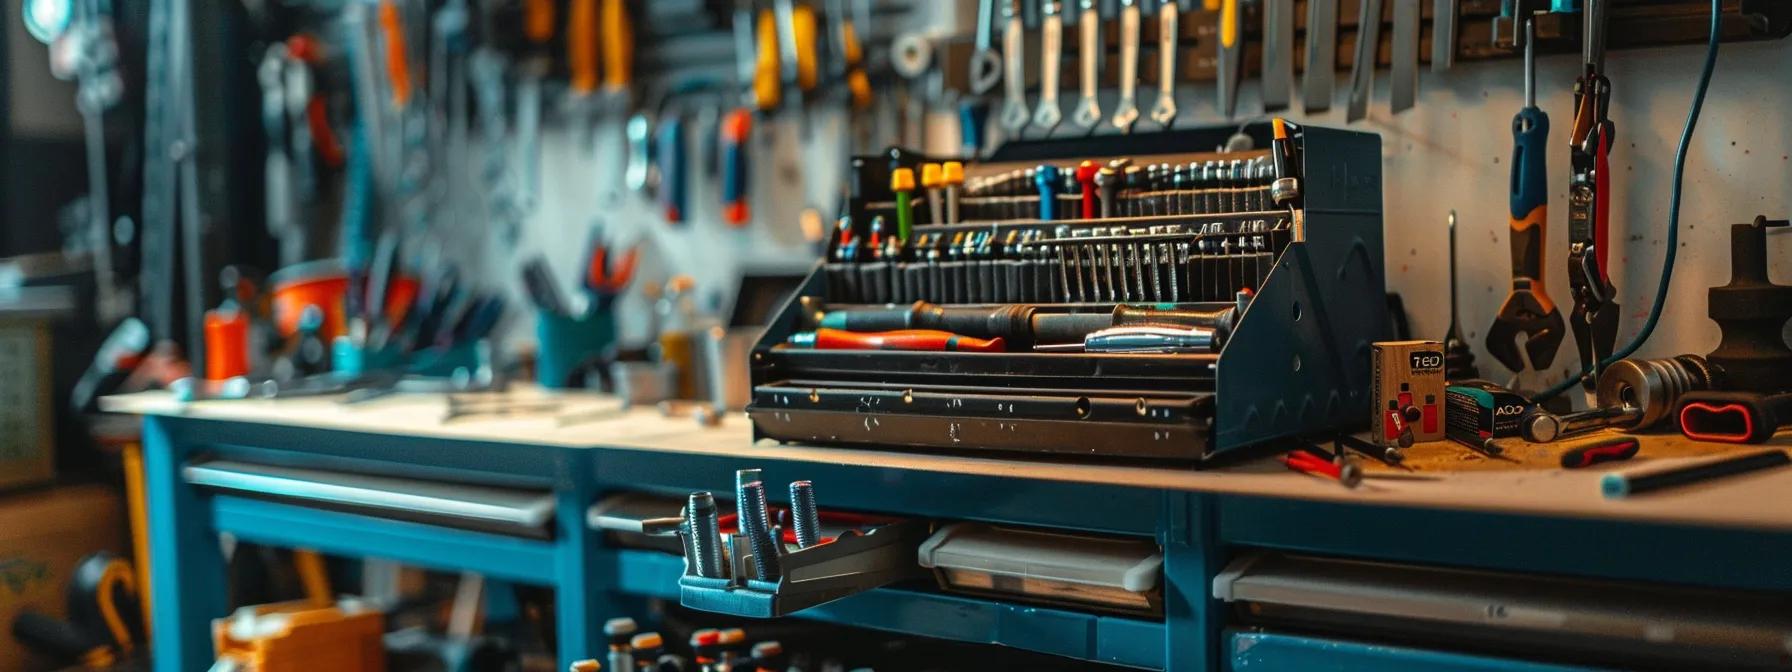
Before you tackle replacing your starter button, gather the basic tools you’ll need for the process, like a screwdriver and wire cutters. Don’t forget your safety gear; gloves and goggles are a must. Lastly, opting for high-quality replacement parts ensures that your engine runs smoothly. Let’s dive into what tools are essential and how to keep everything safe during this project.
Basic Tools Required for the Process
Gathering the right tools before replacing your starter button is key to making the process smooth. You’ll need basic items like a screwdriver to remove the old button and secure the new one. Having wire cutters on hand can help if you encounter any damaged wires that need to be trimmed for a good connection.
- Screwdriver for removing the old starter button.
- Wire cutters for trimming damaged wires.
- Safety gloves to protect your hands during the process.
- Safety goggles to shield your eyes from any debris.
- High-quality replacement button to ensure longevity.
Safety Gear and Precautions to Take
When tackling the task of replacing your starter button, safety should never take a backseat. Slip on some sturdy gloves to shield your hands from any sharp edges and wear safety goggles to protect your eyes from potential debris flying around. These small but essential steps can help prevent accidents and keep you focused on what really matters: getting that starter button working like new.
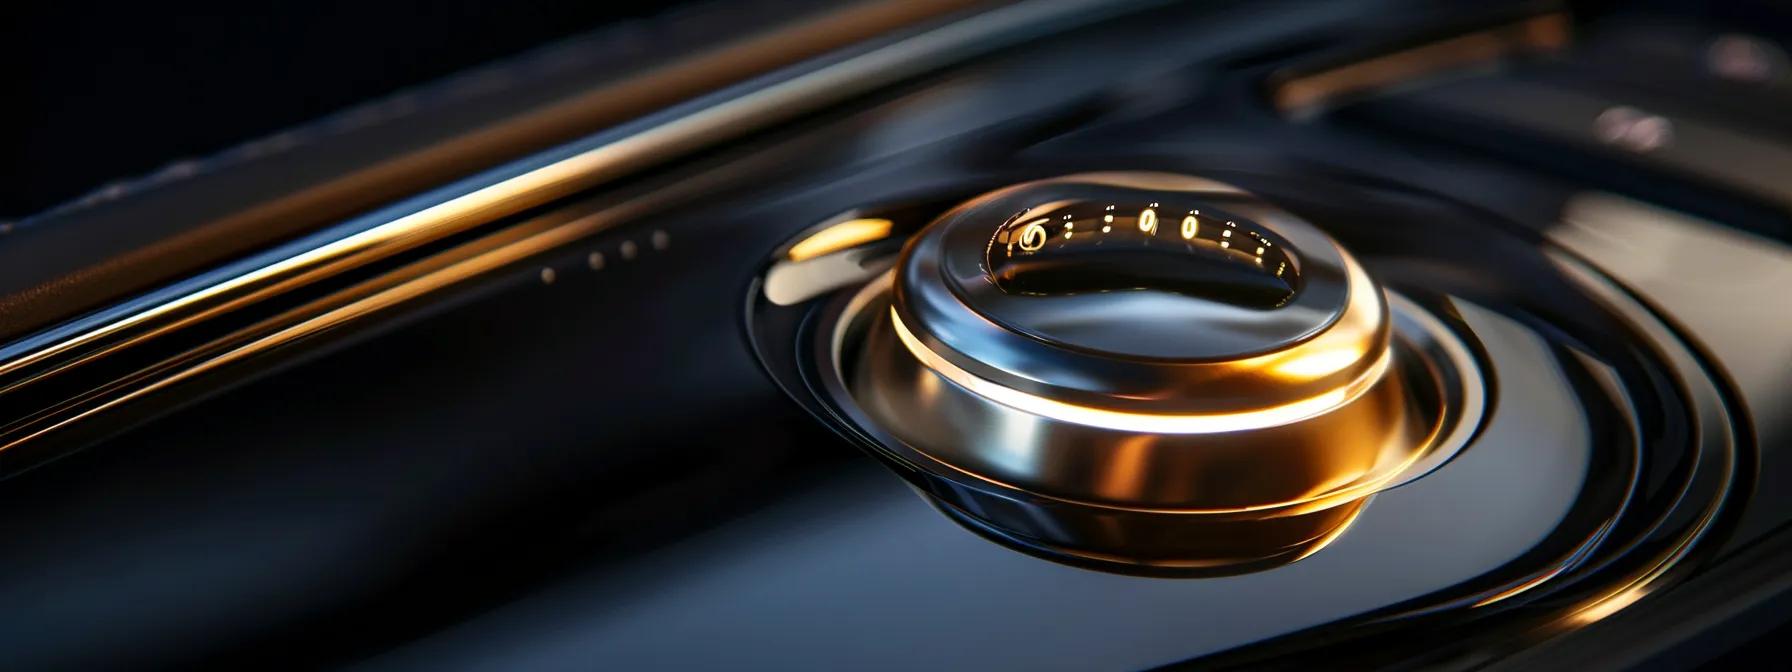
Recommended High-Quality Replacement Parts
When it’s time to replace your starter button, choosing high-quality replacement parts can make all the difference in the longevity and performance of your device. Look for buttons made from durable materials that can withstand wear and tear, as these will ensure reliable operation without frequent replacements. Opting for reputable brands that specialize in push button switches gives you peace of mind, knowing your vehicle will start smoothly every time you press that button.
Step-by-Step Guide to Replacing Your Starter Button

Start by disconnecting power sources safely to avoid any mishaps. Next, you’ll carefully remove the old starter button and install the new one properly. After everything’s in place, reconnect the components and finish by testing the new starter button to ensure it functions flawlessly. These steps will help you transition smoothly through the replacement process.
Disconnecting Power Sources Safely
Before you dive into replacing your starter button, it’s essential to disconnect the power sources safely. This means turning off the car and removing the key from the ignition, because you definitely don’t want any sudden surprises while you’re working. If your device has a battery, consider disconnecting it as well to avoid any risk of shock or shorts; you’ll thank yourself later when everything runs smoothly.
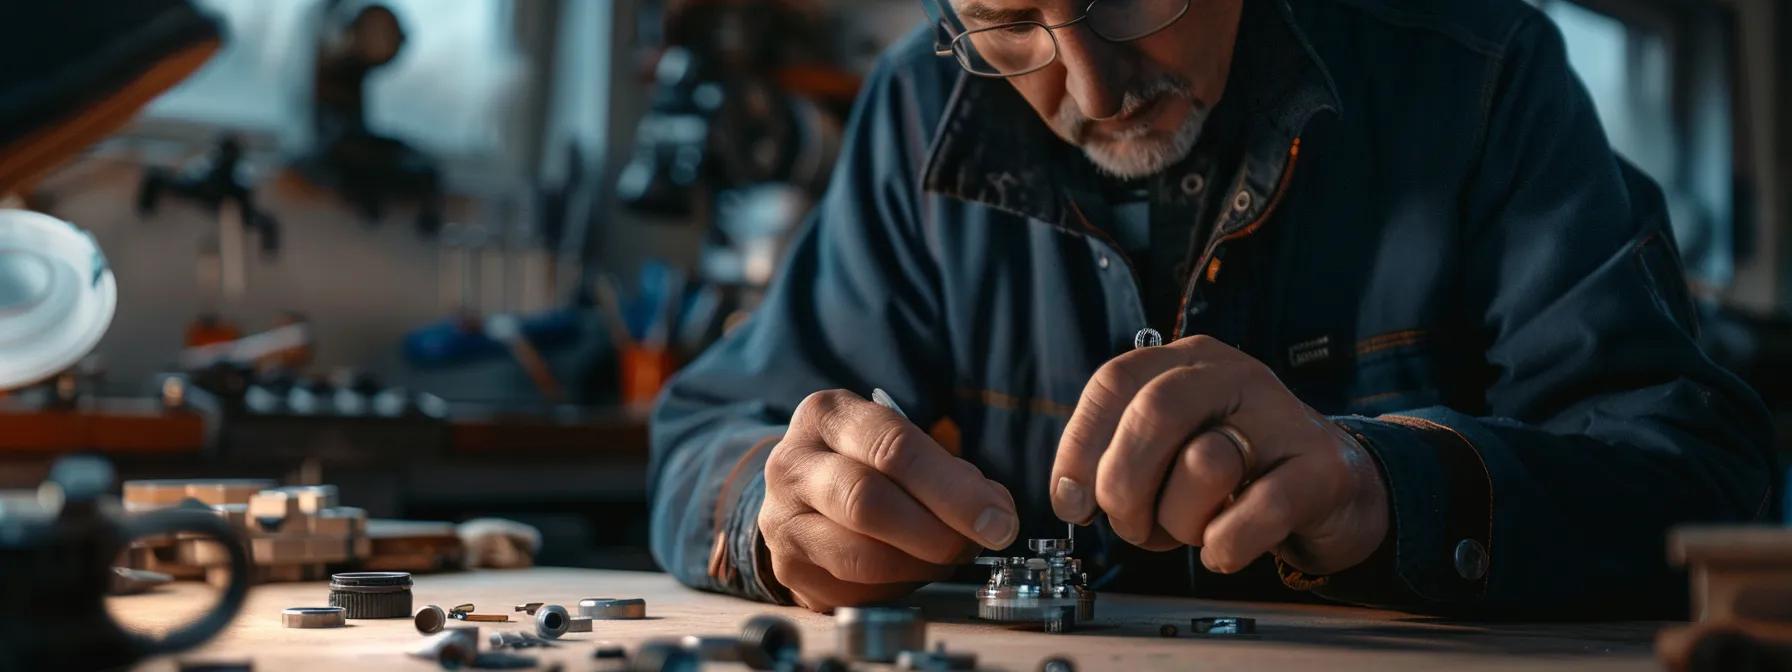
Removing the Old Starter Button With Care
To remove the old starter button with care, start by ensuring all power sources are safely disconnected. Gently unscrew the button from its mounting, taking note of how everything is connected, so you can replicate it later. If any wires seem stubborn or stuck, give them a little wiggle instead of yanking; this will help prevent any unintentional damage to the wiring system as you work through the replacement process.
Installing the New Starter Button Properly
When it’s time to install the new starter button, make sure you’re connecting everything exactly as it was before you removed the old one. Slide the new button into place and gently screw it down, ensuring it’s snug but not overly tight. After securing it, double-check the wiring to confirm there are no loose connections, and then you’re good to go; just reconnect the power and give it a try. This will all save you from further frustration down the line when you just want your engine to start without any issues.
Reconnecting Components After Replacement
After replacing your starter button, reconnecting the components is a simple yet essential step to ensure everything works seamlessly. Start by carefully plugging the wiring back into their original sockets, making sure there are no loose or exposed connections. Once you’ve secured all pieces, give the starter button a quick test to confirm that it functions properly; you want to avoid any surprises later on.
- Securely reconnect all wiring to your new starter button.
- Check for any loose connections that might disrupt functionality.
- Test the button to confirm it works before finalizing your adjustments.
Testing the New Starter Button
After you’ve installed the new starter button, the moment of truth comes when you test it out. Turn the key in the ignition and press your newly replaced starter button to see if the engine kicks to life. If the button responds promptly and starts your vehicle without any hesitation, you’re in the clear; however, if there’s a delay or nothing happens, double-check your connections and make sure everything is secured properly. Testing confirms that your replacement was done right, ensuring a smooth start every time.
Common Mistakes to Avoid During Replacement
Overlooking necessary safety measures can lead to accidents, so it’s vital to prioritize safety while replacing your starter button. Misplacing or losing small components is another common pitfall, causing delays in your project. Lastly, failing to test the button after installation can result in unexpected issues. Let’s explore each of these mistakes to help you replace your starter button effectively.
Overlooking Necessary Safety Measures
When replacing your starter button, overlooking safety measures can lead to more than just a frustrating experience; it can pose real risks. Always take a moment to disconnect the battery or power source before you begin, so you avoid any unpleasant surprises. Just picture yourself tinkering away, only to accidentally trigger something—it’s not a delightful scenario, trust me. Taking proper precautions not only protects you but also ensures your project goes off without a hitch.
Misplacing or Losing Small Components
When you’re in the zone replacing your starter button, it’s easy to misplace small components like screws or clips. This can be more than a hassle; it can halt your project and leave you searching your space like it’s a scavenger hunt. To avoid this, set up a designated area to keep all your parts organized. A small container or even a piece of tape can do wonders to stash everything in one spot, so you can finish the job without unnecessary delays.
Failing to Test the Button After Installation
Failing to test the button after installation is a common oversight that can lead to frustration down the road. After putting in the effort to replace your starter button, it’s crucial to check if it works as intended. A simple test can save you from unexpected surprises later on, making sure your vehicle starts smoothly when you need it. Remember, don’t skip this step; ensure everything is functioning before wrapping up your project:
- Test the new starter button by turning the ignition key.
- Observe the engine’s response to the button press.
- Inspect connections if the button doesn’t work as expected.
Tips for Maintaining Your Starter Button
Regular cleaning helps prevent malfunction, keeping your starter button in top shape. Implementing best practices for longevity can significantly extend its life. It’s equally important to be aware of signs of wear and tear that indicate when a replacement is needed. Let’s look at these key areas to ensure your starter button remains reliable for as long as possible.
Regular Cleaning to Prevent Malfunction
Regularly cleaning your starter button is a simple yet effective way to prevent malfunction. Dust, grime, and even moisture can build up over time, affecting how well it works. A quick wipe with a damp cloth can do wonders, ensuring a strong connection and making sure you’re less likely to run into issues when you need to start your vehicle. Trust me, keeping your starter button clean can save you from the hassle of an unexpected failure when you’re running late.
Best Practices for Longevity of the Component
To ensure the longevity of your starter button, regular maintenance is key. Make it a habit to inspect the button for any signs of wear, such as fraying wires or buildup of dirt. A quick wipe and a snug fit can make all the difference, helping you avoid further issues when you’re already in a rush. Every little bit you do to keep it clean and secure can save you from a last-minute scramble to replace it down the line.
Signs of Wear and Tear to Watch For
When keeping an eye on your starter button, it’s key to recognize the signs of wear and tear. Look out for frayed wires, rust, or a sticky feel when you press the button, as these can indicate it’s time for a replacement. Regularly checking your starter button can help prevent unexpected stalling or starting troubles down the line:
- Inspect for frayed wires or damage.
- Check for rust or corrosion around the button.
- Notice if the button feels sticky or unresponsive when pressed.
Troubleshooting Issues After Replacement

After replacing your starter button, you might encounter some issues like an unresponsive button. It’s important to investigate potential electrical system problems to ensure everything is connected properly. If you’re still facing challenges after your attempts, knowing when to seek professional help can save you time and hassle. Let’s dive into these areas to help you troubleshoot effectively.
Addressing Unresponsive Starter Buttons
If your starter button isn’t responding after installation, don’t panic. First, ensure that all wiring connections are secure and not corroded; a loose or damaged connection can lead to an unresponsive button. If everything seems intact, it might be worth checking the fuses related to the starter system, as a blown fuse could affect functionality.
- Verify that all wiring connections are secure and free from corrosion.
- Check related fuses for any signs of being blown.
- Double-check the alignment and installation of the new starter button.
Investigating Electrical System Problems
If you’re having trouble after replacing your starter button, it’s time to take a closer look at your electrical system. Start by checking that all wiring connections are tight and free of corrosion, as this can cause the button to be unresponsive. If the connections look good, investigating fuses related to the starter system is a smart move; a blown fuse could easily be the culprit behind your starting issues:
When to Seek Professional Help
If you’ve followed all the steps and your vehicle still won’t start, it might be time to consider getting some professional help. An experienced technician can diagnose more complex electrical issues that you may not have the tools or knowledge to tackle. Ignoring persistent problems could lead to bigger headaches, so reaching out for expertise can save you time and ensure your vehicle gets the attention it needs before a minor issue escalates.