 EN
EN
This guide breaks down wiring a mini push button switch, often sourced from mini push button wholesale suppliers, step-by-step. It explains the switch types, tools you need, basic wiring procedure, testing methods, and troubleshooting—all in a clear, no-nonsense way. Whether you’re working on a doorbell or a circuit board, this article gives you practical tips and guidelines that are easy to follow. If you have questions or need extra support, please contact Langir. Let’s get into it.
Understanding Your Mini Push Button Switch
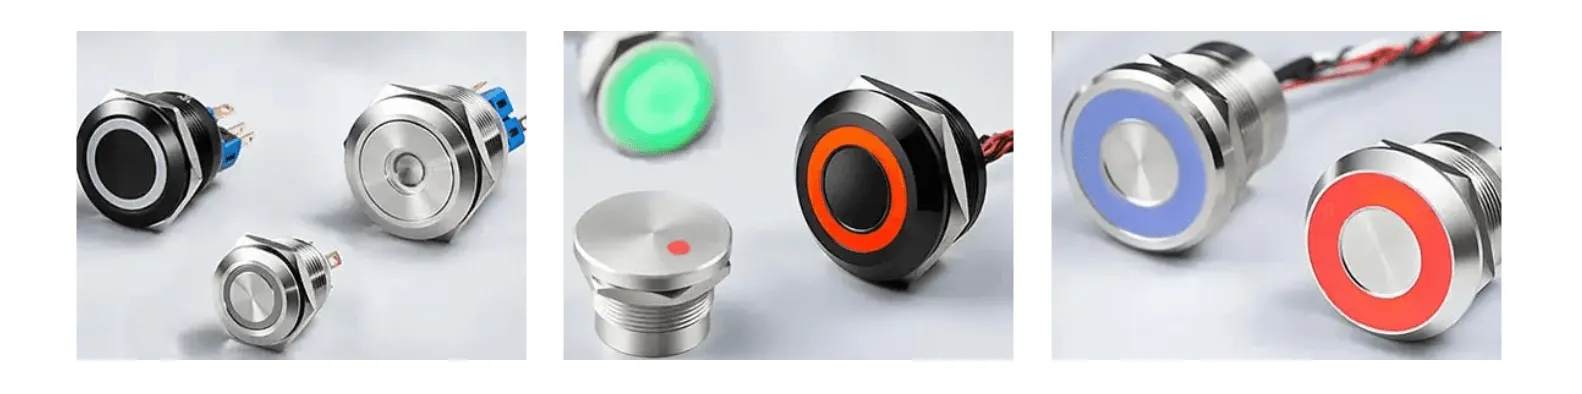
Understanding your mini push button switch is key to proper installation. First, it helps to know that these small push switches come in various versions.

Contact Langir for Custom Push Button Switches
Different Mini Push Button Switch Types
There are several types on the market. Some switches have a simple momentary action while others are latching. Each type can work differently depending on your circuit needs. For instance, a basic momentary switch only stays active when pressed.
Terminals on a Mini Push Button Switch
Mini push buttons usually have two or three terminals. These metal contacts connect the internal mechanism to your circuit. Knowing which terminal goes where is vital for a successful installation and to ensure proper signal flow.
Voltage and Current Specifications for Your Mini Switch
Every switch has specific voltage and current ratings. These specs tell you the maximum power the switch can handle. Overloading it can result in failure or short circuits, so always consult the datasheet.
Normally Open and Normally Closed Mini Switches
Depending on your project, you need a normally open (NO) or normally closed (NC) switch. In a normally open switch, the circuit completes only when you press it. In a normally closed switch, it stays active until pressed. Understanding these differences is essential.
Gathering Tools and Materials for Your Button Connection
Before you start wiring, gather all necessary tools. The right materials ensure the process is smooth and every connection holds up over time.
Contact Langir for Custom Push Button Switches
Selecting Appropriate Wires for the Mini Push Button Switch
Use wires that are thin enough to fit in the switch terminals yet durable. Most small push switches work well with 22- or 24-gauge stranded wires for flexibility and reliability.
Choosing the Right Wire Strippers and Crimping Tools
Quality wire strippers and crimping tools make preparing connections easier. They help remove insulation without damaging the wire, ensuring a neat finish and strong contacts.
Preparing a Soldering Iron and Solder for Button Connections
A soldering iron is ideal for securing wires to terminals. Use the right type of solder, typically lead-free, to guarantee a robust and reliable joint.
Using a Multimeter for Testing the Mini Switch Circuit
A multimeter is your best friend when wiring push switches. It checks voltage, continuity, and ensures that every terminal is making good contact after soldering or crimping.
Safety Precautions for Mini Push Button Switch Wiring
Safety first! Before starting any wiring project, follow proper safety steps to prevent shocks or component damage.
Contact Langir for Custom Push Button Switches
Disconnecting Power Before Starting Any Button Connection
Always disconnect power at the source before handling circuits. This simple step prevents accidental shocks or shorts while you work.
Working in a Suitable and Well-Lit Environment
Ensure your workspace is clean, organized, and well-lit. Good lighting and a clutter-free area help avoid mistakes when connecting tiny wires.
Inspecting Components for Damage Prior to Wiring the Mini Switch
Before use, inspect your mini switch and all components for any signs of damage. Cracked casings or loose terminals can cause future failures, so reassemble only if everything is intact.
Understanding the Circuit Diagram for Your Mini Push Button Switch
Review the circuit diagram before you begin wiring. Knowing where each wire should run and how the switch fits into the overall circuit ensures you connect everything correctly.
Step-by-Step Instructions to Connect a Mini Push Button Switch
Now, let’s dive into the wiring process with clear, step-by-step instructions.
Preparing Wires for Attachment to the Mini Switch
Strip about a quarter inch from the end of your wires. Twist the stranded wires neatly to prevent fraying, which makes them easier to insert into terminals.
Making the Basic Two-Terminal Button Connection
For a basic connection, insert one wire into each terminal. Solder or crimp them securely, ensuring a solid bond that won’t disconnect with slight movement.
How to Connect Mini Push Button Switch Configurations With Three Terminals
Some switches have a third terminal for additional functionality, such as an LED indicator. Connect the extra wire based on your circuit diagram—this terminal might control auxiliary features.
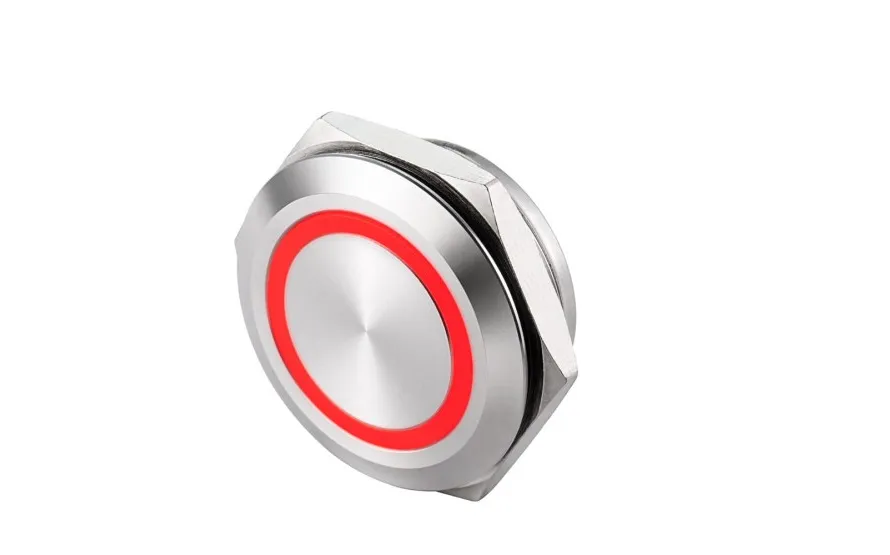
Wiring a Mini Push Button Switch With an LED Indicator
If your switch has an LED indicator, follow the provided schematic carefully. Typically, one terminal carries the signal while another completes the LED circuit. Make sure polarity is observed for proper LED function.
Securing and Insulating Each Button Connection Point
After wiring, use electrical tape or heat shrink tubing to insulate each connection point. This prevents short circuits and gives the assembly a clean look.
Testing Your Wired Mini Push Button Switch
Testing is crucial to know the wiring is correct. Follow these steps to ensure everything works as it should.

Contact Langir for Custom Push Button Switches
Performing a Visual Check of All Mini Switch Connections
Start by visually inspecting the connections. Look for exposed wires, unsoldered contacts, or any misaligned terminals that need correction.
Using a Multimeter to Verify Button Connection Continuity
Use a multimeter in continuity mode. When you press the switch, the meter should beep if the circuit is closed. This confirms that your wiring is making proper contact.
Safely Applying Power to Test the Mini Push Button Switch Function
Reconnect power cautiously. Test the switch by pressing it and observing the connected device for the expected action. Do not apply full power if you’re unsure—start with low voltage to verify functionality.
Confirming the Connected Device Operates as Expected
Ensure that the device (LED, motor, etc.) reacts properly when the switch is activated. This final confirmation helps avoid issues when integrating the switch into a larger system.
Troubleshooting Common Mini Push Button Switch Connection Issues
Even when you’re careful, sometimes issues arise. Here are some troubleshooting tips to get things working again.

Contact Langir for Custom Push Button Switches
What to Do When Your Mini Push Button Switch Does Not Work
If your switch doesn’t respond, recheck all connections and verify that the wiring matches the diagram. A loose or mis-soldered joint is often the culprit.
Resolving Intermittent Operation of the Mini Switch
Intermittent operation could mean a poor connection or damaged wire. Test each point with a multimeter and, if needed, re-solder or replace the wire until it consistently connects.
Addressing Incorrect Wiring of an Illuminated Mini Push Button Switch
Double-check the LED wiring—incorrect polarity or wrong terminal use can cause the indicator to behave erratically. Follow the diagram carefully and use the multimeter to test voltage levels across terminals.
Identifying and Fixing Short Circuits in Your Button Connection
Short circuits often occur when insulation is missing. Examine all exposed contacts and insulate them properly with electrical tape or shrink tubing. A multimeter can help locate the short by testing resistance across terminals.
This table summarizes key components used in wiring a mini push button switch, ensuring you have a solid reference while troubleshooting or building your circuit.
How to Wire a Mini Push Button Switch | FAQs
What is a mini push button switch? It’s a small, momentary switch used to complete or break circuits. They come in normally open or normally closed types and are essential for many electronics projects.
How do I know if my wiring is correct? Use a multimeter to check continuity and ensure proper voltage readings. Visual inspection also helps identify mis-wiring or loose connections.
Can I mix solder and crimp connections? Yes, as long as each connection is secure and properly insulated. Consistent testing with a multimeter is recommended to ensure circuit integrity.
What common issues occur while wiring these switches? Issues include intermittent connections, short circuits due to exposed wires, and incorrect wiring of additional features like LED indicators.
Where can I get quality mini push button switches in bulk? Trusted manufacturers like Langir offer reliable mini push button switches along with customization options and fast turnaround times.
