
 EN
EN
Are you struggling to wire a push button switch with an LED?
You’re not alone!
Many face challenges when trying to connect these switches safely and effectively. This guide will walk you through the must-know features of illuminated push button switches and provide clear wiring diagrams. You’ll learn step-by-step how to wire a 12V push button switch, using tools like a soldering iron, while also addressing common issues that might pop up. By the end, you’ll have the skills to tackle your own design projects, saving both time and money. Let’s get started!
The Illuminated Push Button Switch Features and Benefits
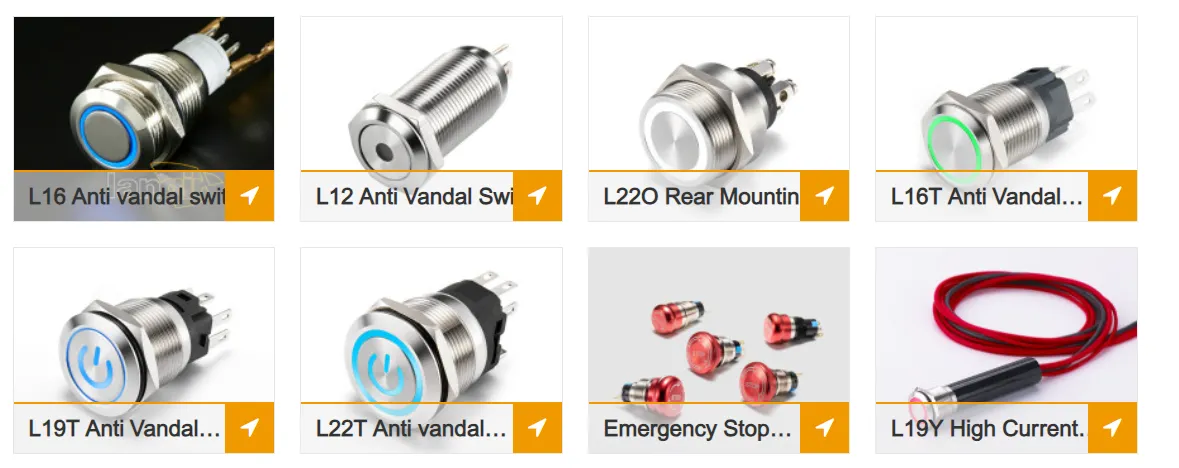
When you install an illuminated push button switch, you’re adding a smart feature to your setup. This switch not only operates like a regular light switch but also gives you a visual cue when it’s on or off. It’s a quick way to check your circuit without needing to flip a circuit breaker.
These switches are super convenient, especially in dark spaces. Imagine fumbling around, trying to find a regular switch—you’d rather see that glow. Plus, with a 12v push pull switch, you can control devices safely and effectively, keeping your electrical connection clear and intuitive.
Wiring an illuminated push button switch is straightforward. Just remember to hook up the ground correctly, and use a proper electrical connector for a secure fit. It’s all about making your work easier and your devices more reliable—without adding stress to your setup.
Preparing for Installation
First things first, gather your tools and materials for wiring that led push switch. You’ll need things like a screwdriver, wire connectors, and of course, the switch itself. Safety is key—make sure to switch off the power before you start. Next, keep in mind the right setup for your consumer electronics. You’ll want things ready to roll so your dashboard lights up just right. Let’s dive into the details!
Gather Required Tools and Materials
Before you dive into wiring that push button switch with LED, let’s get the essentials sorted. You need a handful of tools like a screwdriver and some wire connectors to keep everything together. Working with electricity is no joke. With the right gear, it’ll all come together like a breeze, making your project hassle-free and efficient.
Review Safety Precautions Before Wiring
Before you start wiring your push pull switch 12v, take a moment to ensure safety is your top priority. You’ll want to switch off any power to the circuit to avoid any nasty surprises. If you’re working with technology like Arduino, remember that even small mistakes can lead to big headaches—so double-check your connections as you go. Having the right brand of wire connectors can make all the difference, keeping everything snug and secure while minimizing risks. You got this!
Wiring Diagrams for Different Types of Illuminated Push Button Switches
You’re about to dive into some practical wiring diagrams for different types of illuminated push button switches. First up, the 4 pin push button switch wiring diagram will break down the basics you need for connecting your electronics with clarity. Then, we’ll tackle the 5 pin push button switch wiring diagram, showing you how to manage heat and function effectively. Let’s make sure your setup runs smoothly and efficiently!
4 Pin Push Button Switch Wiring Diagram
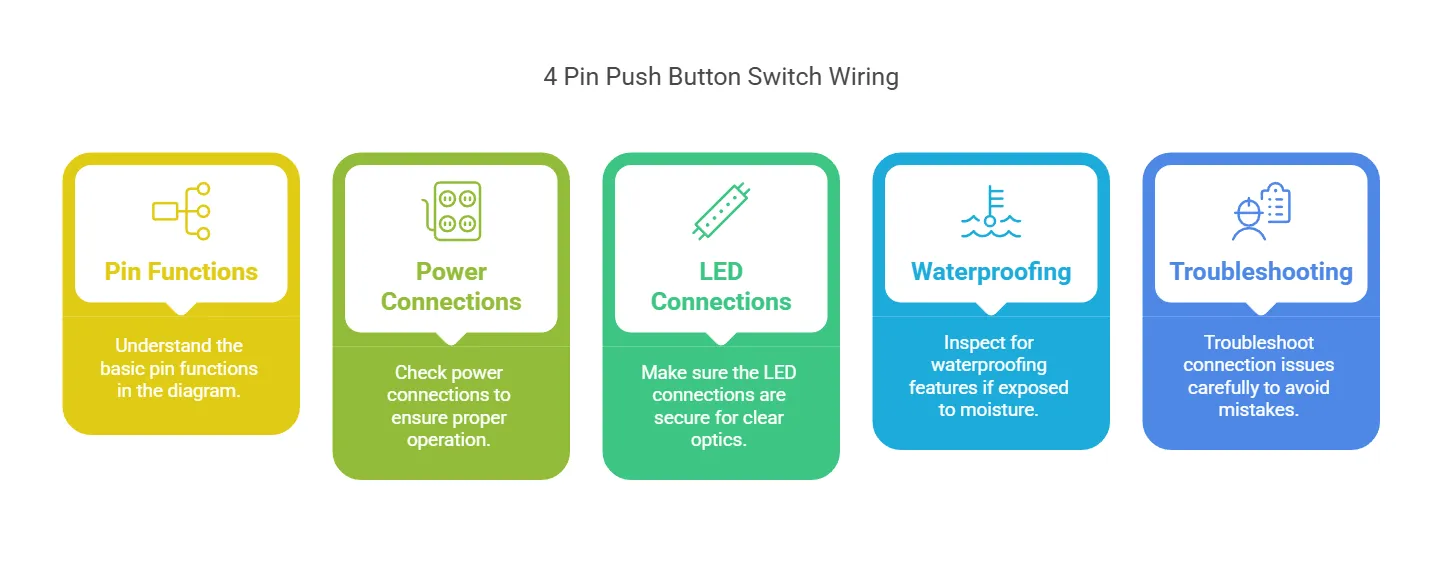
When dealing with a 4 pin push button switch wiring diagram, you’ll notice it’s pretty straightforward. Typically, you connect one pin to the power source and another to your device. The last two pins often handle the LED function—think of it as the switch’s way of giving you a friendly visual cue. If you’re troubleshooting any issues, remember to double-check the pin connections and make sure the LED is wired correctly for optimal optics. Waterproofing also comes in handy if your switch will face the elements, ensuring everything stays in good shape.
- Understand the basic pin functions in the diagram.
- Check power connections to ensure proper operation.
- Make sure the LED connections are secure for clear optics.
- Inspect for waterproofing features if exposed to moisture.
- Troubleshoot connection issues carefully to avoid mistakes.
5 Pin Push Button Switch Wiring Diagram
A 5 pin push button switch wiring diagram helps you tackle your illuminated push switch project with confidence. When connecting a 12v momentary switch, you’ll typically have one pin for the power input, another for the output to your device, and the remaining three to handle the LED and dimmer functions. Just think of it as a straightforward way to control your truck’s lighting or other accessories, making sure you light up your dashboard with ease while keeping everything safe and functional.
Step-by-Step Guide to Wiring a 12V Push Button Switch

Let’s get down to business! First, you’ll connect the power source to your push button switch—easy peasy, right? Next up is wiring the LED light feature, so that color pops when you hit the switch. Finally, you’ll attach the output load to complete the circuit diagram and ensure everything runs smoothly. Buckle up; you’re about to light things up!
Connect the Power Source to the Push Button
Alright, it’s time to get that power source connected to the push button switch. Grab your tool and the yellow wire—it’s not just for show. Strip the ends of the wire and connect one end to your power source. Use electrical tape to keep things secure because a loose connection can lead to problems down the line. Make sure you’re aware of your electrical load, so you don’t fry anything when you flip that switch on!
Wiring the LED Light Feature
Now that you’ve got the power source set, it’s time to wire that LED light feature to your push button. This step is crucial for enhancing the usability of your machine. You’ll want to connect a resistor in line with the LED to prevent it from drawing too much current—because nobody likes a burnt-out light! Once you’ve secured those connections, your button will signal when it’s active, lighting up your workspace like a beacon of productivity. Trust me, seeing that glow will make everything feel just right.
Attach the Output Load
Now it’s all about attaching the output load to your push button switch. This step is key because it brings everything together, allowing your circuit to function in your vehicle. Make sure you’re using the right alloy wires for a solid connection—this helps avoid corrosion over time and gives you reliable feedback every time you hit that switch. Just remember, proper wiring is a fundamental concept in electrical engineering, and securing this part of the circuit means you’re one step closer to lighting up that dashboard with confidence!
Troubleshooting Common Issues
Let’s get straight to the point. You might run into a few hiccups while wiring that push button switch with LED. First, you’ll need to identify any wiring problems. Then, figure out how to resolve any LED malfunctions. Finally, it’s crucial to check your power supply connections. Each of these steps is key to making sure your setup is efficient and ready to go!
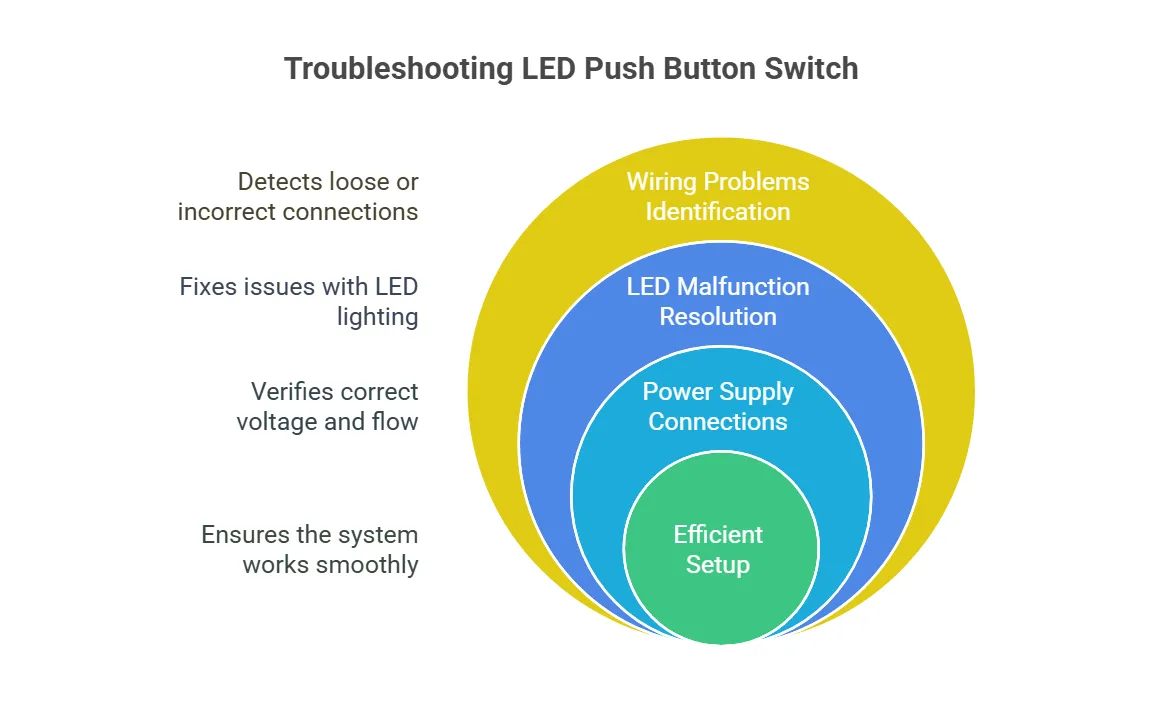
Identifying Wiring Problems
When you’re tackling a wiring project with an illuminated button switch, identifying wiring problems is key. If the LED isn’t lighting up or the relay isn’t activating your device, double-check your wiring diagram for correct connections. Common issues often stem from loose wires or incorrectly paired connections; for example, ensure that connections to your computer or power sources are snug—any gap might leave you in the dark. That’s why a good inspection can save you a lot of headaches:
- Check all wire connections for security.
- Review the wiring diagram for correct configuration.
- Test the LED to confirm it’s functioning.
- Ensure the relay is properly connected.
- Look for any damaged wires that need replacement.
Resolving LED Malfunction
If your LED isn’t lighting up after wiring your 12v button switch, don’t panic; it’s fixable! First, check to see if your power supply is working; sometimes it’s as simple as a loose connection or a dead battery. If you’ve customized your switch with specific components, ensure that everything is compatible—like the plastic housing not interfering with the LED’s connections. If you’re working with Bluetooth or other tech, verify that those settings are correct too. Getting that LED to glow is all about making the right connections and ensuring everything’s in sync!
Checking Power Supply Connections
When it comes to checking power supply connections, you want to know your system is getting the right force to drive your LED push button switch. Grab your multimeter and test for voltage at the switch wiring—this will tell you if the current is flowing correctly. If there’s no reading, it might be time to troubleshoot; check your electronic component connections to see if any wires are loose or damaged. Trust me, verifying these connections can save you a world of frustration, ensuring you get the payment you deserve from your project without any surprises!
FAQs

You’ve got questions, and we’re here to help! First up, find out how an illuminated push button switch works—it’s pretty nifty. Next, we’ll dive into the advantages of using 12V push button switches, including their reliability for things like doorbells or customer service applications. Can you use an illuminated switch with different voltages? Absolutely, but let’s break down how you can manage that safely, even with a fuse in the mix. You’ll get practical insights that make wiring a breeze!
How Does an Illuminated Push Button Switch Work?
An illuminated push button switch works by passing electric current from the power supply through its circuit when activated. When you press the button, it completes the electrical wiring, allowing voltage to flow, which lights up the LED indicator. This gives you a clear visual cue, making it perfect for home appliances or any device needing easy control, especially in dimly lit spaces. If you’re wiring it yourself, just keep in mind the basics of electrical connections for a seamless setup.
What Are the Advantages of Using 12V Push Button Switches?
Using 12V push button switches comes with some solid perks. For starters, they’re super versatile—you can easily hook them up to various devices like pumps and lights without worrying about compatibility issues. Plus, they often include features like built-in capacitors to help manage current flow, making your setup smoother. Not to mention, with the right ohm ratings, you get reliable performance that keeps your engine or system running like a champ. It’s all about simplicity and efficiency, right?
Can I Use an Illuminated Switch With Different Voltages?
Absolutely, you can use an illuminated switch with different voltages, but you need to be careful. When you’re experimenting, make sure the actuator or sensor connected is rated for the voltage you’re using—this helps prevent any short circuits. And hey, if you’re unsure, grab your screwdriver and check how everything’s wired; it’s better to double-check than to deal with a blown setup!
What are the benefits of using an illuminated push button switch?
Illuminated push button switches enhance visibility in low-light settings, ensuring easy operation. They also provide clear status indicators for devices, improving user awareness and safety—making them ideal for industrial applications and user-friendly interfaces.
How do I prepare for push button switch installation?
To prepare for push button switch installation, gather your tools, read the manual, ensure the power is off, and check the wiring compatibility. This helps ensure a smooth and safe setup for your project.
Can you explain the different wiring diagrams for illuminated switches?
Illuminated switches come in various wiring diagrams. Key types include
- Single Pole: Simple wiring for basic on/off control.
- Double Pole: Controls multiple circuits with added safety.
- Three-Way: Allows control from two locations.
each with unique configurations.
What is the process for wiring a 12V push button switch?
Wiring a 12V push button switch involves connecting the positive terminal to the switch, then linking the switch to the device’s positive side. Connect the device’s negative terminal to the power source’s negative. Simple as that!
How can I troubleshoot issues with my push button switch?
To troubleshoot your push button switch, check for visible damage, test the connections, and ensure proper voltage. If it’s unresponsive, consider replacing the switch or consulting a manufacturer for support and customization options.
