 EN
EN
Ever lost hours hunting down a miswired button that brought your production line to its knees? Crafting a reliable push button control panel ensures smooth operation, minimizes downtime, and gives you the flexibility to source high-quality bulk components or order custom switch panels from Langir. In this guide, you’ll discover what components make up a control panel assembly, how to design an ergonomic switch panel, step-by-step assembly and wiring techniques, budget-friendly DIY tips, testing and troubleshooting methods, and where to find professional services. Let’s dive into each phase of push button panel wiring and assembly to get your industrial machines responding exactly as intended.
Push Button Control Panels and Their Key Components
A push button control panel is a centralized interface that houses switches, indicators, and wiring to start, stop, or regulate machinery. By combining panel mount push buttons, enclosures, and terminal blocks in a structured layout, you gain precision control and safety benefits in industrial manufacturing. For example, a simple start/stop station on a conveyor belt can prevent accidental restarts and protect operators. Understanding each component sets the foundation for efficient control panel assembly and customization.
Contact Langir for Custom Panel Mount Switches
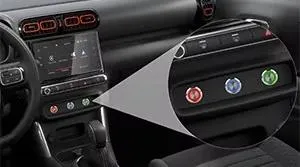
What Is a Panel Mount Push Button and How Does It Work
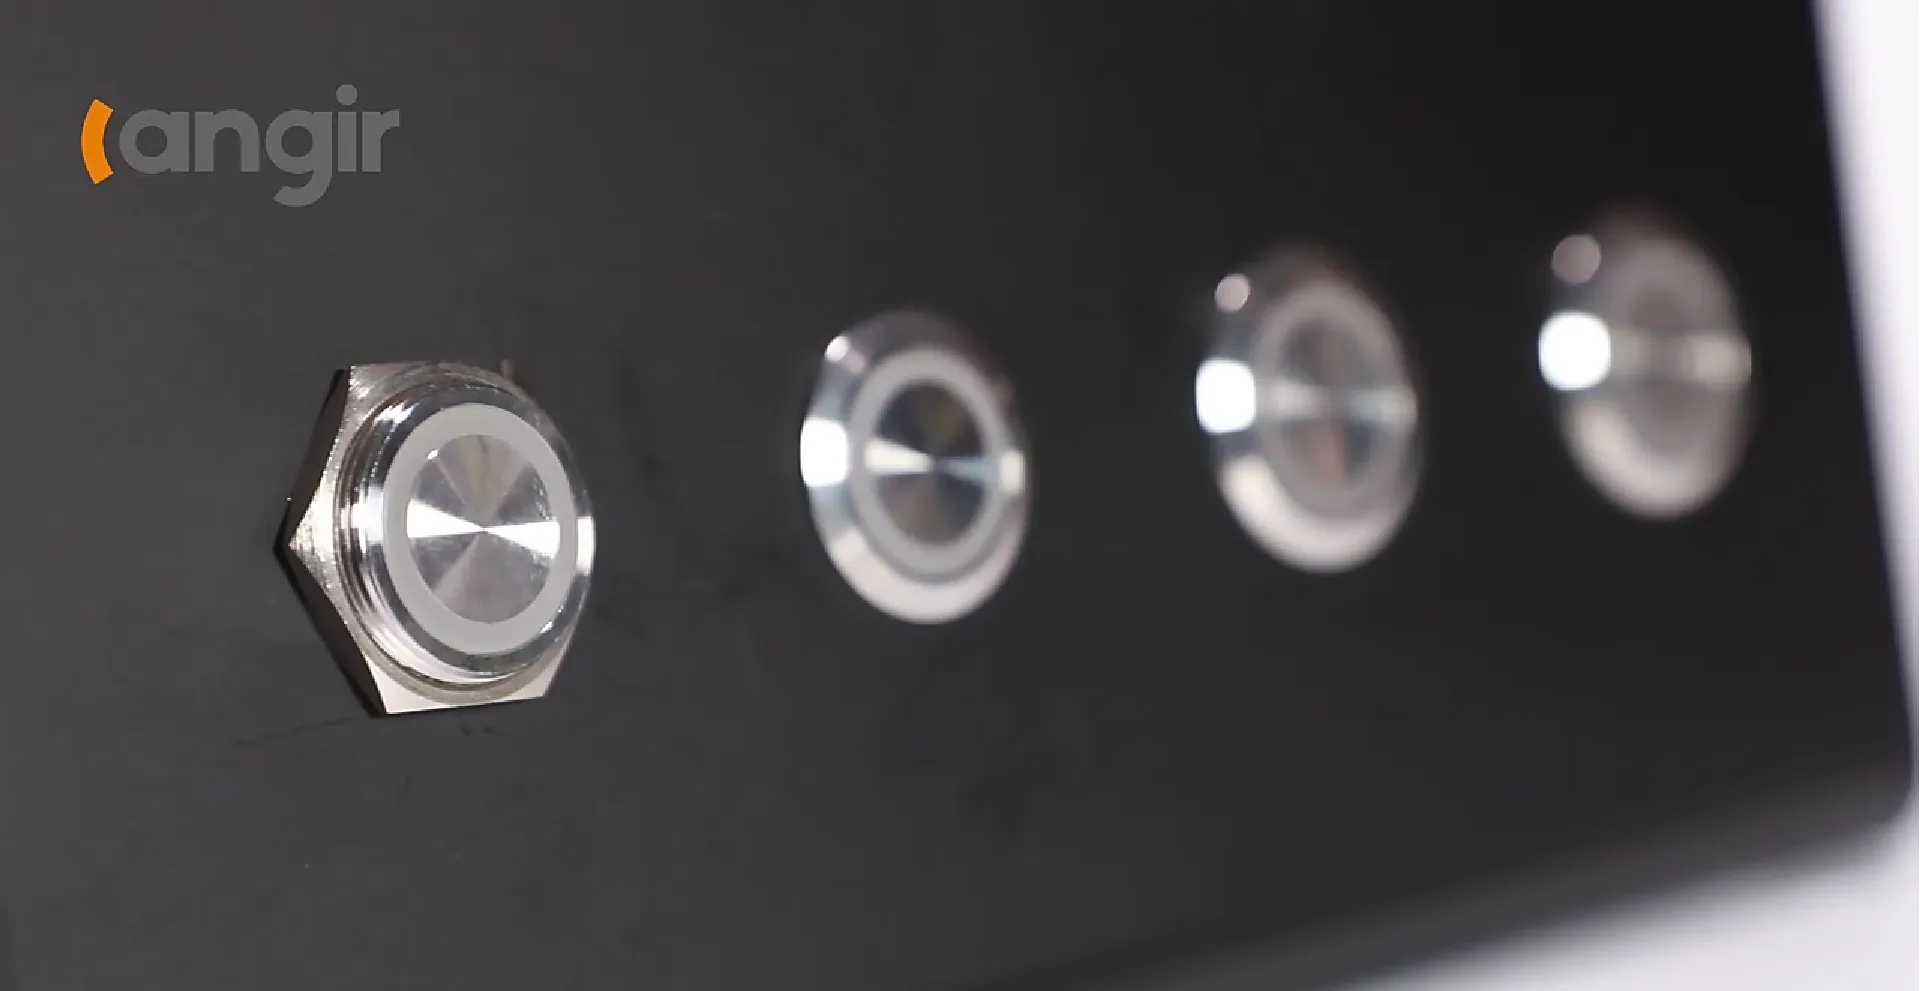
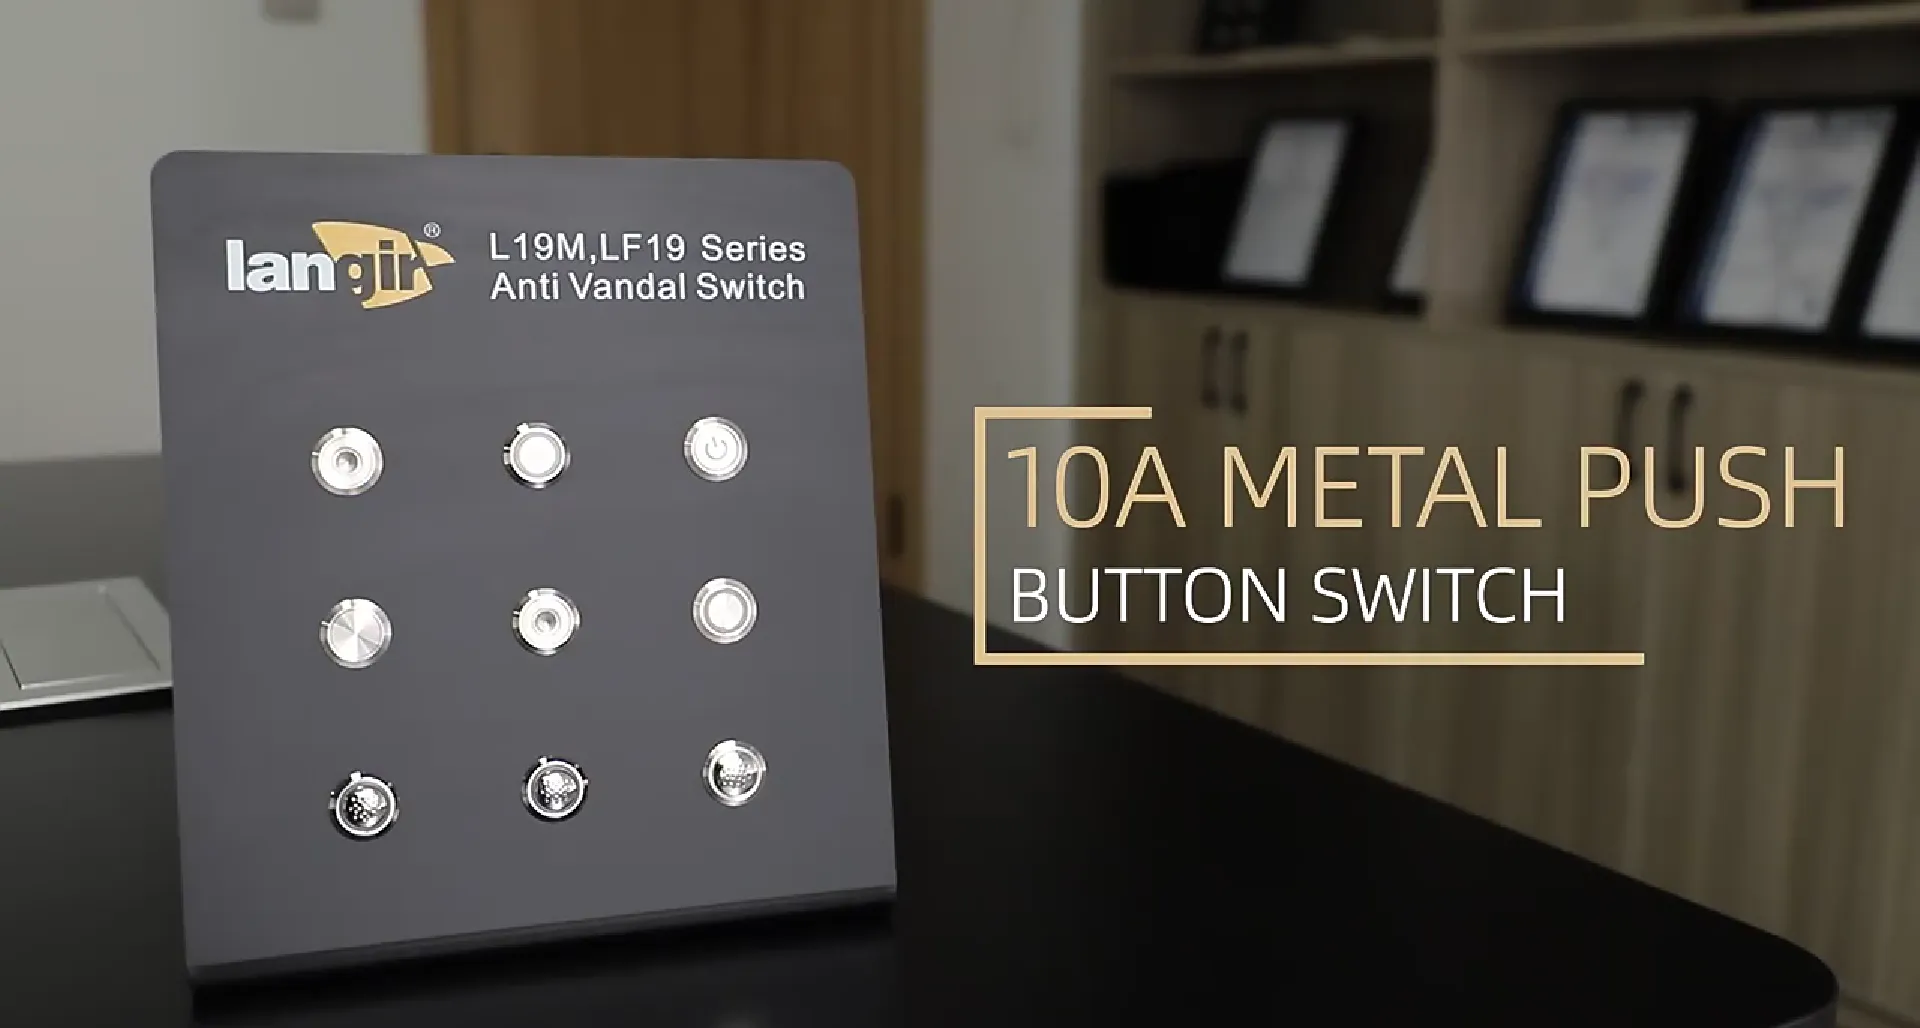
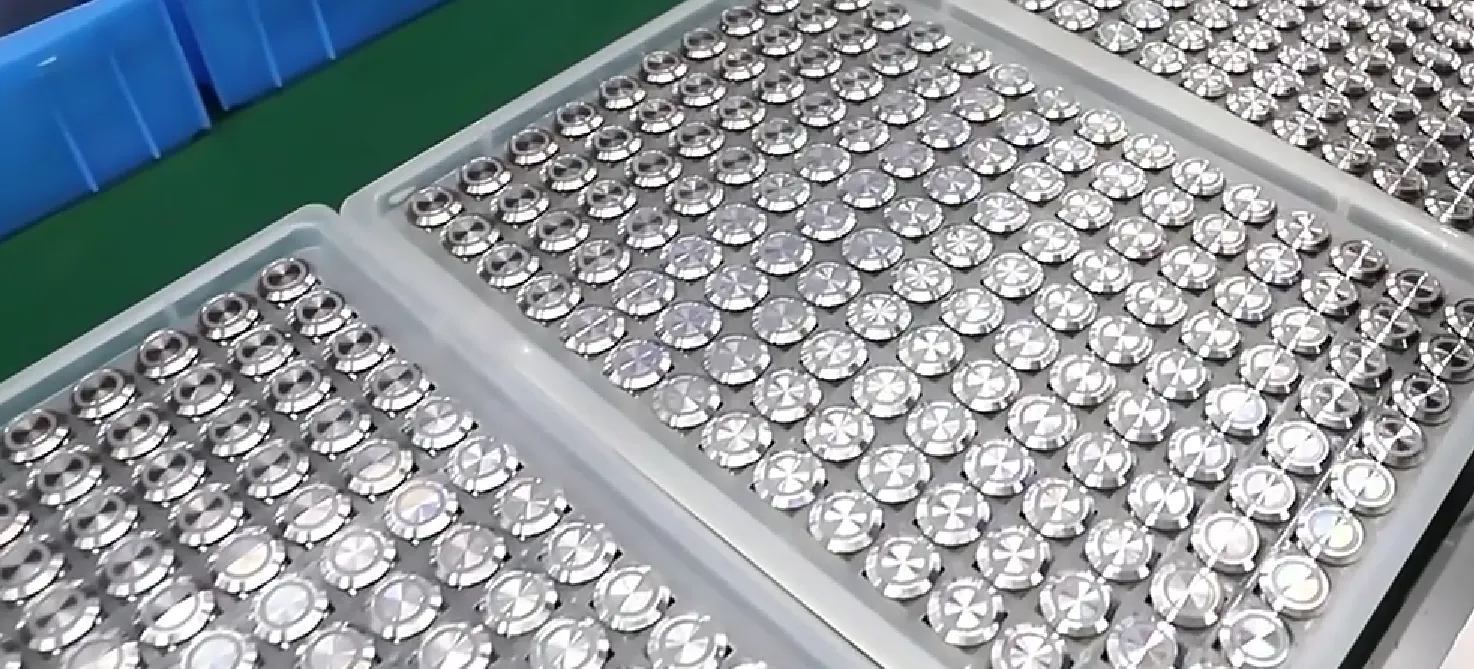
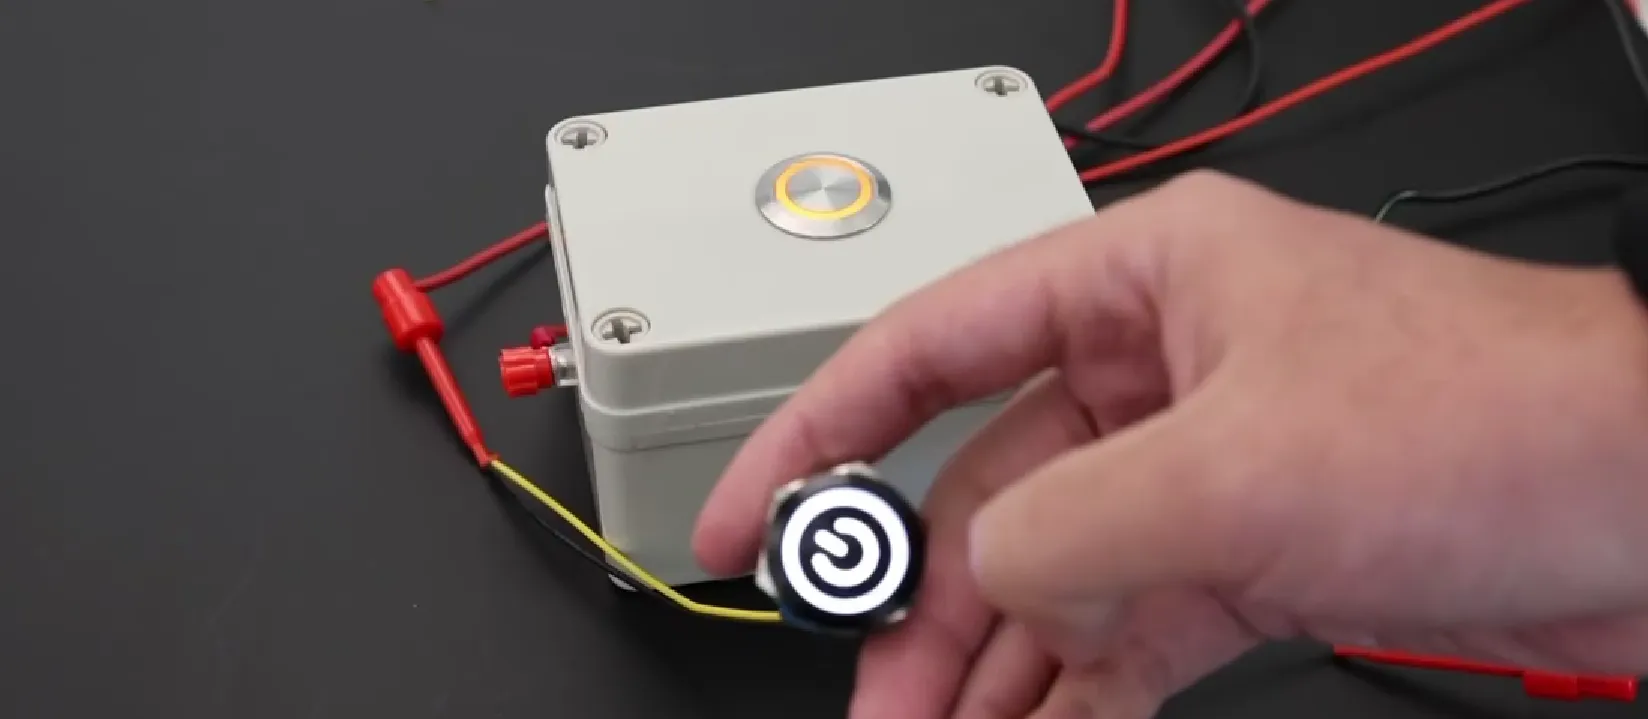
A panel mount push button is a user-activated switch installed directly into an enclosure’s surface, providing a durable interface for control circuits. It operates by completing or interrupting an electrical path when pressed, sending a signal to relays or PLCs that start or stop equipment. These push buttons enhance safety by featuring protective collars, IP ratings, and quick-disconnect terminals that simplify maintenance. Choosing reliable panel mount push buttons in bulk from Langir ensures consistent performance and reduces replacement cycles.
Which Switch Types Are Common in Push Button Panels
Below is a comparative breakdown of the most common switch types used in push button panels, highlighting their key features and typical applications.
This table illustrates how each switch type contributes distinct functionality, guiding you to select the right combination for your specific application and user requirements.
What Are the Essential Parts of Control Panel Assembly
A complete control panel assembly combines multiple entities into a cohesive system.
- Enclosure: Protects internal components from dust and moisture.
- Push Buttons & Switches: Serve as the user interface for operation.
- Wiring Harness: Delivers power and signals between devices.
- Terminal Blocks: Provide organized connection points.
- Legend Plates: Label buttons for clear operator guidance.
Together, these parts ensure safety, clarity, and serviceability, forming the backbone of any switch panel design that we’ll explore next.
How Do You Design an Effective Switch Panel for Your Needs
Designing a switch panel involves balancing user ergonomics, component durability, and circuit requirements to optimize performance and maintenance. By planning layout, material selection, and UI elements upfront, you’ll minimize wiring errors and streamline future upgrades. For instance, grouping start and stop buttons with clear color coding reduces operator confusion and speeds up emergency responses.
Contact Langir for Custom Panel Mount Switches
What Are the Best Practices for Custom Switch Panel Layouts
When arranging controls, follow these ergonomic and functional principles:
- Place emergency stop switches within easy reach of the operator’s primary stance.
- Group related controls (e.g., motor start/stop) in dedicated zones.
- Use consistent spacing (≥30 mm) to prevent accidental activation.
- Employ color-coded housings (red for stop, green for start) for instant recognition.
Positioning switches strategically enhances safety and reduces training time for new operators.
Ergonomic Design in Control Panels
Ergonomic principles are crucial in designing control panels to minimize operator errors and enhance safety. Proper layout, including the strategic placement of emergency stop switches and grouping related controls, reduces training time and improves response times in critical situations. Color-coding, such as using red for stop and green for start, further aids in quick recognition and efficient operation.
This research supports the article’s emphasis on ergonomic considerations for effective switch panel design.
How to Choose the Right Materials and Enclosure for Durability
Selecting the enclosure material and protective features determines long-term reliability in harsh environments.
Material Selection for Enclosures
The choice of materials for control panel enclosures significantly impacts their durability and performance in various industrial environments. Stainless steel is ideal for wash-down areas due to its corrosion resistance, while polycarbonate offers high impact strength. NEMA 4X ratings ensure protection against dust and water ingress, and powder-coated steel provides surface hardness against scratches and abrasion, ensuring long-term reliability.
This source provides information on the importance of selecting the right materials and enclosures for durability.
Choosing the correct enclosure and finishes ensures your panel assembly endures the rigors of industrial use without costly replacements.
How Does User Interface Impact Switch Panel Design
A clear user interface (UI) reduces operator errors and repair calls by streamlining control logic. Well-placed labels, intuitive switch types, and tactile feedback guide users through complex tasks. For example, illuminated push buttons not only signal machine status but also improve visibility in low-light conditions. Integrating UI considerations early in the design phase directly cuts downtime and training expenses.
What Are the Steps to Assemble a Push Button Control Panel
Assembling a control panel involves preparing parts, mounting hardware, and wiring circuits in a precise order to ensure safety and functionality. Following a structured workflow minimizes rework and keeps your assembly process on schedule.
Contact Langir for Custom Panel Mount Switches
How to Prepare Components for Control Panel Assembly
Before drilling or wiring, verify and organize all parts:
- Inventory push buttons, terminal blocks, and cables against the bill of materials.
- Test each switch with a multimeter to confirm contact integrity.
- Label wires and terminal points to match schematic diagrams.
Proper preparation prevents last-minute scrambles and supports a seamless assembly phase.
How to Mount Push Buttons and Switches Correctly
Mount switches and buttons with uniform torque and secure fittings:
- Drill panel cutouts according to manufacturer templates.
- Install gaskets or sealing rings for IP-rated enclosures.
- Tighten nuts with a calibrated torque wrench to prevent leaks or vibration loosening.
Consistent mounting practices maintain enclosure integrity and simplify future servicing.
What Tools Are Needed for Efficient Panel Assembly
A well-equipped workstation speeds up control panel assembly while reducing errors.
Having these tools on hand keeps your assembly line moving and avoids improvising with makeshift equipment.
How to Wire a Push Button Panel: Wiring Techniques and Safety Tips
Contact Langir for Custom Panel Mount Switches
What Are the Common Wiring Schemes for Push Button Panels
Control panel wiring typically uses established methods to organize power and control circuits effectively:
- Series Wiring – Links switches in sequence for start-stop chains.
- Parallel Wiring – Individual switches control separate circuits independently.
- Daisy-Chain Harness – Pre-assembled harnesses streamline mass switching.
Selecting the right scheme aligns your wiring strategy with machine logic and maintenance preferences.
How to Connect Switches to Control Circuits Safely
Safe switch connections depend on clear separation and reliable termination:
- De-energize all power sources before making connections.
- Route control wires away from high-voltage cables to prevent interference.
- Use insulated ferrules and terminal blocks to secure conductors.
Adhering to these steps prevents accidental energization and simplifies future troubleshooting.
What Are Important Electrical Safety Guidelines During Wiring
- Always lock out and tag out power before opening enclosures.
- Wear rubber-insulated gloves and eye protection near live buses.
- Verify absence of voltage with a non-contact tester before touching conductors.
Implementing these guidelines builds trust in your control panel assembly and reduces liability.
How Can You Build a DIY Push Button Control Panel on a Budget
With thoughtful sourcing and simplified techniques, you can assemble a functional DIY control panel without overspending on custom services. Using off-the-shelf parts and common tools lets hobbyists and small shops tackle basic automation tasks affordably.
What Materials and Components Are Best for DIY Panels
Budget-friendly DIY builds often reuse or repurpose readily available parts:
- Entry-level NEMA1 enclosures from surplus suppliers.
- Bulk panel mount push buttons purchased online.
- Pre-labeled wiring harnesses to cut custom lengths.
Sourcing components in small quantities still yields professional-looking results without breaking the bank.
How to Simplify Wiring for DIY Push Button Panels
Minimize wiring complexity with these shortcuts:
- Use color-coded jumper wires to speed up circuit identification.
- Adopt snap-in terminal blocks that require no tools for installation.
- Pre-crimp wire ends before panel assembly to avoid on-panel clutter.
Simplified wiring reduces assembly time and frustration for first-time builders.
What Are Common DIY Mistakes to Avoid
Even budget builds can look polished if you sidestep typical pitfalls:
- Overlooking strain relief, which leads to cable fatigue.
- Skipping proper labeling, resulting in endless troubleshooting.
- Tightening terminals unevenly, causing intermittent contacts.
By learning from these errors, your DIY control panel will outperform ad-hoc setups.
How to Test and Troubleshoot Your Push Button Control Panel
Contact Langir for Custom Panel Mount Switches
What Are the Best Methods to Test Panel Functionality
- Perform continuity tests on all switch loops with a multimeter.
- Simulate push button commands to confirm correct relay or PLC responses.
- Conduct insulation resistance measurements to detect stray currents.
These tests provide confidence that your assembly meets industry safety standards and operational requirements.
How to Identify and Fix Wiring or Assembly Issues
When Should You Consult a Professional for Repairs
Complex or high-risk systems benefit from licensed expertise when troubleshooting exceeds basic assembly checks. If your panel controls high-voltage motors, safety interlocks, or ATEX zones, engaging a qualified electrician ensures code compliance and operator protection. Professional service also streamlines warranty claims and reduces project liability.
Where Can You Find Custom Switch Panels and Professional Assembly Services
Contact Langir for Custom Panel Mount Switches
What Are the Benefits of Ordering Custom Switch Panels
- Exact Fit – Panels cut, wired, and labeled per your drawings.
- Quality Assurance – Factory-tested for functionality and safety.
- Faster Deployment – Turnkey units ready for immediate installation.
Custom switch panel solutions reduce in-house workload and deliver predictable outcomes.
How to Choose a Reliable Control Panel Assembly Service
Evaluate providers on these criteria:
- Valid UL or CE certifications demonstrating safety compliance.
- Proven lead times and on-time delivery records.
- Clear communication channels and revision control.
- Integration with supply chains for bulk push button panel wiring.
Selecting a partner with transparent processes and industry credentials builds trust and long-term collaboration.
What Are Typical Costs for Custom and Professional Panels
Knowing these ranges helps you weigh in-house assembly versus professional outsourcing and align costs with project complexity.
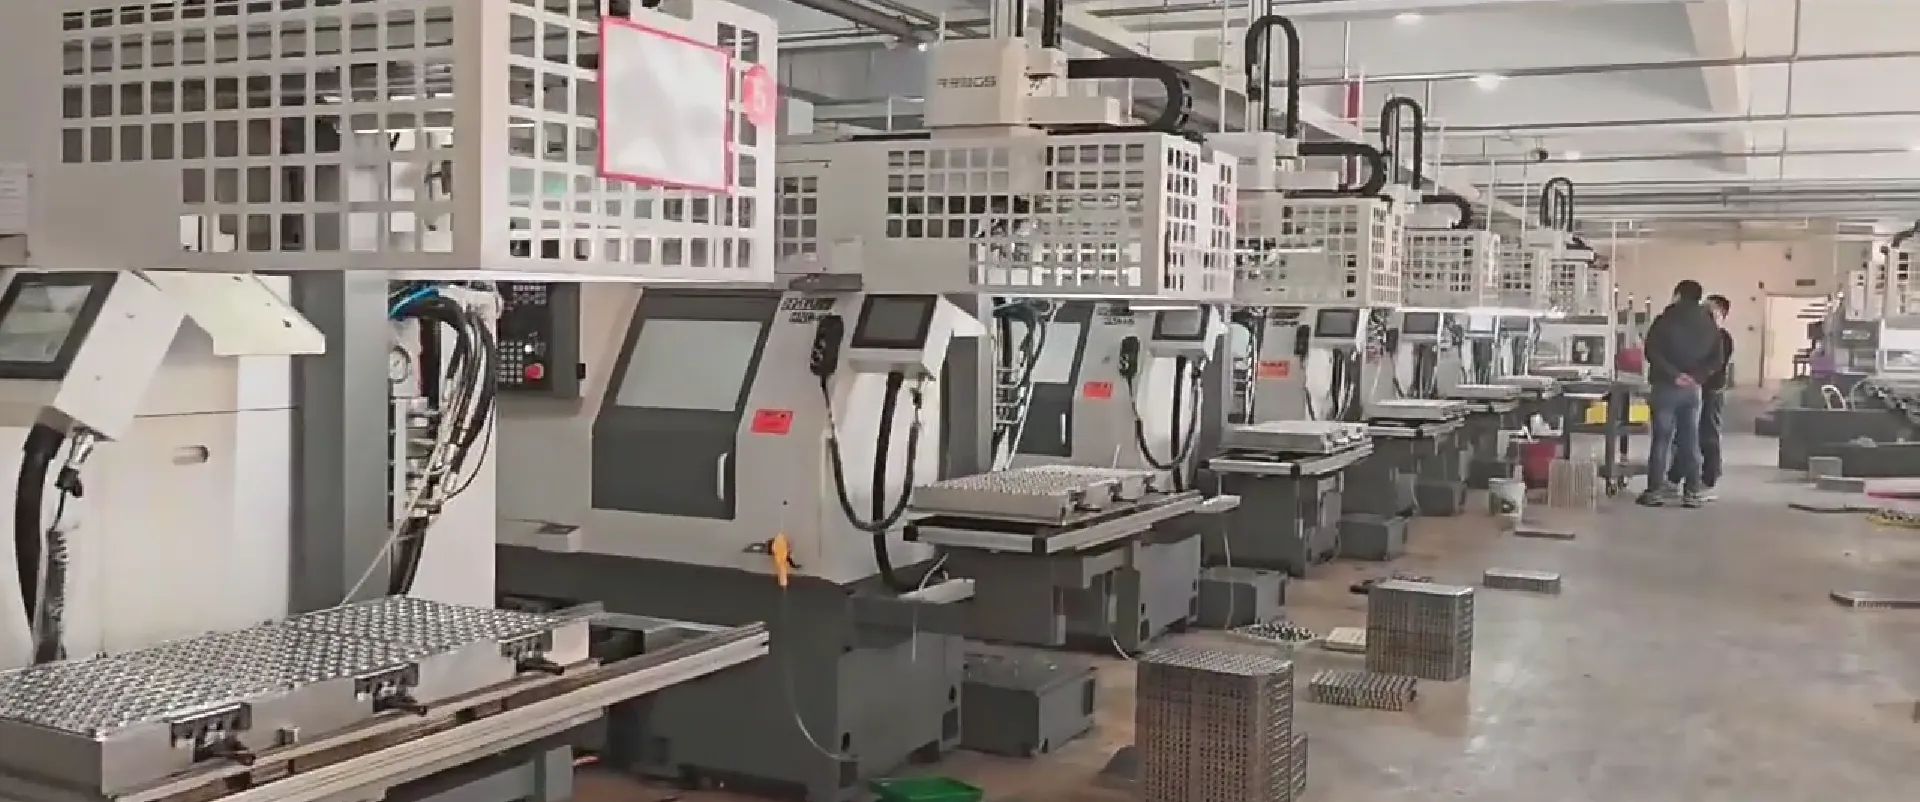
Langir supplies bulk panel mount switches and custom panel assembly services that fit any production scale. Viewour catalog to explore panel mount switch models, or reach out to request a quote for tailored control solutions.
Crafting a robust push button control panel demands attention to component selection, ergonomic layout, precise assembly, and rigorous testing. By following these steps, you’ll minimize unexpected downtime, enhance operator safety, and gain confidence in your control panel wiring. Whether you’re building a DIY station or ordering a fully custom unit, the right approach makes all the difference in keeping your industrial systems running smoothly.
Ready to streamline your next control panel project? Check out our full product lineup or contact our team to discuss bulk pricing and customization options.
