
 EN
EN
Mounting a switch to a panel ensures secure, reliable operation and prevents accidental disconnection in industrial equipment. In this guide, you’ll discover how to choose the right panel mount switch, calculate precise cutout dimensions, follow step-by-step mounting and wiring instructions, apply advanced sealing and vibration-resistant techniques, select optimal panel materials, and learn how Langir’s OEM/ODM bulk customization can streamline your installation. Whether you’re installing a simple push button or an anti-vandal control, this walkthrough covers every aspect from actuator to gasket, drill bits to strain relief, so you achieve professional results with Langir’s IP68-rated solutions.
What Are Panel Mount Switches and Their Key Components
Panel mount switches are electrical controls designed to install directly into an enclosure or control panel, providing user-accessible actuation without compromising environmental protection. By integrating mounting thread and sealing gaskets, they deliver robust performance and simplify maintenance in manufacturing and automation settings.
Contact Langir for Custom Panel Mount Switches
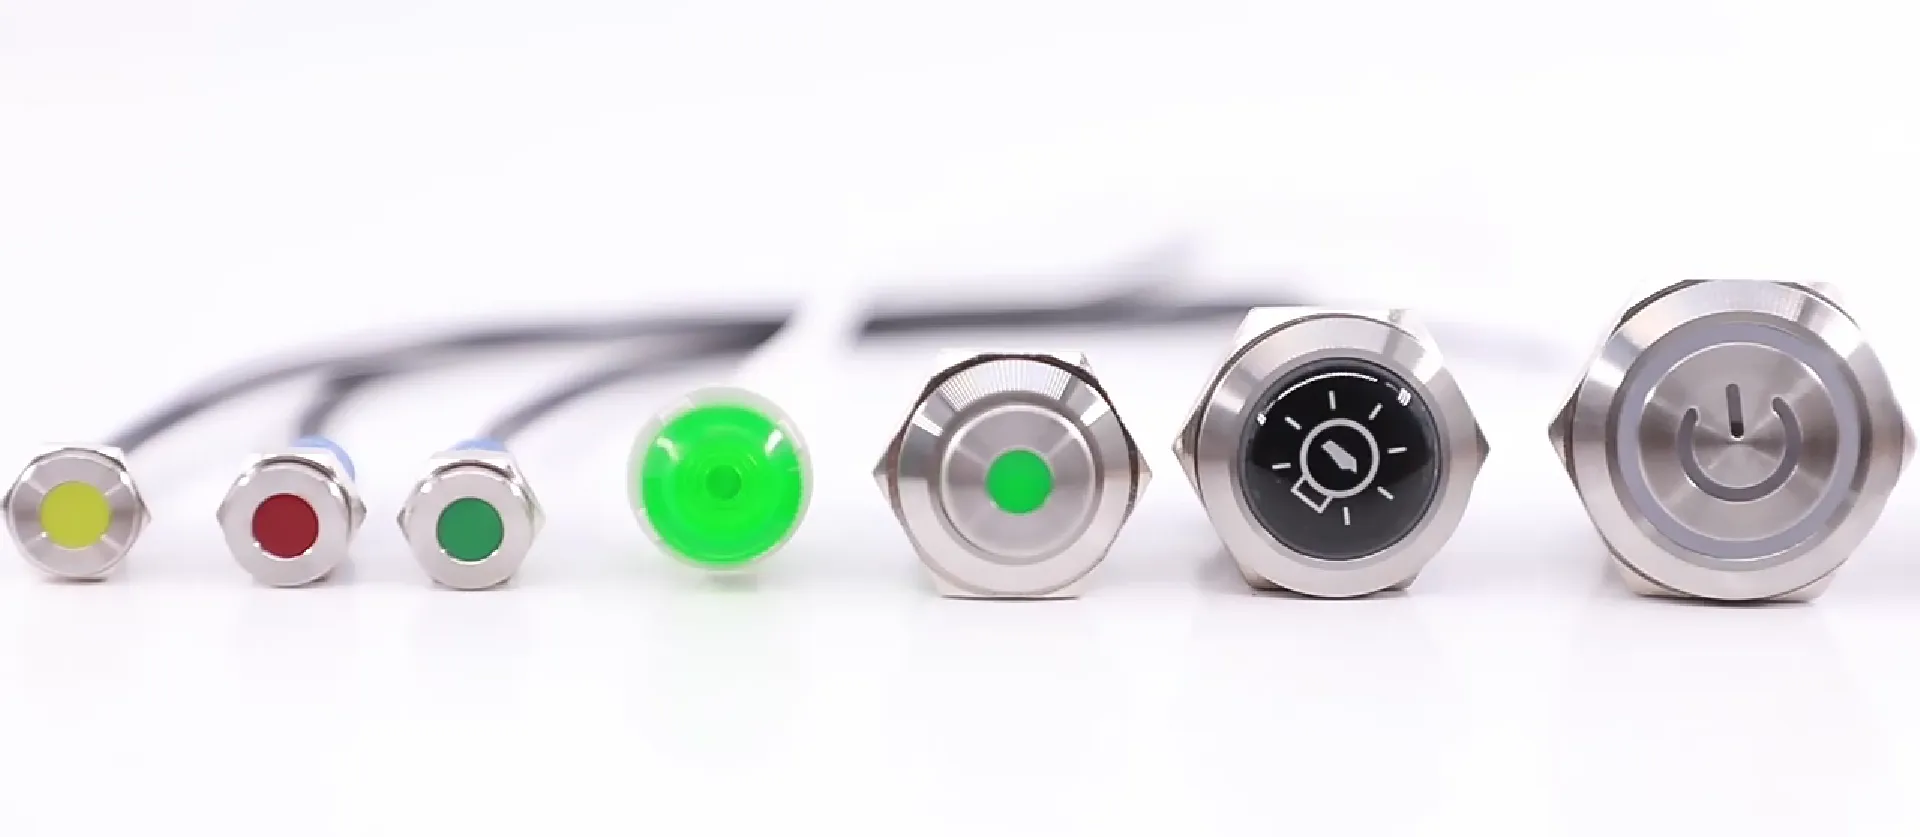
Panel Mount Switch Types
Panel mount switch varieties cater to different use cases and environments:
- Push Button Switches improve operator control for start/stop functions.
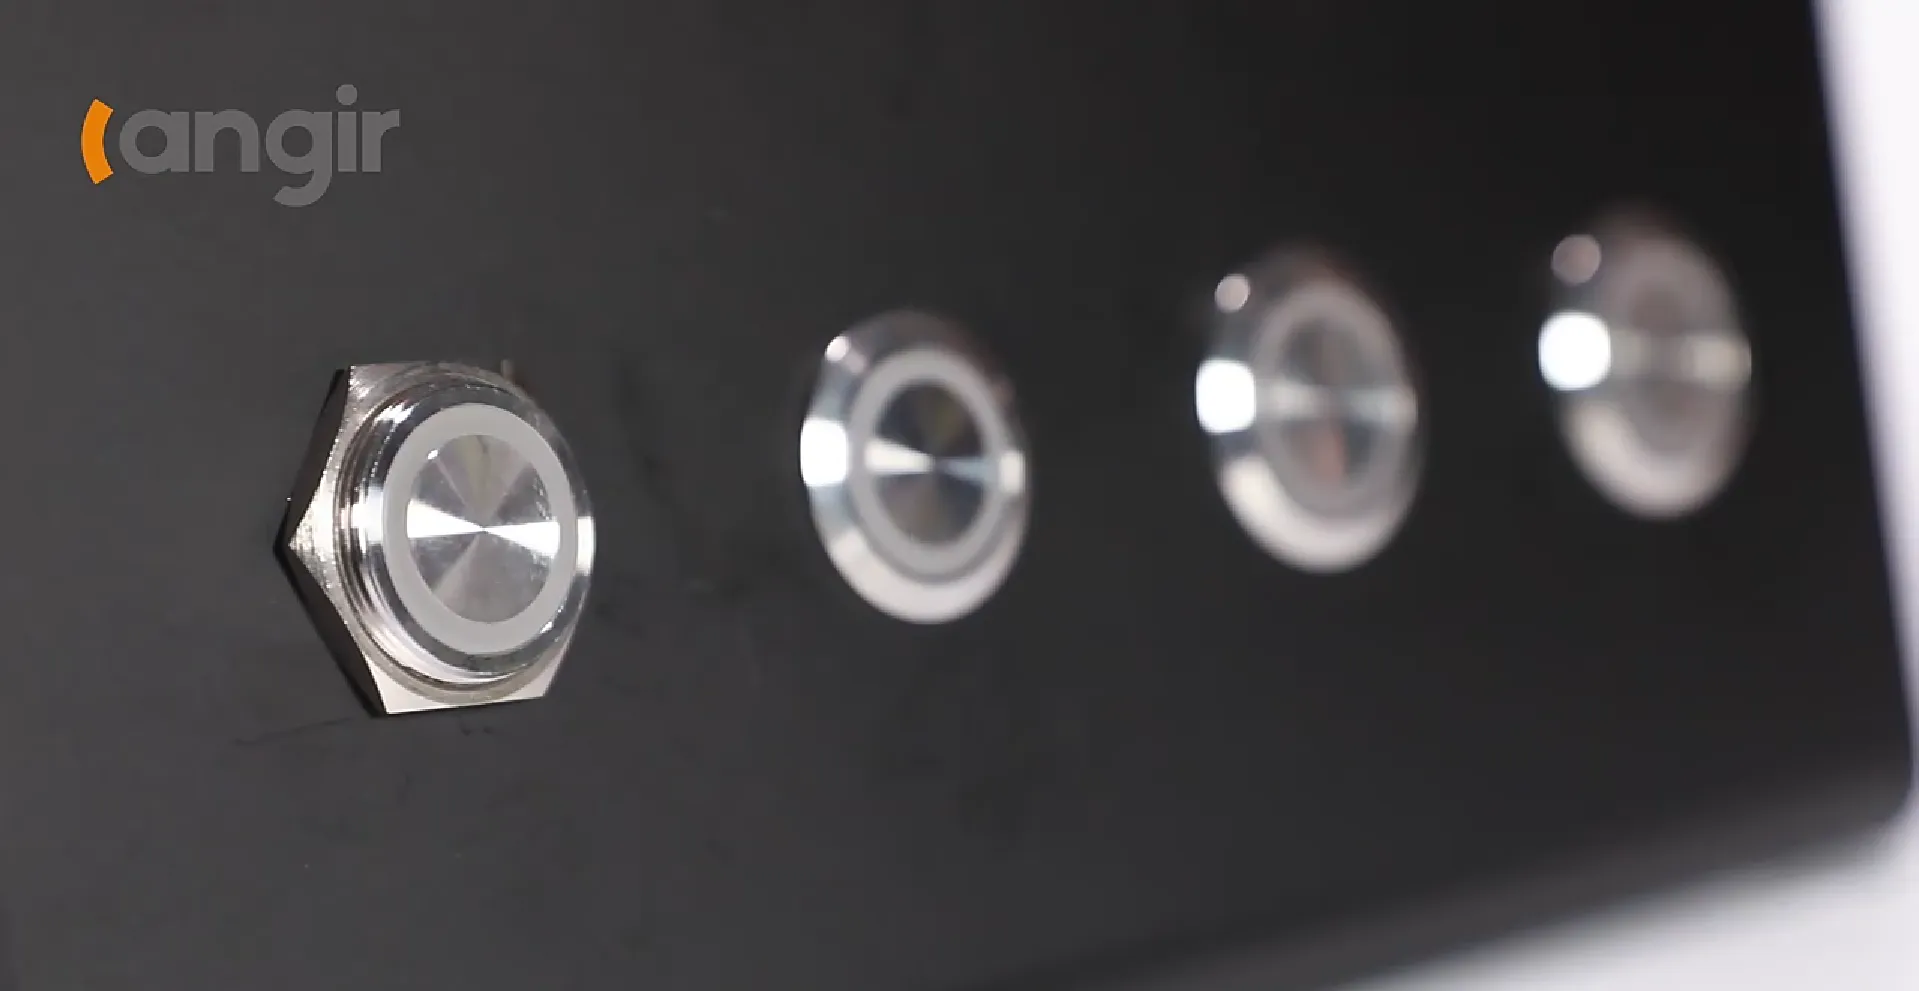
- Anti-Vandal Switches boost tamper resistance through metal housings and reinforced actuators.
- Piezo Switches support waterproof operation by using solid-state actuation without mechanical wear.
- Capacitive Switches enhance durability by detecting touch without moving parts.
Switch type enhances user interaction and system longevity based on application demands.
Switch Mounting
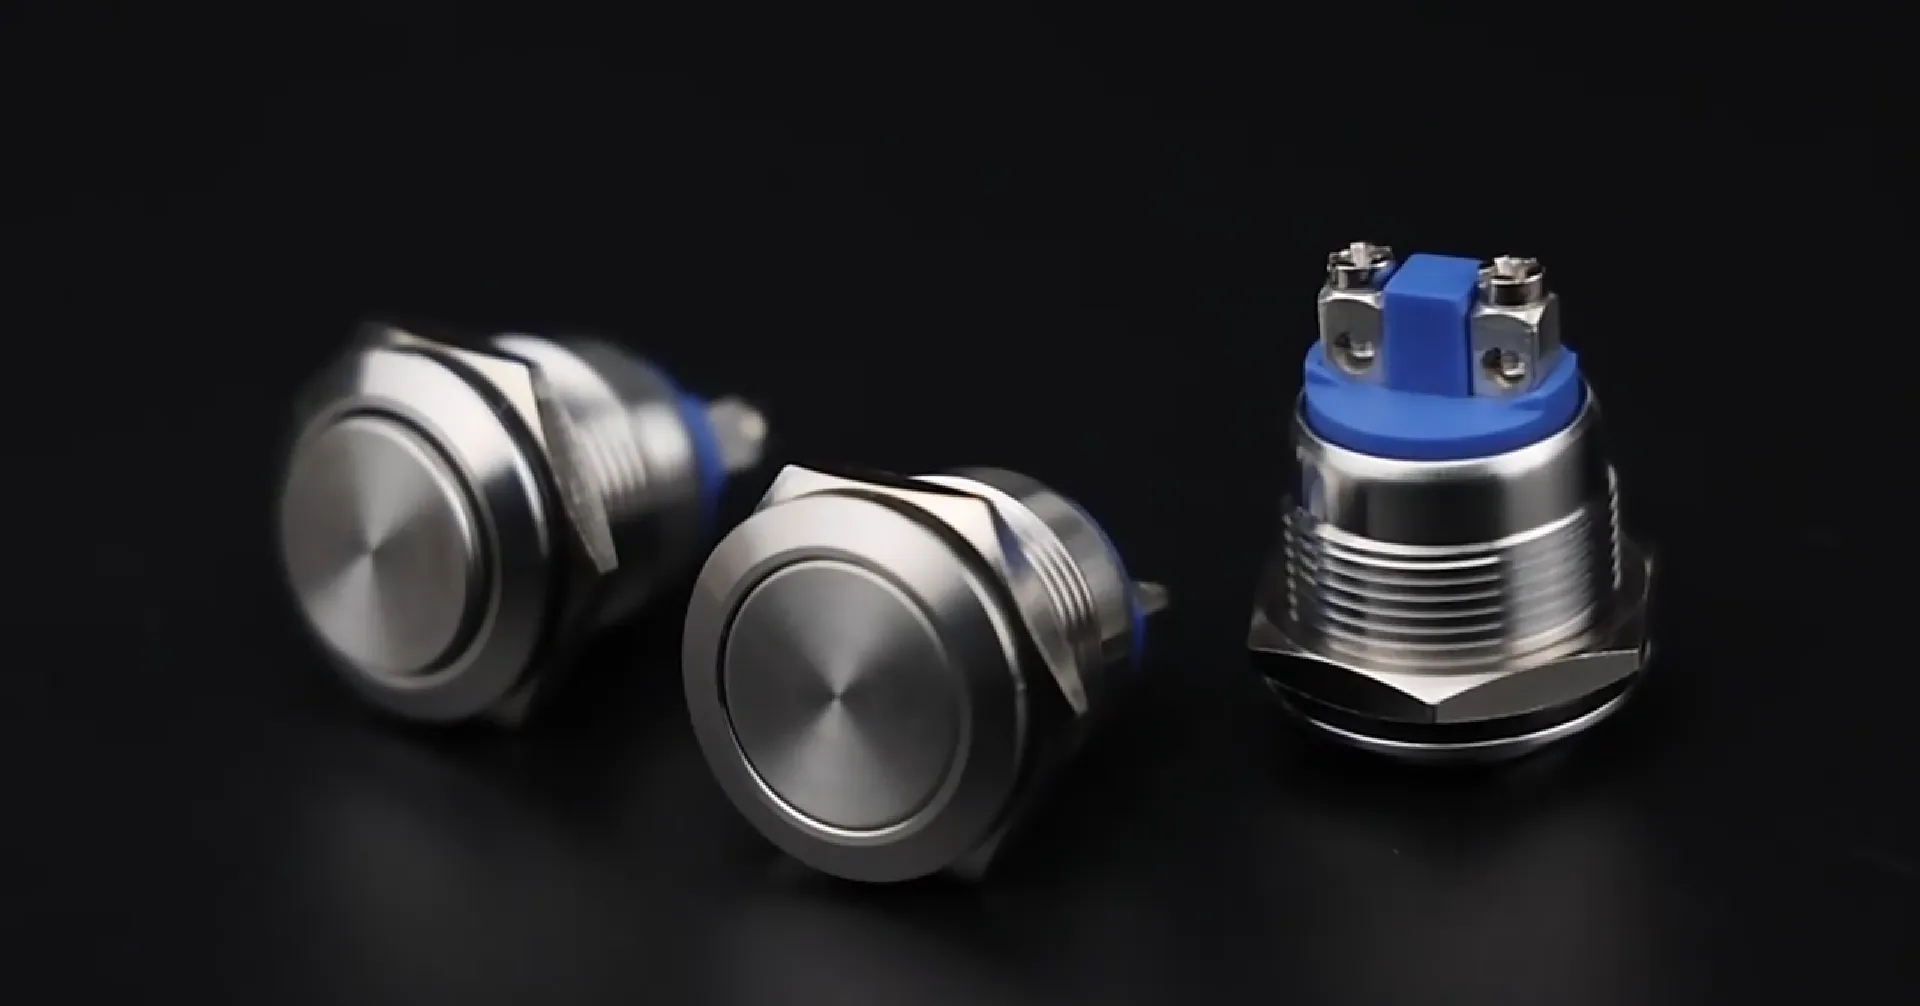
Panel mount switch relies on six core parts to function and seal correctly:
- Actuator – the external button or toggle that initiates the circuit.
- Housing – the body that contains internal contacts and supports sealing.
- Terminals – conductive posts for wire connections.
- Mounting Nut – secures the switch against panel vibration.
- Washer – distributes pressure and prevents rotation.
- Gasket – provides IP-rated environmental sealing.
Electrical contact and protect against dust and moisture, preparing you to mark and cut the panel opening precisely.
Switch Materials
Materials influence corrosion resistance, mechanical strength, and thermal stability. The table below compares common material options:
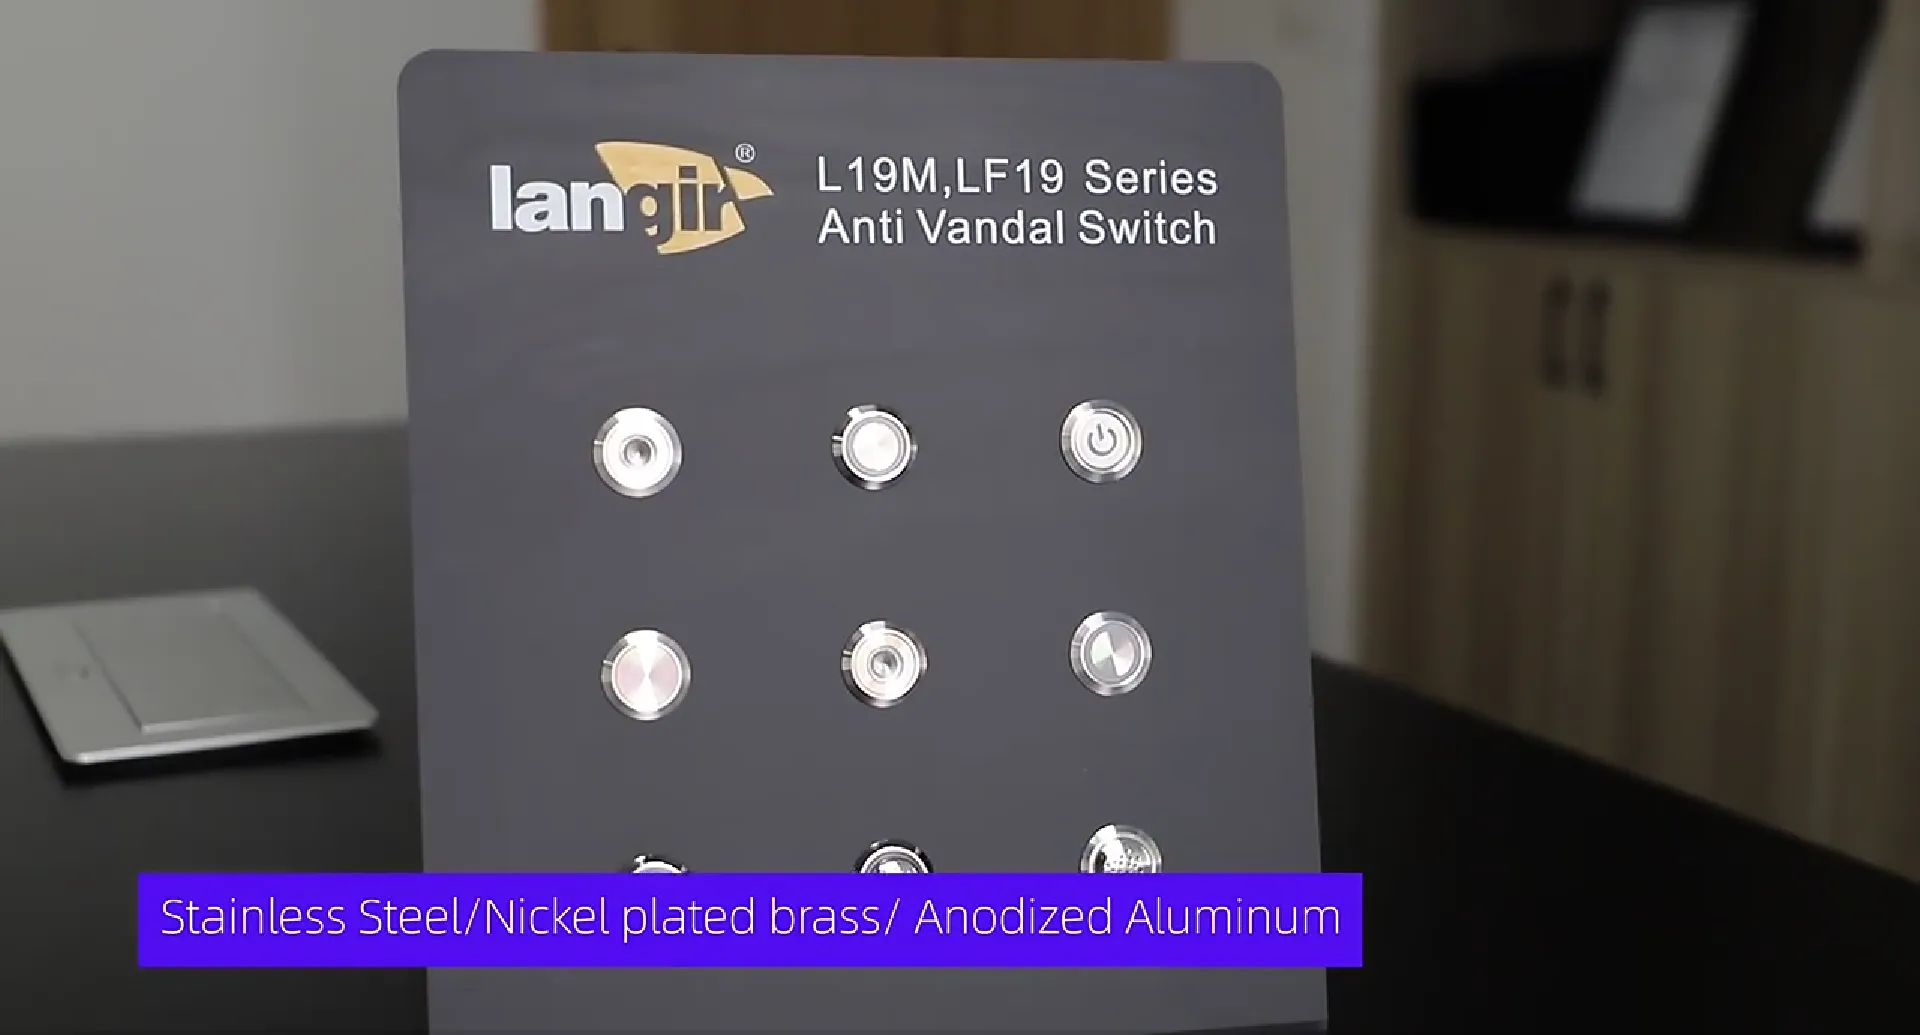
Materials
Panel mount switches is crucial for ensuring durability and resistance to environmental factors. Stainless steel is often favored for its superior corrosion resistance in harsh environments, while nickel-plated brass offers a balance of electrical conductivity and durability. Anodized aluminum provides a lightweight option with moderate strength, suitable for various applications.
Switch materials affect mounting and durability.
Panel Cutout Dimensions
Panel cutout dimensions guarantee a snug fit and proper sealing for panel mount switches. Measuring the switch’s threaded barrel diameter and accounting for the gasket thickness ensures leak-proof, vibration-resistant installation.
Contact Langir for Custom Panel Mount Switches
Panel Cutout Sizes for Different Switch Types
Manufacturers typically offer hole sizes from 8 mm up to 40 mm in diameter. Common standards include:
- 8 mm for miniature pilot indicators
- 12 mm and 16 mm for general-purpose illuminated push buttons
- 19 mm and 22 mm for heavy-duty anti-vandal switches
- 30 mm to 40 mm for emergency stop mushroom heads
Cutout Dimensions
Panel cutout dimensions are essential for the proper installation and sealing of panel mount switches. Standard panel cutout sizes vary depending on the switch type, with common sizes ranging from 8 mm for miniature pilot indicators to 40 mm for emergency stop mushroom heads. It is important to refer to the switch datasheet for exact tolerances before marking the panel. Switch datasheet to confirm exact tolerances and thread pitches before marking the panel.
What Tools Are Recommended for Cutting Panel Holes
High-quality cutting tools yield clean edges and maintain panel integrity:
- Drill and Hole Saw for round cutouts up to 30 mm.
- Nibblers for irregular or rectangular openings without heat deformation.
- Deburring Tool to remove sharp edges and prepare surfaces for gasket sealing.
Selecting the right tool reduces panel stress and prepares for a flush, professional finish.
Step-by-Step Instructions to Mount a Switch to a Panel
A methodical approach to mounting a panel switch ensures safety, accuracy, and longevity. Begin by preparing your work area and verifying cutout dimensions, then follow through to secure wiring.
Contact Langir for Custom Panel Mount Switches
How to Prepare the Panel Before Installing the Switch
Before insertion, clean and deburr the hole to remove metal chips and oil residue. Verifying the cutout diameter against your caliper readings prevents leaks and uneven seating of the gasket.
Cleaning and smoothing the panel opening creates a reliable base for gasket sealing and nut tightening, which directly supports vibration resistance.
How to Insert and Secure the Switch Properly
Begin by placing the gasket against the panel face, align the switch body through the cutout, and finger-tighten the mounting nut:
- Position the gasket on the switch thread to create an environmental seal.
- Insert the switch barrel into the panel opening until the housing sits flush.
- Secure the switch with the mounting nut, tightening to the torque specified by the manufacturer.
Proper tightening engages anti-rotation features and prevents loosening under vibration, ensuring stable operation during heavy use.
How to Wire a Panel Mount Switch Safely and Correctly
Electrical connections must follow color-coded and contact-type guidelines:
- Identify NO (normally open) and NC (normally closed) terminals.
- Strip insulation to expose 5 mm of copper conductor and crimp with ferrules.
- Attach wires to terminals using the correct torque to avoid loose connections.
Ensuring tight, well-organized wiring streamlines maintenance and reduces signal noise in control circuits.
Wiring Practices for Panel Mount Switches
Proper wiring practices are critical for the safe and reliable operation of panel mount switches. This includes identifying the correct terminals, stripping insulation to the appropriate length, crimping wire ferrules for stranded conductors, and attaching wires to terminals using the correct torque to avoid loose connections. Following these guidelines ensures efficient maintenance and reduces signal noise in control circuits.
Common Wiring Configurations
- Momentary (SPST or DPDT) – returns to its default position when released.
- Latching (maintained) – stays in the new position until actuated again.
- NO/NC contacts – enable both opening and closing circuits for flexible control.
Selecting the correct configuration prevents control logic errors and enhances system safety.
Best Practices and Advanced Techniques for Panel Switch Mounting
Beyond basic installation, advanced techniques improve durability in demanding industrial environments.
Contact Langir for Custom Panel Mount Switches
How to Choose Between Flush Mounting and Standard Mounting
Flush mounting embeds the actuator level with the panel surface to minimize snag points, while standard mounting allows the button to protrude for easier access. Flush options enhance aesthetic integration and protect the switch in tight spaces, whereas standard mounting boosts tactile feedback.
How to Ensure Vibration Resistance and Strain Relief
In high-vibration settings, add these measures:
- Use lock washers or nylon insert nuts to resist loosening.
- Employ cable ties and spiral wraps to secure wiring harnesses and reduce mechanical stress on terminals.
- Choose switches with built-in anti-rotation collars for stable orientation.
These steps extend switch life and maintain contact integrity under continuous dynamic loads.
How to Achieve Proper Environmental Sealing
To uphold IP and NEMA ratings:
- Select an IP68-rated switch from Langir with integrated silicone gasket.
- Inspect gasket placement for even compression all around the cutout.
- Apply a thin bead of silicone sealant around the panel aperture if additional protection is required.
A reliable seal blocks dust and moisture ingress, preserving internal contacts and preventing corrosion.
How to Select the Right Panel Materials for Switch Mounting
Panel material dictates mounting hardware compatibility, corrosion resistance, and overall robustness.

Contact Langir for Custom Panel Mount Switches
Common Industrial Panel Material
- Stainless Steel for maximum corrosion resistance in chemical and marine applications.
- Aluminum for lightweight, conductive housings in mobile equipment.
- Polycarbonate for transparent or non-conductive panels in control desks.
- ABS for cost-effective, impact-resistant interior panels.
Matching switch thread materials to panel substrates prevents galvanic corrosion and guarantees mechanical strength.
How Do Panel Materials Affect Switch Mounting and Protection
Selecting compatible materials maintains IP/NEMA ratings and prevents warping or cracking during installation.
What Environmental Factors Should Influence Panel Material Choice
Consider operating conditions such as:
- Outdoor Exposure – UV-resistant panels and stainless steel resist weathering.
- Chemical Contact – fiberglass-reinforced plastics or coated metals mitigate chemical attack.
- Temperature Extremes – aluminum dissipates heat, while ABS suits moderate-temperature indoor use.
Evaluating environment and material compatibility ensures long-term system reliability.
How Can Langir’s Custom Solutions Enhance Your Panel Switch Installation
Langir offers tailored manufacturing and technical support that streamlines large-scale installations and unique panel designs.
Contact Langir for Custom Panel Mount Switches
What OEM/ODM Services Does Langir Offer for Panel Switches
With 15 years of experience, Langir provides:
- Custom cutout diameters from 8 mm to 40 mm based on client templates.
- Special finishes such as gold plating or powder coating for branding and durability.
- Integrated LED colors and lens options matched to control panel themes.
These services accelerate project timelines and reduce design iterations.
How Does Bulk Ordering Benefit Industrial Switch Mounting Projects
Ordering in bulk through Langir yields:
- Reduced unit cost at low MOQs to optimize budgets.
- Consistent quality across batches via vertical integration of production.
- Priority lead times to maintain tight supply chain schedules.
Bulk procurement enhances project ROI and limits downtime from component shortages.
How Can Technical Support Assist in Switch Selection and Installation
Langir’s engineering team offers:
- Guidance on panel cutout templates and torque specifications.
- Wiring diagrams customized to your control logic and illumination requirements.
- On-demand troubleshooting via email or video call to resolve field issues quickly.
Direct access to experts boosts installation confidence and minimizes rework.
FAQs
What are the benefits of using anti-vandal switches in industrial settings?
Anti-vandal switches are designed to withstand harsh conditions and prevent unauthorized access. Their robust metal housings and reinforced actuators make them highly resistant to tampering and physical damage. This durability is crucial in environments where equipment is exposed to potential vandalism or rough handling. Additionally, these switches often feature enhanced sealing to protect against dust and moisture, ensuring reliable operation in challenging conditions. Overall, anti-vandal switches enhance both security and longevity in industrial applications.
How can I improve the vibration resistance of my panel mount switch installation?
To enhance vibration resistance, consider using lock washers or nylon insert nuts during installation, as they help prevent loosening over time. Additionally, securing wiring harnesses with cable ties or spiral wraps can reduce mechanical stress on terminals, further stabilizing connections. Selecting switches with built-in anti-rotation collars also contributes to maintaining proper orientation and functionality under dynamic conditions. Implementing these techniques will significantly extend the lifespan of your panel mount switches in high-vibration environments.
What is the importance of using the correct torque when securing a panel mount switch?
Using the correct torque when securing a panel mount switch is essential for ensuring a reliable connection and preventing damage. Over-tightening can lead to deformation of the switch housing or gasket, compromising the environmental seal and potentially causing failure. Conversely, under-tightening may result in loose connections, leading to intermittent operation or complete failure. Always refer to the manufacturer’s specifications for torque values to achieve optimal performance and longevity of the switch installation.
What are the common mistakes to avoid when installing panel mount switches?
Common mistakes during panel mount switch installation include inaccurate cutout measurements, improper sealing, and neglecting to clean the panel surface. Failing to measure the switch’s threaded barrel and gasket thickness can lead to misalignment and leaks. Additionally, not ensuring a clean, deburred hole can compromise the gasket’s effectiveness. Lastly, overlooking torque specifications when securing the switch can result in loose connections or damage. Taking the time to avoid these pitfalls will ensure a successful installation.
How do environmental factors influence the choice of panel materials for switch mounting?
Environmental factors such as exposure to chemicals, temperature extremes, and moisture levels significantly influence the choice of panel materials. For instance, stainless steel is ideal for corrosive environments, while aluminum is suitable for lightweight applications. Polycarbonate panels are often used in control desks due to their non-conductive properties. Understanding the specific conditions your installation will face helps in selecting materials that provide the necessary durability and protection, ensuring long-term reliability and performance.
What role does Langir’s customization play in panel switch installations?
Langir’s customization services enhance panel switch installations by offering tailored solutions that meet specific project requirements. This includes custom cutout sizes, specialized finishes, and integrated LED options that align with control panel designs. Such customization not only streamlines the installation process but also ensures that the switches fit perfectly and function optimally in their intended environments. By leveraging these services, clients can achieve a more efficient installation and a professional finish that meets their unique needs.
Contact Langir for Custom Panel Mount Switches
How Do I Ensure a Waterproof Seal When Mounting a Switch?
Use IP68-rated switches with integrated gaskets, tighten the mounting nut to the manufacturer’s torque value, and apply a compatible silicone sealant around the cutout if the panel material is porous or irregular.
What Tools Are Essential for Cutting Switch Holes in Panels?
A drill with matching pilot bits, a hole saw sized to the cutout diameter, nibblers for non-standard shapes, and a deburring tool for edge finishing ensure clean, precise openings that support gasket sealing.
How Do I Fix a Loose Panel Mount Switch?
First, power down and remove the switch. Inspect the mounting nut for wear, replace or add a lock washer, reapply thread locker if permitted, and retorque to the specified value. Confirm the gasket remains undamaged to preserve environmental resistance.
What Are the Best Wiring Practices for Panel Mount Switches?
Strip 5 mm of insulation, crimp wire ferrules for stranded conductors, match wire gauge to switch current rating, and route wiring with cable ties to prevent strain on terminals and reduce electromagnetic interference
Mounting a switch to a panel is as much about precision as it is about protection—accurate cutouts, proper sealing, and correct wiring bring out the full potential of industrial controls. Langir’s durable materials, environment-proof gaskets, and customizable dimensions let you design panels that withstand vibration, moisture, and heavy use. By following these guidelines and leveraging tailored OEM services, your next panel switch installation will combine reliability, efficiency, and professional finish—ready for the rigors of modern manufacturing.
Conclusion
Successfully mounting a switch to a panel enhances operational reliability and protects against environmental factors, ensuring long-lasting performance in industrial settings. By following precise installation techniques and utilizing high-quality materials, you can achieve a professional finish that meets rigorous standards. Explore Langir’s range of customizable panel mount switches and OEM services to elevate your installation projects. Start optimizing your control systems today with our expert solutions and durable products.

