 EN
EN
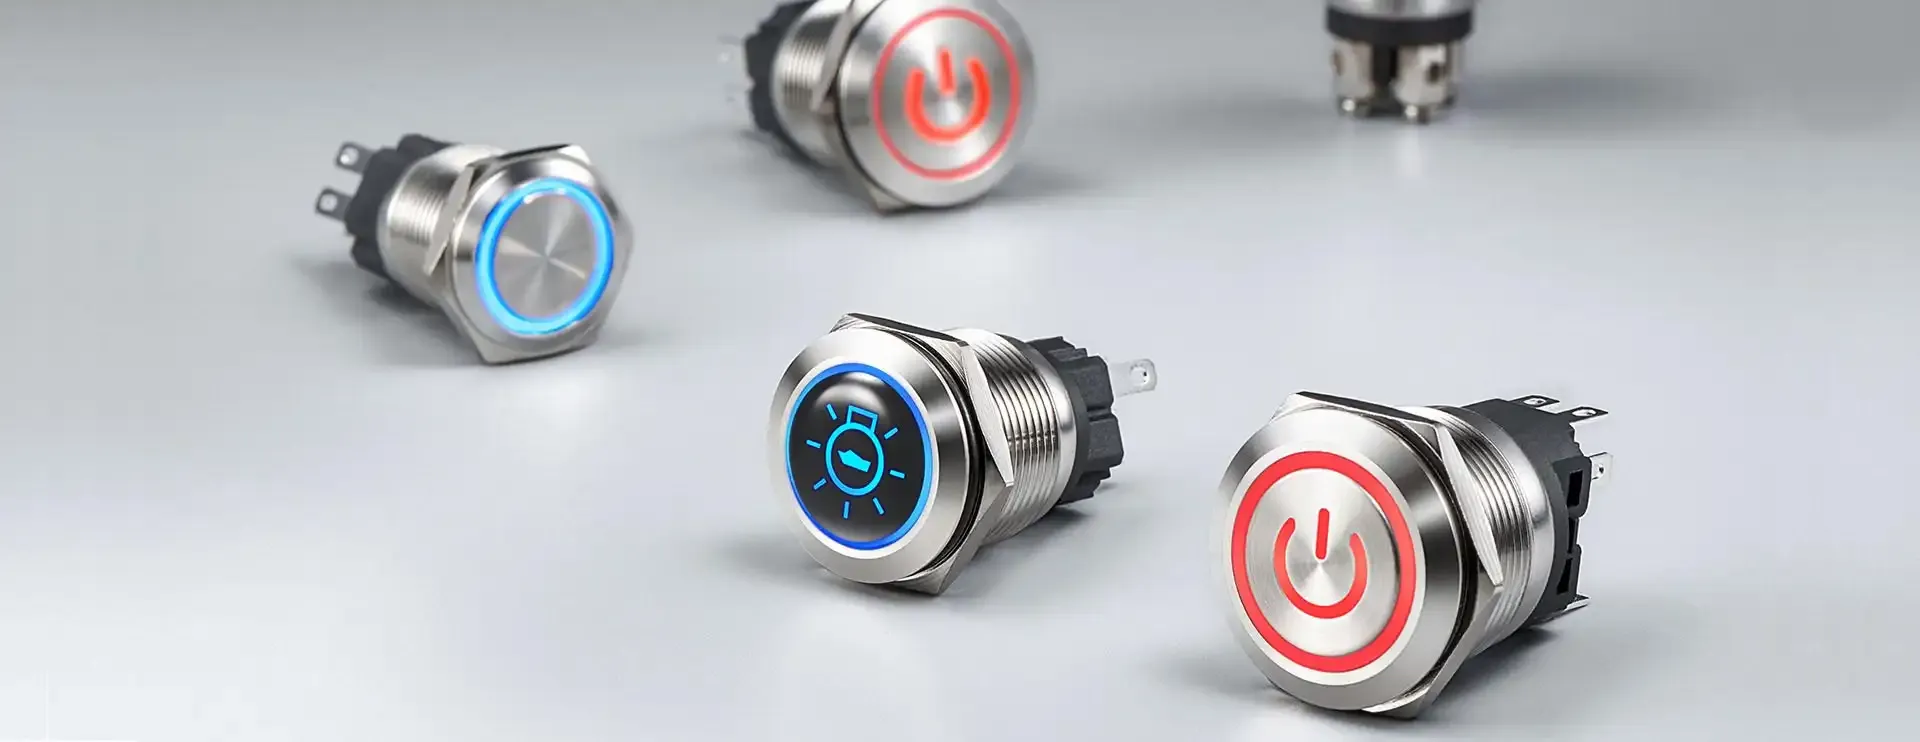
This guide explains, in straightforward language, how to wire a 3 pins push button switch. It’s written so even beginners can follow the steps. For push button switch wholesale options, contact Langir for further details. Langir makes high-quality switches, and this guide reflects years of hands-on know-how. We’ll break down switch functionality, discuss safety preparations, show wiring diagram tips, walk through step-by-step instructions, explore useful applications, and wrap up common troubleshooting tips. Let’s dive in and learn exactly how to make your switch work just right.
3 Pin Push Button Switch Functionality
The very first thing you need to know is what each pin on the switch does. A 3 pin push button switch has three crucial terminals that control its behavior. Understanding them makes wiring easier, prevents errors, and ensures your circuit works correctly.

Contact Langir for Custom Push Button Switches
Common COM Terminal on the Switch
The common terminal, or COM, is the central pin that often carries the make-or-break connection when the button is pressed. It’s the reference point from which the other two operate. In many applications, the COM pin provides the source voltage that the switch directs to the load when activated.
The Role of the Normally Open NO Terminal
The Normally Open (NO) terminal doesn’t have a connection with the COM until you push the button. When released, no current flows between COM and NO. This setup is ideal for circuits that only need to be active momentarily, like starting a motor or triggering a relay.
The Function of the Normally Closed NC Terminal
In contrast, the Normally Closed (NC) terminal is connected to COM by default. Once the push button is pressed, the connection is broken, stopping the current flow. This polarity is useful where you need a circuit to be active at all times until interrupted.
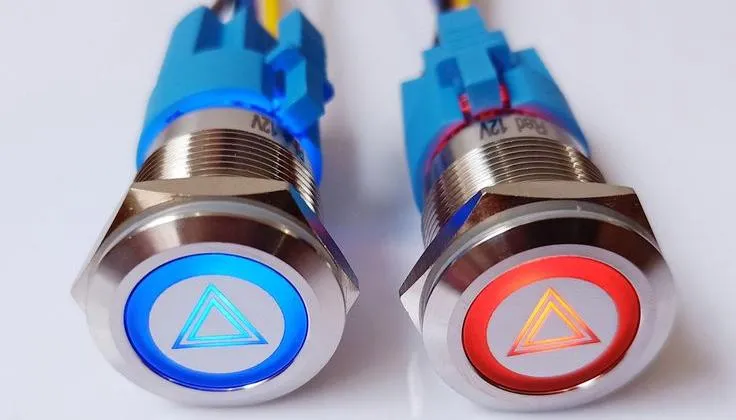
Distinguishing 3 Pin Push Buttons From Other Switch Varieties
Unlike toggle or rocker switches, a 3 pin push button is designed for momentary action. Its compact design and precise functionality make it perfect for electronics that require quick, temporary activations. Recognizing these differences helps you choose the best switch for your project.
Essential Preparations to Wire a 3 Prong Switch Safely
Before you start wiring your switch, take the time to get prepared. Safety and proper planning ensure that you don’t make mistakes that could harm your equipment—or yourself.
Contact Langir for Custom Push Button Switches
Gathering the Correct Tools and Materials for the Job
First, collect all the necessary tools and materials. You’ll typically need a screwdriver, wire stripper, multimeter, soldering iron, and a set of wires. It’s also a good idea to have a wiring diagram for reference. Using the right tools minimizes hassle and mistakes.
Key Safety Measures Before Beginning Your Wiring Project
Safety comes first. Always disconnect the power supply before touching any wiring. Use insulated tools and wear safety goggles. Following these precautions helps prevent electric shocks or short circuits while working on your circuit.
Fundamental Electrical Concepts for Switch Installation
Know the basics—voltage, current, resistance, and grounding. A push button switch is part of a larger circuit, so understanding how current flows can help troubleshoot issues if things don’t work as expected. Basic concepts like Ohm’s law will let you verify connections with a multimeter.
Push Button Switch Wiring Diagram Guide
Diagrams are a practical tool to visualize how your push button switch works within the circuit. Review the schematic carefully before starting your work, as it shows the current path and connections between the pins.

Contact Langir for Custom Push Button Switches
Interpreting Standard Schematics for a 3 Pin Switch
A typical schematic shows the COM line, and then it branches to the NO and NC pins. The diagram will indicate which wire should go where. With a clear schematic, you can confidently wire the switch according to design.
Visualizing Current Path in a Push Button Circuit
Picture how the current flows: when the button is not pressed, it flows from COM to NC, but pressing the button diverts it from COM to NO. This visualization helps you organize where each connection should be made, reducing the chances of wiring errors.
Illustrative Diagrams for Popular Wiring Setups
Look up simple diagrams online to see different setups. For instance, one diagram may show the switch used to control an LED lamp. Visual aids reinforce your understanding and guide your wiring process.
Step-by-Step Instructions for How to Wire a 3 Pin Switch
Let’s walk through the wiring process together. Following these steps should lead to a reliable connection. Patience and careful work go a long way in getting your switch wired perfectly.

Contact Langir for Custom Push Button Switches
Preparing Wires to Ensure Secure Connections
Start by stripping your wires to expose sufficient copper, but not too much. Twist them neatly to avoid stray strands. Clean ends ensure that your connections are solid, reducing resistance and heat buildup.
Making the Connection to the Common Terminal
Attach the common (COM) wire first. Secure it to the designated terminal using either solder or a connector, depending on your switch design. Ensure the connection is firm; a loose wire can cause intermittent operation.
Wiring Your Switch for Normally Open NO Operation
Next, connect the wire that goes to the load or circuit component from the NO terminal. Because the NO pin is disconnected until pressed, this connection only activates when needed. Double-check that your insulation is intact to avoid accidental shorts.
Wiring Your Switch for Normally Closed NC Operation
Wire the NC terminal by connecting it to the appropriate part of your circuit that should be active until the button is pressed. This setup is reversed from the NO wiring, so careful attention to your schematic is essential.
Verifying Your Newly Wired Push Button Switch
Finally, use a multimeter to test the continuity between COM and the other terminals. Press the button and verify that connections break or form as expected. This step confirms that the wiring is correct before reapplying power.
Exploring Applications for a Three Way Push Button Switch Configuration
A 3 pin push button switch isn’t just for simple circuits. It opens up a range of creative and practical applications in various electronic projects.

Contact Langir for Custom Push Button Switches
Implementing Momentary ON Control Using a 3 Pin Switch
In many projects, you need a brief “on” signal. Wiring the switch to trigger a relay can momentarily power a device, such as an actuator or a warning light. This setup suits systems that require a quick response.
Establishing Momentary OFF Control Mechanisms
Similarly, you can use the switch to immediately cut off power. Using the NC terminal, the switch remains engaged (on) until it is pushed to disconnect. This configuration is ideal for emergency stop buttons in machinery.
Using Your 3 Prong Switch in Basic Electronic Projects
From DIY doorbells to test circuits on a breadboard, the versatile design of the 3 pin push button switch fits numerous projects. Its functionality makes it a favorite for hobbyists and professionals alike, ensuring reliable operation in various scenarios.
Simple Circuit Ideas for Your Push Button
Consider an LED indicator circuit where the push button temporarily lights up the LED. Or, get creative with an Arduino project to switch motors on and off. Such straightforward ideas demonstrate the switch’s practical usability in everyday electronic designs.
Addressing Common Issues When You Wire a 3 Pins Push Button Switch
Even when you follow instructions, issues can happen. Troubleshooting is part of the process; knowing what to look for saves time and effort.
Contact Langir for Custom Push Button Switches
What to Check if Your Switch Fails to Operate
If the switch doesn’t work, first check your connections. Look for loose wires, improper solder joints, or incorrect wiring order. A quick continuity test with a multimeter helps pinpoint the issue.
Identifying and Rectifying Frequent Wiring Mistakes
Common mistakes include connecting the wrong wires to the NO or NC terminals. Always refer back to your diagram. Correcting these wiring errors usually restores proper functionality without further complications.
Ensuring Durable and Reliable Connections
For long-term reliability, secure all connections tightly. Use heat shrink tubing or electrical tape to insulate exposed wires properly. These precautions help in preserving connection integrity over time, especially in vibrating or high-temperature conditions.
Knowing When to Get Help With Your Wiring Task
If problems persist after troubleshooting, it may be time to consult an expert or revisit your wiring diagram. Sometimes a fresh pair of eyes helps you catch subtle mistakes that you might overlook.
How to Wire a 3 Pins Push Button Switch | FAQs
What makes a 3 pin push button switch different from other switches?
It features a COM, NO, and NC terminal, allowing momentary activation or deactivation, unlike toggle switches that maintain state. This flexibility makes it ideal for specific applications like safety circuits.
How do I test if my wiring is correct?
Use a multimeter to check continuity between the COM terminal and the NO or NC terminals while pressing the button. Correct changes in continuity indicate proper wiring.
What safety precautions should I take when wiring?
Always disconnect power, use insulated tools, and follow proper electrical safety measures. Ensuring a safe work environment is key to preventing shocks or circuit damage.
Can I use this switch in high-voltage applications?
Generally, these switches are ideal for low-voltage circuits. Always refer to the switch’s specifications and guidelines from Langir to ensure safe usage in your design.
What if my switch does not work after wiring?
Double-check all connections, verify wiring according to the diagram, and test each terminal with a multimeter. If issues persist, consider consulting an expert for further troubleshooting.
