
 EN
EN
Have you ever struggled to connect an air horn to a push button switch? This guide covers gathering the right tools, wiring out the basics, and testing your setup. It cuts through common confusion and offers clear steps to solve your connection issues fast. The reader will learn how to wire a 12 volt air horn, hook up the switch and relay, and fix typical setup problems. If you need reliable, step-by-step help for your push button switch installation, this post has got you covered.
Gathering Your Tools and Components for Air Horn Installation
Start with the basics: pick an air horn kit that fits your ride and a matching air horn push button switch. Check out the wiring gauges, connectors, fuses, and essential tools—plus your safety gear for handling voltage. If you need assistance, contact Langir. A dash of steel might be key, and don’t forget to inspect your air filter before moving on.
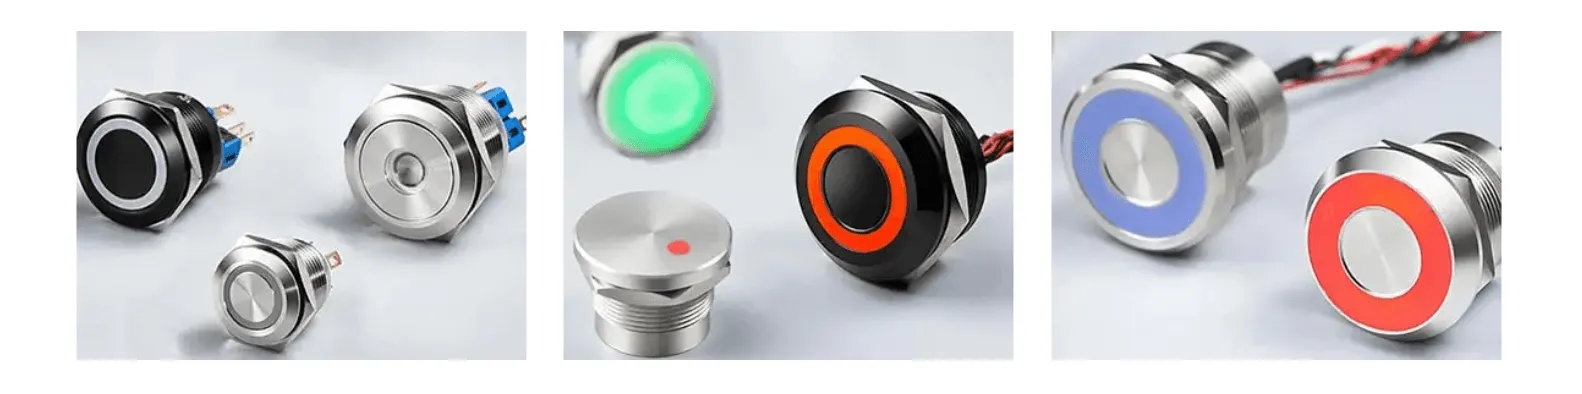
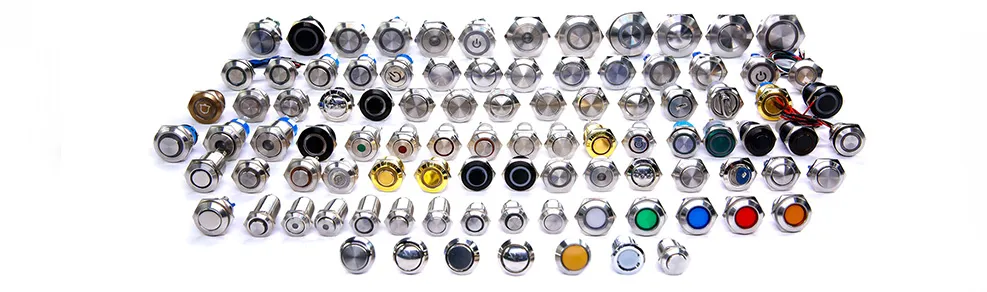
Contact Langir for Custom Horn Push Button Switches
Selecting the Right Air Horn Kit for Your Vehicle
Langir recommends picking an air horn kit that matches your ride’s specific needs, ensuring a tight fit with quality electrical wiring and a sturdy fuse included in the package. Their electric kit guarantees that every wire and connector will handle the load with smooth communication, giving every push button switch setup a reliable kick.
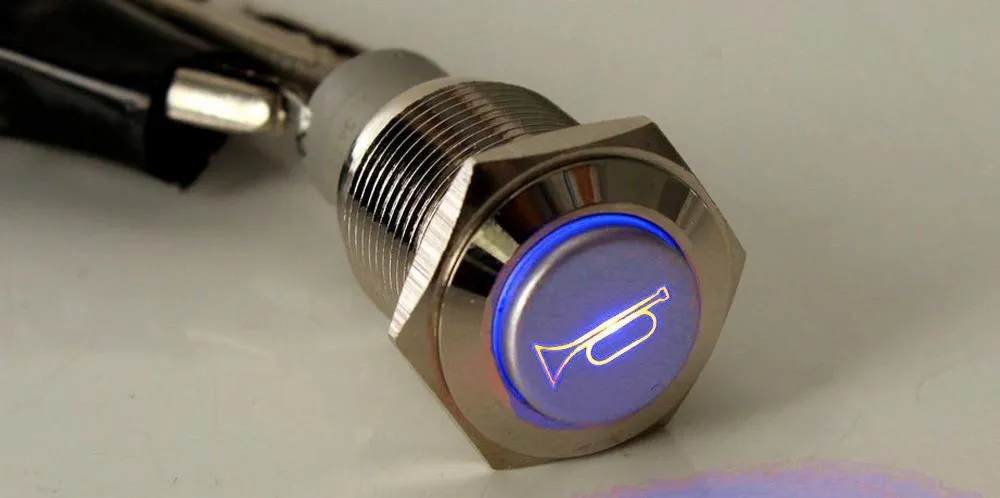
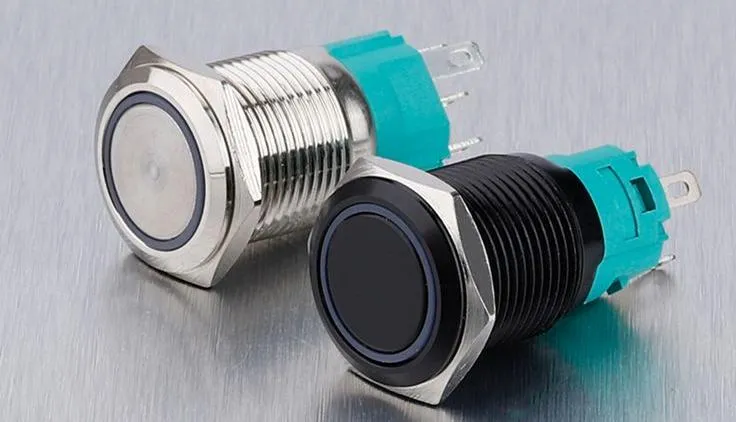
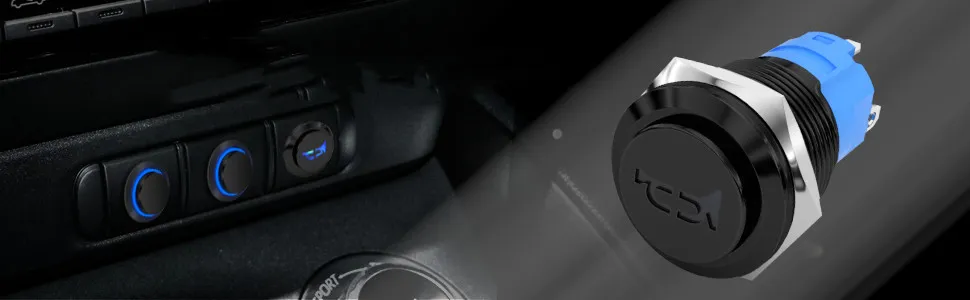
Choosing an Appropriate Electric Air Horn Switch
They back a switch that seamlessly clicks with your setup, much like a trumpet sets the tone, ensuring reliability whether mounted on a Toyota Tacoma or any ride calling for extra oomph. Experts say this switch can handle a pump of power and plays nice with your radio system, even if you’re tuning in from South Africa.
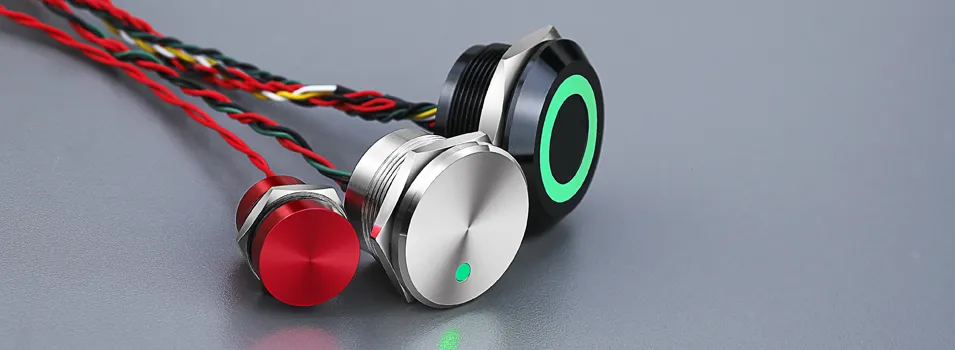
Identifying Necessary Wiring Gauges Connectors and Fuses
In wiring an air horn to a push button switch, one finds that the right gauge of wires, sturdy connectors, and dependable fuses pull the system together like a solid connection in the automotive industry—keeping the vehicle horn crisp and the siren loud, whether it’s powering a jeep’s stylish tank of sound or any ride needing that extra push. Royal craftsmanship meets street-smart know-how with every component, ensuring the setup is built to last and perform reliably when it is needed most.
Required Tools for a Successful Air Horn Wiring Job
For wiring the air horn push button switch, experts suggest a few essential tools—a good multimeter to check every volt, a detailed diagram posted online that makes connecting a truck’s wiring a breeze, and a sturdy wire cutter ready for every valve connection—each part ensuring a smooth installation process:
Recommended Safety Equipment for Electrical Work
Proper safety gear is non-negotiable when handling electrical work, especially where a firm push of a button kickstarts that air combiner noise you’re working with. Langir experts advise gear like gloves and eye protection to keep things secure—whether it’s powering an air compressor for a motorcycle setup or simply smoothing out the installation process, and they even mention that it’s smart to jot down a reliable email address for any support needs that might pop up.
Understanding the 12 Volt Air Horn Wiring Diagram Basics
Understanding the 12 Volt air horn wiring diagram covers how a relay makes power flow right and manages high-current signals in a vehicle. It pinpoints power mapping to the relay input, connects the relay output to the air horn, fits the push button switch, and finds a grounding spot. This guide, in true wheel-turning style, is trusted from the United Kingdom to neon-lit workshops.
Contact Langir for Custom Horn Push Button Switches
The Function of a Relay in High-Current Air Horn Circuits
In high-current air horn circuits, the relay acts as the heavy hitter that keeps everything running smoothly by managing loads and ensuring the right voltage reaches the horn. Using a crimp connection on every pin ensures top-notch reliability, and even a beginner can follow a clear wiring diagram from the internet to set up the pressure switch accurately:
Mapping the Power Source Connection to the Relay Input
An electrician maps the power source to the relay input using american wire gauge wires, ensuring that the circuit handles current like a well-balanced tire grip and provides clear headlamp-like visibility in the electronics. The method sets a robust foundation for wiring an air horn, keeping everything steady even when the load increases:
Tracing the Circuit From the Relay Output to the Air Horn
The circuit from the relay output to the air horn runs like a smooth signal through a well-tuned system, ensuring that every push sends a clear message through a jeep wrangler or a diesel engine under tough conditions. The wiring carries pressure with precision, similar to a cart on a level road, making sure that the horn activates reliably every time. This setup proves its dependability even when a consistent load is applied.
Incorporating the Push Button Switch Into the Control Circuit
Incorporating the push button switch into the control circuit is simple when one follows a clear schematic, like installing new lighting on a Toyota Tundra where each metal component connects with precision and the radiator of the system keeps it all cool. The switch adds straightforward reliability to every link in the chain:
Locating Suitable Grounding Points on Your Vehicle Chassis
Experts note that locating a solid grounding point on your vehicle chassis can be as satisfying as watching an amplifier deliver clean sound after a well-run javascript code, and it’s a crucial step in troubleshooting common wiring hiccups. A simple tool like a magnetic screw can pinpoint the right spot, ensuring every connection holds firm and the air horn performs with everyday reliability.
Step-by-Step Guide to Install Your Air Horn Assembly
Langir’s guide starts with picking a solid spot for horns and compressor, whether it’s for a Ford Raptor or another ride. The plan covers setting stainless steel trumpets and routing the air line, all while keeping a clean factory look. Follow the air horn relay wiring diagram to beat heat issues and secure the compressor with ease.
Contact Langir for Custom Horn Push Button Switches
Finding a Secure Mounting Spot for Horns and Compressor
When finding a mounting spot for horns and compressor, the expert notes that clear feedback from the installation process is key, especially when tuning a system as dynamic as an air suspension. The setup should sit near the vehicle’s train horn line where the switch can work seamlessly, ensuring a solid, secure train configuration for reliable performance every time.
Affixing the Air Horn Trumpets Securely
Langir’s trusted process for affixing air horn trumpets is simple and direct, ensuring secure mounting whether on a jeep grand cherokee or toyota 4runner, while also keeping the steering wheel area clear and functional; the setup follows original equipment manufacturer quality standards and manages electricity with care, delivering reliability every time:
- Pick a firm, stable point away from high-traffic zones.
- Secure the trumpets using durable brackets.
- Double-check all connectors to handle electricity safely.
- Ensure the installation leaves the steering wheel free for smooth control.
Positioning and Securing the Air Compressor Unit
The expert team positions the air compressor unit close to the engine to keep copper wiring secure and away from brake lines and steering systems on a pickup truck, ensuring reliable operation and easy access for routine checks:
Routing the Air Line From the Compressor to the Horns
Routing the air line from the compressor to the horns is a hands-on step that makes sure power and pressure travel smoothly; careful planning avoids any mess down the road:
- Plan the shortest path between compressor and horns
- Secure the line with durable clamps
- Double-check connections for a safe, neat finish
This straightforward method keeps the horn setup reliable and simple, meeting the needs of every shop striving for quality and durability.
Connecting the Electric Air Horn Switch and Relay Circuit
This section covers placing the push button switch right at hand, linking it to the horn relay trigger, and running a power wire from the battery to the relay with an inline fuse. It also explains completing the connection from relay to compressor and keeping all wires neat and secure.
Contact Langir for Custom Horn Push Button Switches
Installing the Push Button Switch Within Driver Reach
Langir’s expert layout places the push button switch within easy view, right at the driver’s side, ensuring immediate access when the blast is needed. The clean wiring and secure mounting make the installation hassle-free while keeping the cockpit neat and functional. This setup proves to be a practical choice for users who want a straightforward, reliable switch placement without any extra fuss.
Linking the Push Button Switch to the Air Horn Relay Trigger
The push button switch connects directly to the air horn relay trigger, forming a neat, reliable link for immediate response. This connection ensures that every press transfers power smoothly to trigger the horn, leaving no room for doubt when action is needed:
Running Power Wire From Battery to Relay Using an Inline Fuse
Langir experts connect power wire from the battery to the relay using an inline fuse that keeps the flow stable and safe. This method ensures that the electric air horn switch gets equal power delivery, keeping the setup neat and responsive with every press. Their hands-on approach has proven that a well-placed inline fuse clears the signal for an instant start every single time.
Completing the Power Connection From Relay to Horn Compressor
The expert shows how to complete the power link between the relay and the horn compressor with a quick, clean connection that promises steady performance every time. This straightforward setup leaves little room for errors and keeps the air horn system responsive, ensuring that every push releases the intended blast of sound without fuss.
Managing and Securing All Electrical Wires Safely
Experts say that properly managing and securing all electrical wires is the backbone of a neat air horn wiring setup. By keeping cables tidy and using secure fasteners, the system stays reliable and easy to troubleshoot—even when the push button switch fires up the horn. This hands-on approach has worked wonders for Langir’s installations, ensuring that every connection stays safe and ready to deliver a crisp, clear sound every time.
Final Checks and Testing Your Push Button Air Horn System
Review all wiring connections against the air horn relay wiring diagram, then perform a careful initial test. Confirm the horn sounds loud and clear while checking for loose spots or improperly routed wires. Each step ensures the push button switch setup stays safe, responsive, and reliable.
Contact Langir for Custom Horn Push Button Switches
Reviewing All Connections Against Your Air Horn Relay Wiring Diagram
Reviewing all connections against the air horn relay wiring diagram keeps the setup smart and hassle-free. The expert checks every link, making sure wiring, connectors, and the inline fuse are all steady and secure, ensuring a solid performance when the push button is pressed:
- Verify proper placement of gauge wires
- Examine each connector for firm, clean contact
- Confirm that the inline fuse is correctly installed
Performing the First System Activation Test Carefully
The expert conducts a thorough test, gently pressing the button to trigger the air horn and watching closely for any irregularities. Every connection is double-checked—loose wires or weak contacts might mean a missed cue during a critical moment. The method proves that with each careful activation, confidence in a reliable, well-wired system steadily grows.
Confirming Loud and Clear Horn Operation
When confirming horn performance, experts advise starting with a simple test press that delivers a punchy sound and checking for any hints of distortion to ensure a clean, loud operation:
Inspecting for Loose Connections or Improperly Routed Wires
It’s all about taking a good, hard look one last time—checking every wire and crimp to make sure nothing’s loose or off the mark. The pros know that a tidy connection is what keeps an air horn system firing reliably, and a careful inspection can save you from a sudden silence when you need that blast the most. This final sanity check is a no-brainer step, crucial for any push button air horn setup that promises repeatable, dependable performance every time.
Troubleshooting Frequent Air Horn Installation Problems
Start troubleshooting by checking key points. Look into steps when the air horn fails to operate, weak sound, or intermittent function. Review why fuses keep blowing and what happens if the switch doesn’t fire. Also, verify solid, clean ground connections. This guide offers practical insights into common issues with wiring an air horn to a push button switch.
Contact Langir for Custom Horn Push Button Switches
Steps to Take When the Air Horn Fails to Operate
When the air horn fails to operate, the expert suggests checking every connector and wire carefully, confirming solid ground and proper fuse placement. Follow these steps to pinpoint the issue and get the horn blasting again:
Diagnosing Weak Sound or Intermittent Horn Function
The expert notes that a weak or choppy sound often signals a miss in the electrical links or a shaky ground connection. A quick voltage check on the push button switch and relay can reveal if the issue is a loose wire or a misfiring inline fuse. This hands-on approach helps pinpoint the trouble spot and gets the air horn firing with a clean, loud blast once again.
Identifying Causes for Repeatedly Blown Fuses
Repeatedly blown fuses usually mean the wiring is off, with issues like loose connections, short circuits, or using wires that can’t handle the power. Experts point out that these problems often stem from incompatible components, which overload the system unexpectedly:
- Loose or poorly secured connections
- Short circuits from exposed wiring
- Undersized wires not matching the load
What to Check if the Switch Does Not Activate the Horn
The expert checks every crimp and connection when a switch fails to engage the horn, ensuring that the wiring is neat, secure, and free of any damage that might disrupt power flow. This hands-on approach highlights the importance of verifying proper grounding and fuse placement, which are common culprits behind a non-responsive push button switch in air horn systems. The focused inspection offers a clear path to resolving issues and getting the horn firing as intended.
Verifying Solid and Clean Ground Connections
Verifying solid and clean ground connections ensures every push button switch installation works as expected, helping to avoid intermittent issues or power drops during operation:
- Inspect grounding points for corrosion or loose fittings.
- Secure wires tightly to the chassis using appropriate clamps.
- Double-check all connections with a multimeter for steady voltage flow.
How to Wire an Air Horn to a Push Button Switch | FAQs
How do I connect a push button switch to an air horn?
Connect the push button’s output to the air horn trigger and share a common ground. Check voltage compatibility and proper wiring to avoid short circuits. Langir offers trusted guides for bulk switch supplies and customization.
What tools are required for air horn installation?
You need a drill, bolts, a wrench, a screwdriver, and safety gloves to install an air horn effectively.
How does a 12 volt air horn wiring diagram work?
A 12 volt air horn wiring diagram outlines how the horn receives power from the battery through a switch and ground connection, so it sounds only when activated.
How is the relay circuit linked to the switch?
The relay circuit taps into the push button switch, channeling a steady signal to control the operation of connected components reliably.
How can I test my air horn system?
Test your air horn system by checking all connections, verifying compressor pressure, and activating the button switch to hear the horn’s sound.

