
 EN
EN
Wiring a car push button with LED might sound like rocket science, but it’s actually pretty straightforward—if you know what you’re doing. For those considering car push button wholesale purchases, this guide is a great place to start. Langir, a trusted Chinese manufacturer with 16 years in piezo switches, has seen it all. In fact, if you ever need to contact Langir for more information, they are just a call away. Today, we’re breaking down the wiring process, explaining every step in everyday language. You’ll learn about terminal connections, LED circuits, proper wire gauges, and even how to integrate everything onto your dashboard. Let’s get you set up with a reliable, durable push button switch that not only works great but lights up nicely. Ready to dive in?
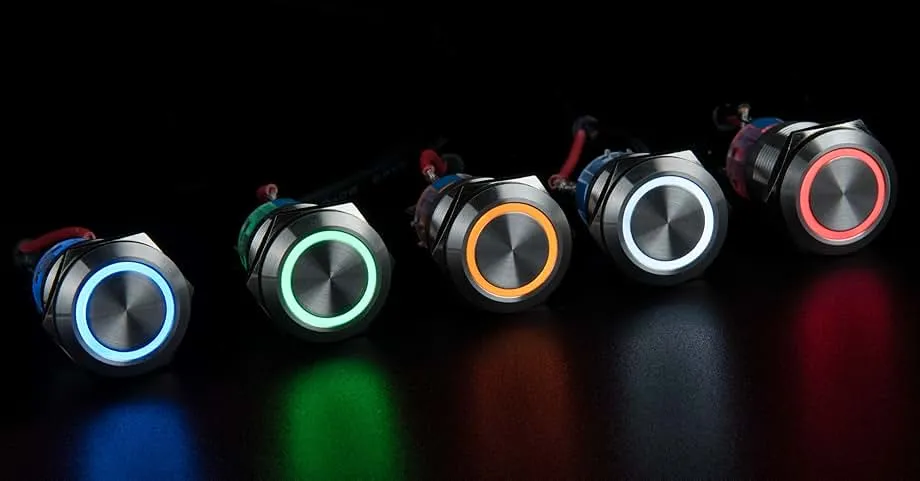
Car Push Button With Led Components
This section covers the basics. When wiring a push button switch, you’ve got a few key parts to deal with. First off, there are the terminals where you connect your wires. Then, there’s the LED circuit itself that gives you that cool glow. And don’t forget about selecting the right wire gauges to handle the power without risking shorts or voltage drops.
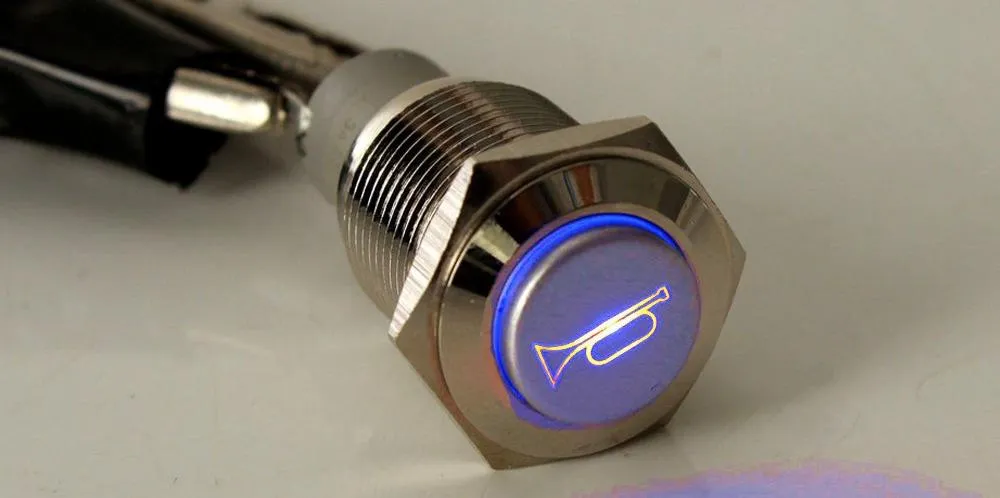
Contact Langir for Custom Car Push Buttons with LED
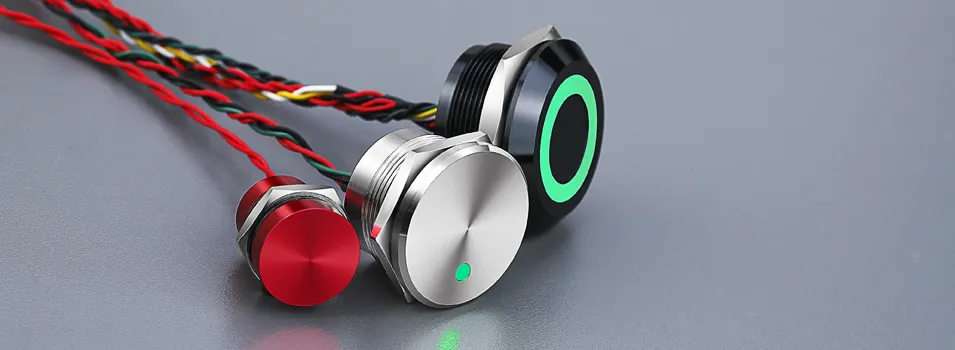
Terminals on Automotive Push Button Switches
The terminals are the connection points on the switch. Think of them as the entry and exit doors for electricity. When wiring your car push button switch, each terminal has a specific role—input, output, and ground. Always check your switch diagram to know which terminal does what. A loose connection here isn’t just annoying—it can mean your switch fails mid-trip, and let’s face it, your car engine start button should never play hide-and-seek with your power.
LED Circuit Within the Car Push Button Switch
The LED circuit is what lights up your button. It’s built to provide the right voltage and current, ensuring that your LED not only turns on but shines consistently. This mini-circuit often includes resistors and sometimes even diodes to keep things safe. This part of the design is critical if you want that crisp, bright LED that guides you even on dark nights. Make sure the wiring for the LED is done according to the manufacturer’s specs so you avoid those pesky burnouts.
Selecting Appropriate Wire Gauges for Your Project
Choosing the right wire gauge is like selecting the right size of fuel tank: too small, and you get overheating or voltage drops; too big, and well, you’re just wasting money (and space). Generally, 18–20 AWG wires are common, but if you’re running longer distances, consider a thicker gauge. Always match the wire size to your expected amperage. This ensures a solid, reliable connection and keeps your circuit safe from shorts and power drops.
Tools and Materials for Wiring a Car Push Button Switch
Before you roll up your sleeves, gather your tools and materials. Having the right equipment makes the process smooth and helps you avoid frustrating setbacks.
Contact Langir for Custom Car Push Buttons with LED
Essential Hand Tools for Electrical Wiring
You’ll need a good set of basic tools: wire strippers, crimpers, small screwdrivers, and maybe even a multimeter. A multimeter is essential for checking voltage and continuity. With a few simple instruments in hand, you can double-check every connection and ensure nothing’s out of place.
Required Connectors and Terminals
Connectors and terminals are the unsung heroes. Make sure you have terminal blocks or solder connectors suited to automotive use. These secure your wires firmly and offer protection against vibrations and wear. High-quality connectors not only ensure better performance—they last longer, which is key when you’re dealing with components in a moving vehicle.
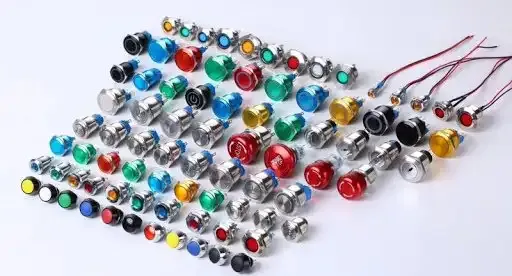
Sourcing a Suitable Automotive Push Button Switch With LED
While there are countless options out there, look for one that meets your specific needs. Langir offers highly reliable, customizable push button switches at wholesale rates. When choosing, verify that the switch’s specifications match your project requirements, from voltage ratings to current capacity. This switch is the centerpiece of your setup, so quality matters.
Obtaining Fuses and Fuse Holders for Circuit Protection
Fuses are your circuit’s safety net. They prevent dangerous overcurrent situations that could fry your wiring. Pick a fuse holder that fits well within your dashboard layout and choose a fuse rated appropriately for your switch’s load. A solid fuse setup can save you a lot of heartache down the road, ensuring that your car’s push button switch is protected from any unforeseen surges.
Step-by-Step Guide to Wiring Your Car Push Button with Led
Time to get your hands dirty with the wiring. Follow these instructions to ensure a proper setup that works reliably every time.

Contact Langir for Custom Car Push Buttons with LED
Safely Disconnecting the Vehicle’s Battery
Safety first! Before you start, disconnect the battery to avoid accidental shorts or shocks. This step can’t be overlooked. A quick disconnection ensures that you won’t end up with sparks flying or damage to your car’s electrical system.
Connecting the Power Source to the Car Push Button Switch
Now reconnect only the power source wiring. Match the positive lead to the input terminal, and verify with your multimeter that the correct voltage is present. Proper connections here mean that your entire circuit will function without hiccups. Keep your wiring neat and avoid crimping any cables to ensure a stable connection.
Wiring the LED Terminals for Illumination
Next, wire the LED terminals. Connect the resistor in series as required by your LED specs. This step safeguards your LED from too much current and ensures it glows with just the right brightness. Double-check polarity so your LED lights up without any flickers.
Connecting the Output Terminal to the Intended Accessory
Once your power and LED are set, wire the output terminal to whatever accessory you want to control. This might be an engine start circuit, dashboard light, or even another accessory like a motor relay. Secure these connections firmly to maintain a steady signal when the button is pressed.
Grounding Your Car Push Button With Led Correctly
Finally, establish a solid ground. Grounding stabilizes your circuit and helps manage interference and noise. Use a clean, unpainted metal surface for the ground connection to avoid any potential issues. Remember, a secure ground means reliable operation every time your switch is activated.
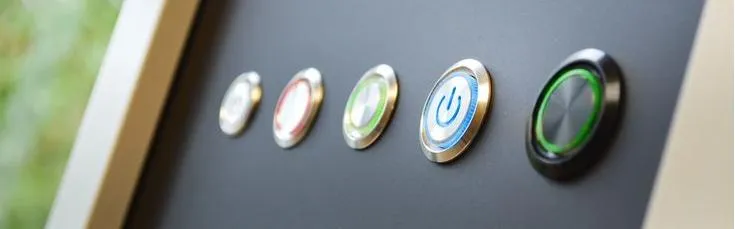
Integrating Your Automotive Push Button Switch Into the Dashboard
Integrating your new switch into your car’s dashboard is all about secure mounting and tidy wiring. This is where form meets function.
Contact Langir for Custom Car Push Buttons with LED
Choosing a Mounting Location for the Car Push Button Switch
Pick an easily accessible spot on your dashboard. You want the button to be reachable but not in the way. Consider comfort and emergency accessibility because if your car engine start button or alarm system feels clunky, it could lead to mishaps.
Drilling the Mounting Hole Accurately
When it’s time to drill, measure twice, drill once. A precise hole ensures a clean installation and a professional look. Use a drill bit that matches the switch size; too big, and it may wiggle; too small, and you might damage the switch housing.
Securing the Push Button Switch for a Stable Fit
With the hole ready, use the provided screws or fasteners to mount the switch securely. A stable mount prevents vibrations from loosening connections. Tighten carefully—you want it firm, but be careful not to overtighten, which might crack the button or its LED housing.
Routing Wires Neatly and Safely
Finally, route the wires so they’re not tangled or pinched. Use zip ties or adhesive clips to secure them. Neat wiring not only improves safety and reliability but also makes future troubleshooting a breeze. Your dashboard will look organized and professional—plus, you’re less likely to encounter annoying shorts.
Testing Your Newly Wired Car Push Button with Led
After all that effort, it’s time to test your work. Reconnect the vehicle’s battery, and then check that everything functions as it should.
Contact Langir for Custom Car Push Buttons with LED
Reconnecting the Vehicle’s Battery
Reconnect the battery carefully. Ensure all connections are secure before powering up. This step re-energizes your circuit and prepares you for the ultimate test.
Verifying LED Illumination on the Car Push Button Switch
Press the button to check the LED. The light should come on without flickering, a good sign that your LED circuit is working correctly. If it doesn’t light, recheck your resistor values and wiring polarity.
Confirming the Switched Accessory Operates as Expected
Activate the switch and observe the connected accessory. Whether it’s an engine start button or another feature, a smooth operation means you’re in business. Any glitches here mean it’s time to dive back in and double-check your terminal connections.
Checking All Connections for Security and Safety
Lastly, inspect every connection. Wiggle the wires to ensure nothing is loose. This final check is crucial to ensure safety and longevity. A tight, secure circuit makes for reliable performance every time you press that button.
Troubleshooting Common Automotive Push Button Switches Wiring Issues
Even when you follow the steps, hiccups can occur. Let’s troubleshoot some common issues so you’re ready to fix them on the fly.
Contact Langir for Custom Car Push Buttons with LED
Addressing a Non-Illuminating LED on Your Car Push Button With Led
If your LED isn’t lighting up, consider a few things: check the resistor value, verify the LED polarity, and ensure the power supply is ample. Sometimes, a faulty connection or a weak battery can be the culprit.
What to Do When the Switch Does Not Activate the Accessory
If pressing the switch doesn’t trigger the accessory, inspect the output terminal connection. Verify with a multimeter that the voltage is reaching the accessory. A loose wire or a mistaken terminal assignment might be to blame.
Resolving Intermittent Operation of Your Car Push Button Switch
Intermittent operation often points to a loose connection or a degraded wire. Check every connection and ensure that crimping is done properly. Re-solder or re-crimp if necessary, and keep those wires secure.
Identifying and Fixing Short Circuits or Blown Fuses
If a fuse blows or there’s a short, retrace your wiring. Look for exposed wires or frayed insulation that might be causing contact. Replace any blown fuses with the correct rating, and ensure that all connections are firmly insulated.
How to Wire Car Push Button With Led | FAQs
What basic tools do I need for wiring a car push button switch?
You’ll need wire strippers, crimpers, a screwdriver, and a multimeter. These tools help ensure every connection is secure and that your voltage levels are correct.
How do I choose the right wire gauge for my project?
Wire gauge selection depends on current requirements. Generally, 18–20 AWG works for most applications, but longer runs might require thicker wires for stability.
What if my LED doesn’t light up after wiring?
Double-check your resistor value, wiring polarity, and connections. Verify that the power supply is sufficient, and inspect for any loose wires.
Can I install the switch myself without professional help?
Yes, if you’re comfortable with basic wiring and follow safety protocols like disconnecting the battery, you can do it yourself.
How do I prevent shorts and blown fuses?
Use proper connectors, secure all wires with zip ties, and install the correct fuse rating for your circuit. This setup ensures a safe, reliable installation.
