
 EN
EN
This article explains how to wire a push button horn switch for cars and boats. It breaks down every step—from choosing the right wires (if you’re looking for cost-effective parts, consider horn push button wholesale) to troubleshooting common issues. With clear, concise instructions, it helps both DIY enthusiasts and professionals improve safety and functionality without the headache. Each section covers important details, ensuring you know which tools to use and how to avoid errors. For further installation support, feel free to contact Langir. Read on to learn easy wiring techniques and get your horn sounding right every time.
Essential Preparations for Wiring a Horn Button
Before you dive in, you need to prepare. Start by assessing your horn system. Knowing which wires to use is key—different horns may come with varied wiring colors and configurations. Next up, select a push button horn switch that fits your vehicle’s or boat’s requirements. Look for one with a durable plastic casing and secure contacts, as this minimizes noise and corrosion.
Then, gather the necessary tools and safety gear. A decent wire stripper, electrical tape, and a screwdriver will do, along with a multimeter to check voltage. Safety glasses and gloves are a smart choice too. Finally, understand the basic horn circuitry in both cars and boats. Most circuits use a ground wire, a power supply wire, and often include a relay for extra control. This preparation phase sets the stage for a trouble-free installation.
Contact Langir for Custom Push Button Horn Switches
Identifying the Correct Wires for Your Horn System
Look closely at your vehicle’s wiring diagram. Identifying the correct wires involves tracing the power source and ensuring proper insulation. Sometimes wires may be hidden under panels; a multimeter helps confirm which one delivers power.
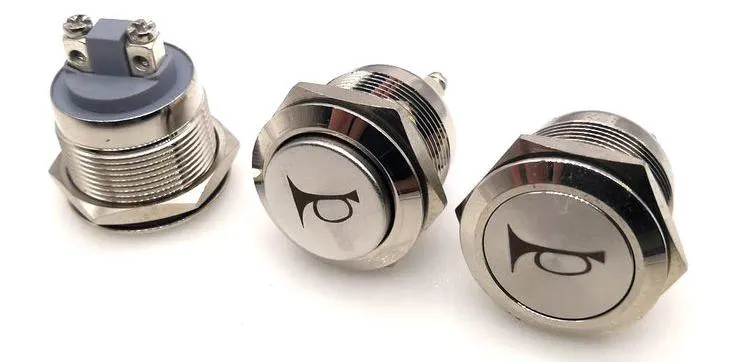
Selecting a Suitable Push Button Horn Switch
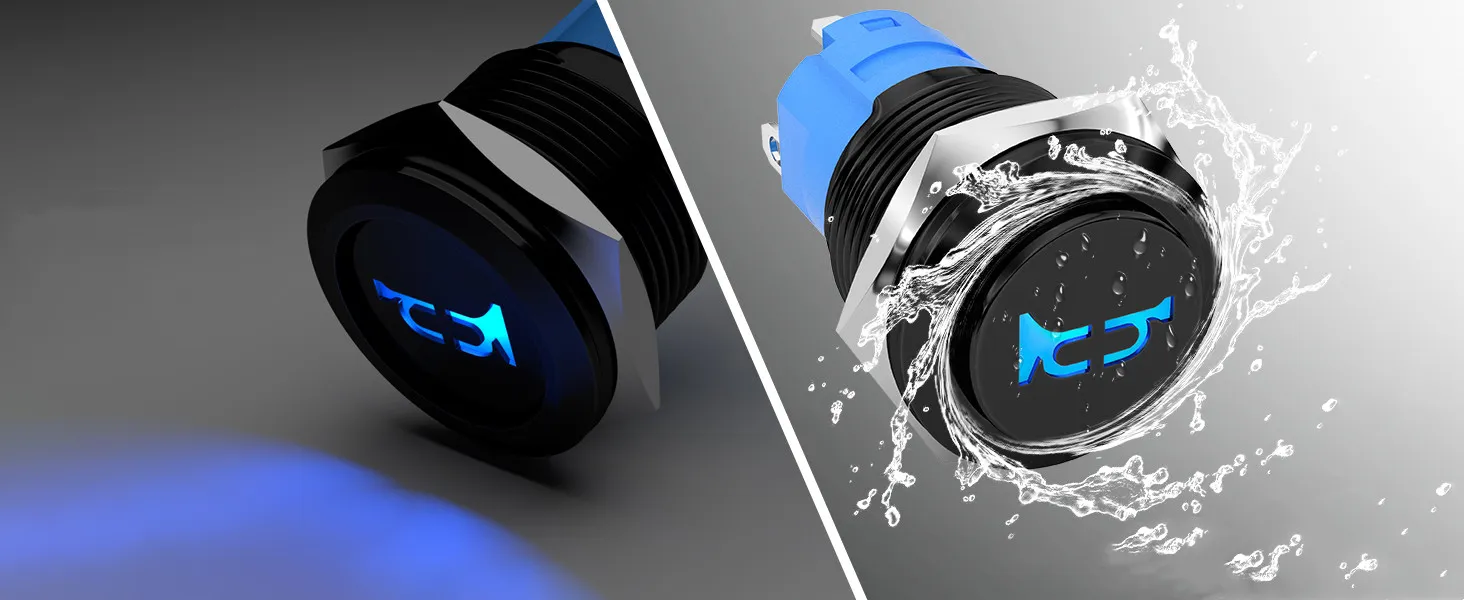
Not all horn switches are created equal. Choose one built for high frequency use and resistance to weather. The right push button improves reliability and reduces the chance of accidental activation or failure.
Necessary Tools and Safety Gear for the Installation
Your toolkit should include a wire stripper, crimping tool, and electrical tape. Safety gear like gloves and goggles protect you during the job. These tools help ensure clean, precise cuts and secure connections.
Understanding Basic Horn Circuitry in Cars and Boats
A basic horn circuit generally involves a power positive wire, a ground wire, and a trigger from the push button. In boats, marine-grade wiring and waterproof components are crucial for reliability in wet conditions.
Step-by-Step Process to Wire a Car Horn Button
Wiring a car horn button doesn’t need to be complicated. Once the battery is safely disconnected, locate the horn and its existing wiring. This ensures you won’t damage other systems. Follow the wiring diagram specific to your vehicle for accuracy.
Contact Langir for Custom Push Button Horn Switches
Safely Disconnecting the Vehicle’s Battery
Always disconnect the battery first; this prevents short circuits and shock hazards. Removing the negative terminal is usually enough to cut power to the circuit.
Locating the Horn and Its Existing Wiring
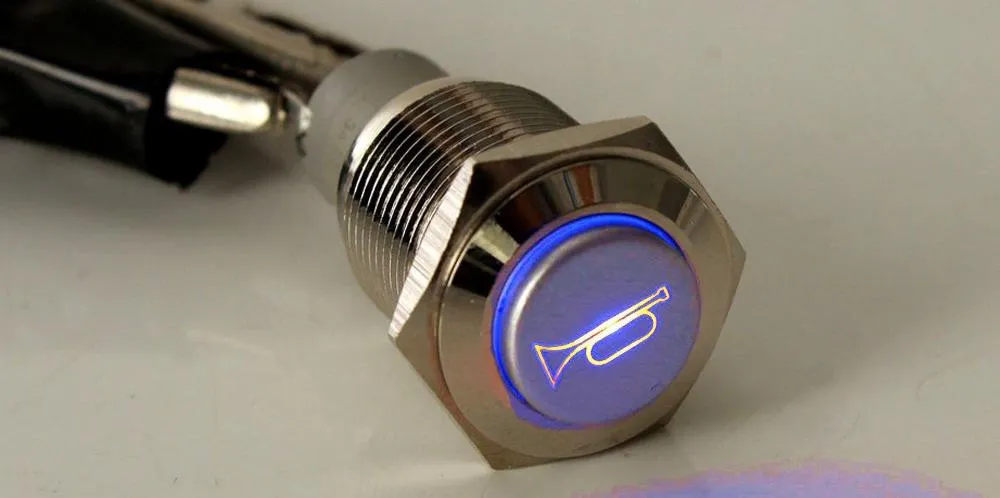
Find the horn under the hood. Typically, it’s mounted near the front grill. Identify the wiring connections and note any existing wiring colors for reference.
Connecting the New Push Button Switch to the Horn Circuit
Carefully splice into the existing wires, using connectors and electrical tape. Make sure the push button’s contacts connect to both the power source and the horn. This ensures a reliable trigger when pressed.
Mounting the Car Horn Button Securely
Mount the switch in a convenient spot on your dashboard or steering column. Use screws to fasten it and check that the placement won’t interfere with other controls.
Reconnecting Power and Testing the Car Horn
Once everything is connected, reconnect the battery. Test the horn by pressing the button to verify that it sounds clearly without intermittent issues. If it fails, recheck every connection.
Guide to Install a Universal Horn Button
Universal horn buttons are designed to work on multiple vehicle types, from cars to boats. The kit comes with standard wires and connectors that require minimal adjustments. Before installation, review every component included and match them to your specific application.
Contact Langir for Custom Push Button Horn Switches
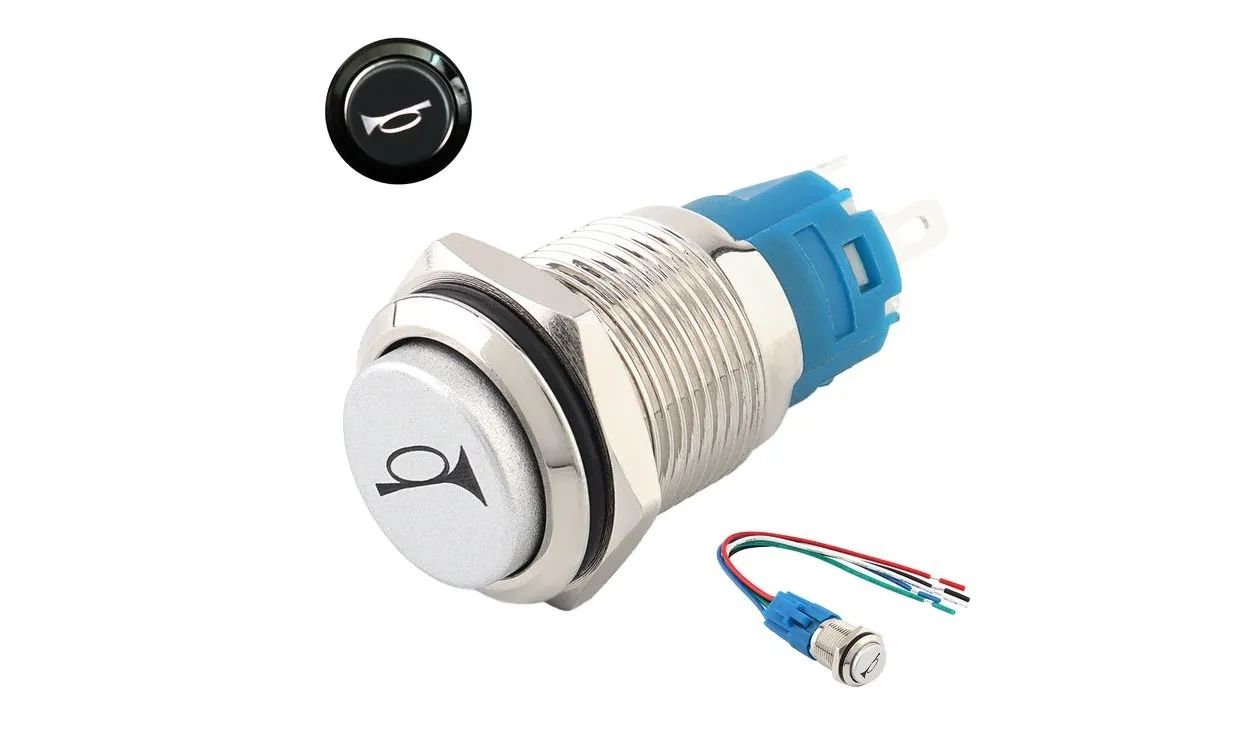
Understanding Universal Horn Button Kit Components
The kit usually includes a push button, various connectors, a relay, and sometimes a fuse. Each part should be inspected for defects and compatibility. Detailed instructions in the kit guide you through the setup process.
Adapting Universal Wiring for Your Specific Vehicle or Boat
Not every vehicle wiring is identical. You may need to extend or shorten wires, using proper crimp connectors to secure them. Check that the wire gauge is compatible with your horn’s power consumption.
Effective Methods to Install a Universal Horn Button on Various Surfaces
For different dashboards or panels, consider using an adhesive disc or mounting bracket. Secure mounting prevents vibration and accidental disconnection.
Connecting the Universal Switch to Power and Ground
Connect the power lead to the ignition circuit and the ground to a solid metal point. This ensures a stable voltage supply and minimizes interference.
Final Checks for a Secure Universal Horn Button Installation
Before finalizing, inspect all connections, secure loose wires with electrical tape, and test the horn function. A multimeter can confirm that voltage and continuity meet required standards.
Specifics of Wiring a Horn Button in a Boat
Boat wiring differs from cars—maritime safety standards necessitate extra care. Marine-grade components are essential due to the humid, salty environment. Address waterproofing and corrosion concerns by using sealed connectors and appropriate insulating materials.
Contact Langir for Custom Push Button Horn Switches
Marine-Grade Wiring and Component Selection
Choose wires designed to withstand moisture. Marine-grade wires are often coated to resist corrosion. Selecting a switch with robust construction helps maintain performance over time.
Addressing Waterproofing and Corrosion Concerns for Boat Horns
It is vital to seal connections with waterproof silicone and secure them with corrosion-resistant terminals. This prevents short circuits and ensures longevity despite exposure to water.
Typical Boat Horn Wiring Configurations
Boat horns typically use a two-wire configuration, similar to cars, though additional grounding points may be necessary. Follow the wiring diagram specific to your boat model for best results.
Integrating the Horn Button With the Boat’s Electrical Panel
Integrate the button into the existing panel by tapping into the designated power supply. Ensure that all connectors are firmly secured and water-resistant.
Testing Horn Functionality in a Marine Environment
After installation, simulate conditions on deck. Press the button and assess the horn’s sound clarity and reliability. This step confirms that the wiring holds under real conditions.
Common Techniques for How to Wire a Horn Button
Different techniques can optimize your horn button installation. Whether wiring directly to the horn or using a relay, understanding these methods makes troubleshooting easier.
Contact Langir for Custom Push Button Horn Switches
Wiring a Horn Button Directly to the Horn
This method is straightforward: connect the push button’s leads directly to the horn circuit. It minimizes extra components and typically reduces failure points.
Incorporating a Relay in Your Horn Button Circuit
Including a relay helps manage high current demands. The button triggers the relay, which then powers the horn. This setup can protect delicate wiring from excessive voltage.
Grounding the Horn Button Correctly
Proper grounding is crucial. A solid ground connection prevents voltage fluctuations and intermittent operation by ensuring the circuit has a stable return path.
Using a Fuse for Horn Circuit Protection
A fuse protects against electrical surges by breaking the circuit if current exceeds safe levels. Choose a fuse rating appropriate for your horn’s power draw.
Tips for Neatly Routing Horn Button Wires
Keep wires tidy and avoid sharp bends. Use cable ties and protective sheathing, so the wiring doesn’t interfere with vehicle controls or get damaged by heat or road debris.
Troubleshooting Your Push Button Horn Switch Installation
Troubleshooting is key if your horn doesn’t work as expected. Follow these steps to diagnose and fix common issues. Start with the basics: ensure every connection is secure and free of corrosion. A systematic check helps you pinpoint the problem quickly.
Contact Langir for Custom Push Button Horn Switches
What to Do if the Horn Does Not Sound
If pressing the button yields no sound, recheck your wiring connections, verify the battery is connected, and ensure the switch is functioning. A multimeter can confirm power flow.
Addressing a Horn That Sounds Continuously
A continuously sounding horn could indicate a stuck relay or shorted wiring. Inspect the push button for physical damage and test the relay operation separately to isolate the fault.
Diagnosing Intermittent Horn Operation
Intermittent issues often point to loose connectors or damaged wires. Wiggle the wiring gently while testing the horn. Re-crimp connectors if needed to ensure a stable connection.
Checking for Poor Connections or Damaged Wires
Visually inspect all wires for signs of wear or fraying. Re-solder or replace damaged segments and secure all connections with electrical tape to restore reliability.
When to Seek Professional Assistance for Horn Wiring
If troubleshooting doesn’t restore proper function, it might be time to consult a professional. Complex wiring issues or system-specific faults may require expert diagnostic tools and experience.
How to Wire a Push Button Horn Switch for Car & Boat | FAQs
What is the typical lifespan of a push button horn switch installation?
With proper wiring, quality components, and regular maintenance, a push button horn switch can last several years without issues.
Can I install a horn switch on my own without professional help?
Yes, if you follow the wiring diagram and take safety precautions like disconnecting the battery, a DIY installation is very doable.
What tools are essential for wiring the horn button?
A wire stripper, crimping tool, electrical tape, and a multimeter are indispensable for ensuring safe and accurate wiring.
How do I protect my boat’s horn wiring from corrosion?
Use marine-grade wiring, sealed connectors, and apply waterproof silicone to secure and insulate all electrical connections.
Should I use a relay for wiring my vehicle’s horn?
Incorporating a relay can help manage high current loads and extend the overall durability of the horn system by preventing voltage spikes.

