 EN
EN
Struggling with an old security system keypad that’s more trouble than it’s worth? This guide explains the keypad’s main parts, shows how to prep before removal, and breaks down each step in a clear, easy way. Readers will quickly learn how to remove an old security system keypad without hassle, saving time and avoiding common mistakes.
The Components of an Old Security System Keypad
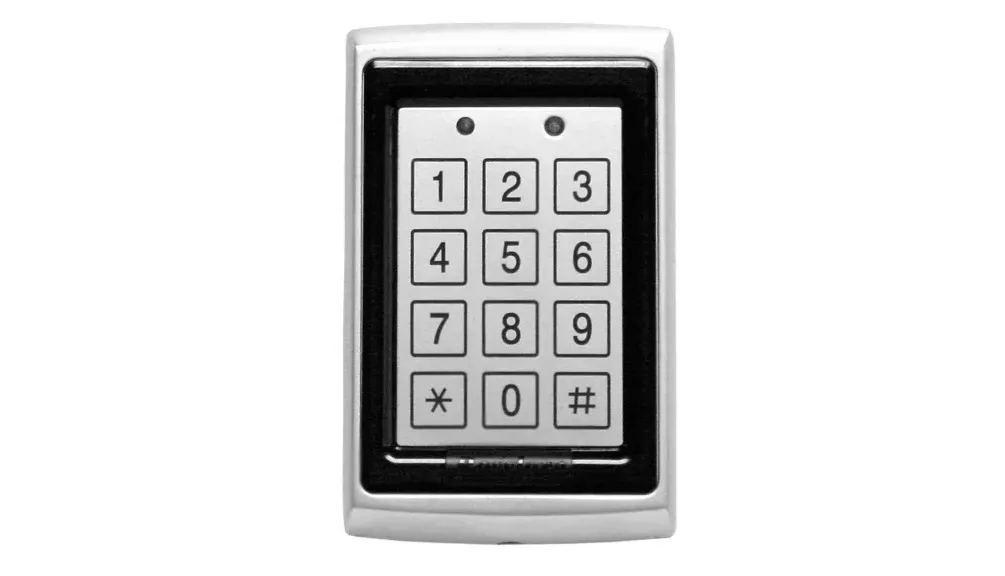
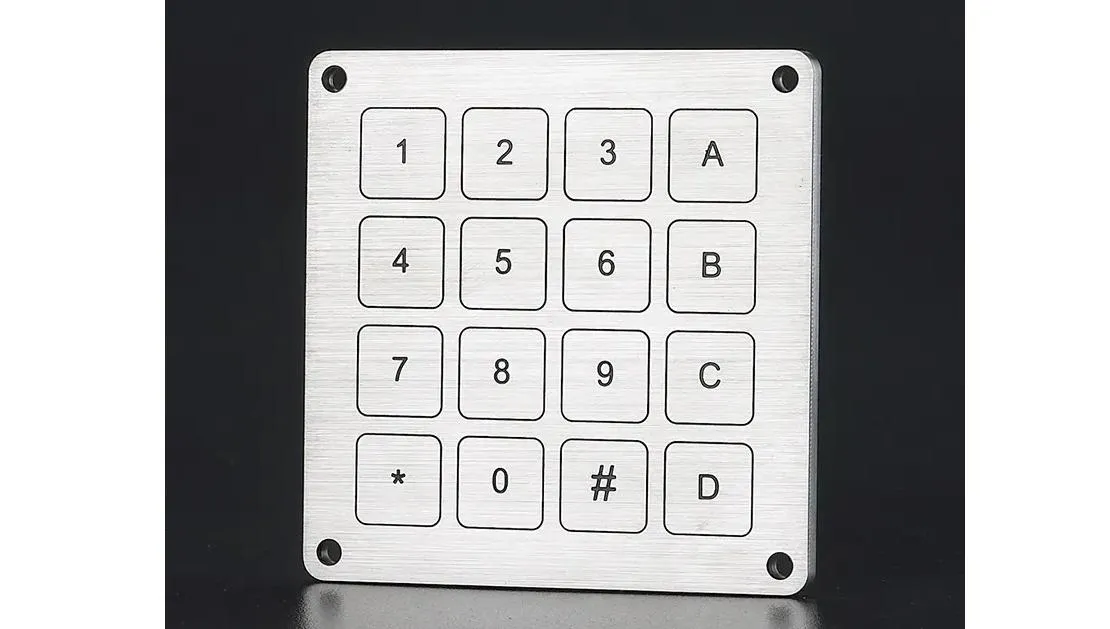
Different types of security keypads come in many designs, including Piezo keypads wholesale. Metal piezo keypads, for example, work with a robust piezo switch to handle door access and motion alerts. Their integrated components and wiring are built to resist vandals, following a clear user manual for proper removal and reinstallation. This section lays out the parts and functions expertly.

Different Types of Security Keypads
Security keypads come in various forms—ranging from rugged metal piezo units to vivint key pad models with built-in panic alarm features that ensure safety and accessibility. These devices often offer quick checks via a web browser while keeping wiring accessible for swift removal and maintenance:
- Basic metal keypads
- Vivint key pad models
- Advanced units with integrated panic alarm
Metal Piezo Keypads and Their Functionality
Metal piezo keypads offer a no-nonsense way to manage access; think of them as the rugged cousin of an adt keypad. They work hand-in-hand with your smart lock and thermostat, switching between different modes with ease while keeping the payment process smooth. This hard-wired gear plays a key role in older systems, making removal trickier yet still manageable with the right approach.
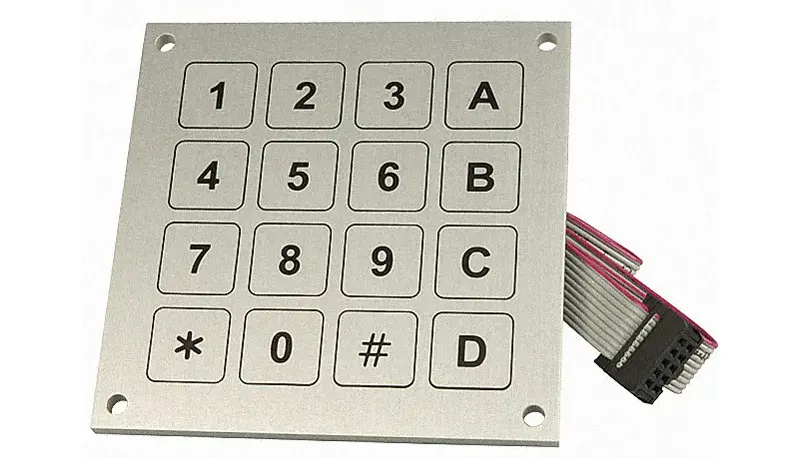
Integrated Components and Wiring
The integrated components and wiring are a key part of old security system keypads, playing a crucial role in troubleshooting common wear and tear issues during removal. This matrix of circuits and connectors, often stored in a warehouse for replacements, holds a key value when assessing potential fixes and pinpointing faults before they cause more headaches:
Preparing for Keypad Removal
They start by gathering essential tools—a vivint keypad, a tablet computer, and reliable internet to guide the process—while firming up home security systems safety measures. Next comes disconnecting power sources and setting up the right environment for keypad removal. Each step makes the job smoother and keeps risks low.
Gathering Essential Tools for the Job
They gather all the essential tools—a trusty tablet loaded with javascript apps, a reliable siren test kit, and everything needed for an effective change in the home security system upgrade. The expert makes sure the setup covers every angle of the keypad alarm system, keeping things smooth and straightforward for a hassle-free removal process.
Ensuring Safety Precautions Are in Place
Before stripping down the keypad, a solid relay plan is set while checking the account details and password accuracy. One real expert confirms the move by reviewing a trusted pdf containing vital information, ensuring each step proceeds safely and smartly.
Disconnecting Power Sources Properly
When disconnecting power sources, the expert makes sure to unplug the system completely before fiddling with any buttons and components—this step is as critical as knowing your simplisafe protocol, ensuring that any usb-connected or wireless security devices stay safe during the process. By using a reliable pointing device to check every connection, the professional secures the area and avoids any unexpected surprises during the removal.
Step-by-Step Process to Remove the Keypad
Begin by removing the faceplate safely while checking the backlight and touchscreen features of your Honeywell security alarm. Unscrew and detach the keypad from the wall with care, ensuring data integrity and proper handling of wires. This method suits metal piezo keypads and prevents damage to surrounding areas.
Removing the Faceplate Safely
The expert carefully removes the faceplate, making sure to check for any sudden voltage changes while keeping the ring home security systems on track. They adjust the firmware settings and note down any irregularities to update the mailing list later, ensuring each move supports a smooth and safe removal process.
Unscrewing and Detaching the Keypad From the Wall
The technician unscrews the keypad with care, making sure the switch is off and the telephone link is secure, even when the system sits in a chilly basement subject to extreme weather:
Then the technician detaches the keypad from the wall with ease, using proven methods to keep the old system running smoothly even in rough conditions.
Handling Wires With Care
Handling wires on an old security system keypad is a careful task—akin to checking a doorbell or a ring alarm before adding that special item to the cart or securing an alarm panel;
- Identify each wire clearly
- Isolate connections to avoid shorts
- Verify the setup on your home security keypad
Every step is taken with a keen eye and a steady hand, ensuring the work minimizes risks and keeps everything running smoothly.
Using This Method for Metal Piezo Keypads
Metal piezo keypads get handled with precision and ease using this method—perfect for setups in North America where a panel needs to meet strict safety standards, DSC style, and work like a well-oiled point of sale machine. The expert advises following these clear steps and reaching out to contact Langir if questions arise:
Ensuring No Damage to Surrounding Areas
The technician works with a steady hand to keep control panels and power supply components intact during removal, making sure nearby customs regulations for automation and mobile app integrations aren’t disrupted. This practical method ensures that the surrounding area stays safe and fully functional, smoothing out the process with care and precision.
Post-Removal Considerations
The expert reviews key details after removal, like proper disposal of old keypad components and cleaning the installation surface. Practical tips cover assessing replacement keypad options, including comparing a resideo unit to an xfinity keypad, checking wireless network setups, and gathering feedback on security cameras.
Proper Disposal of Old Keypad Components
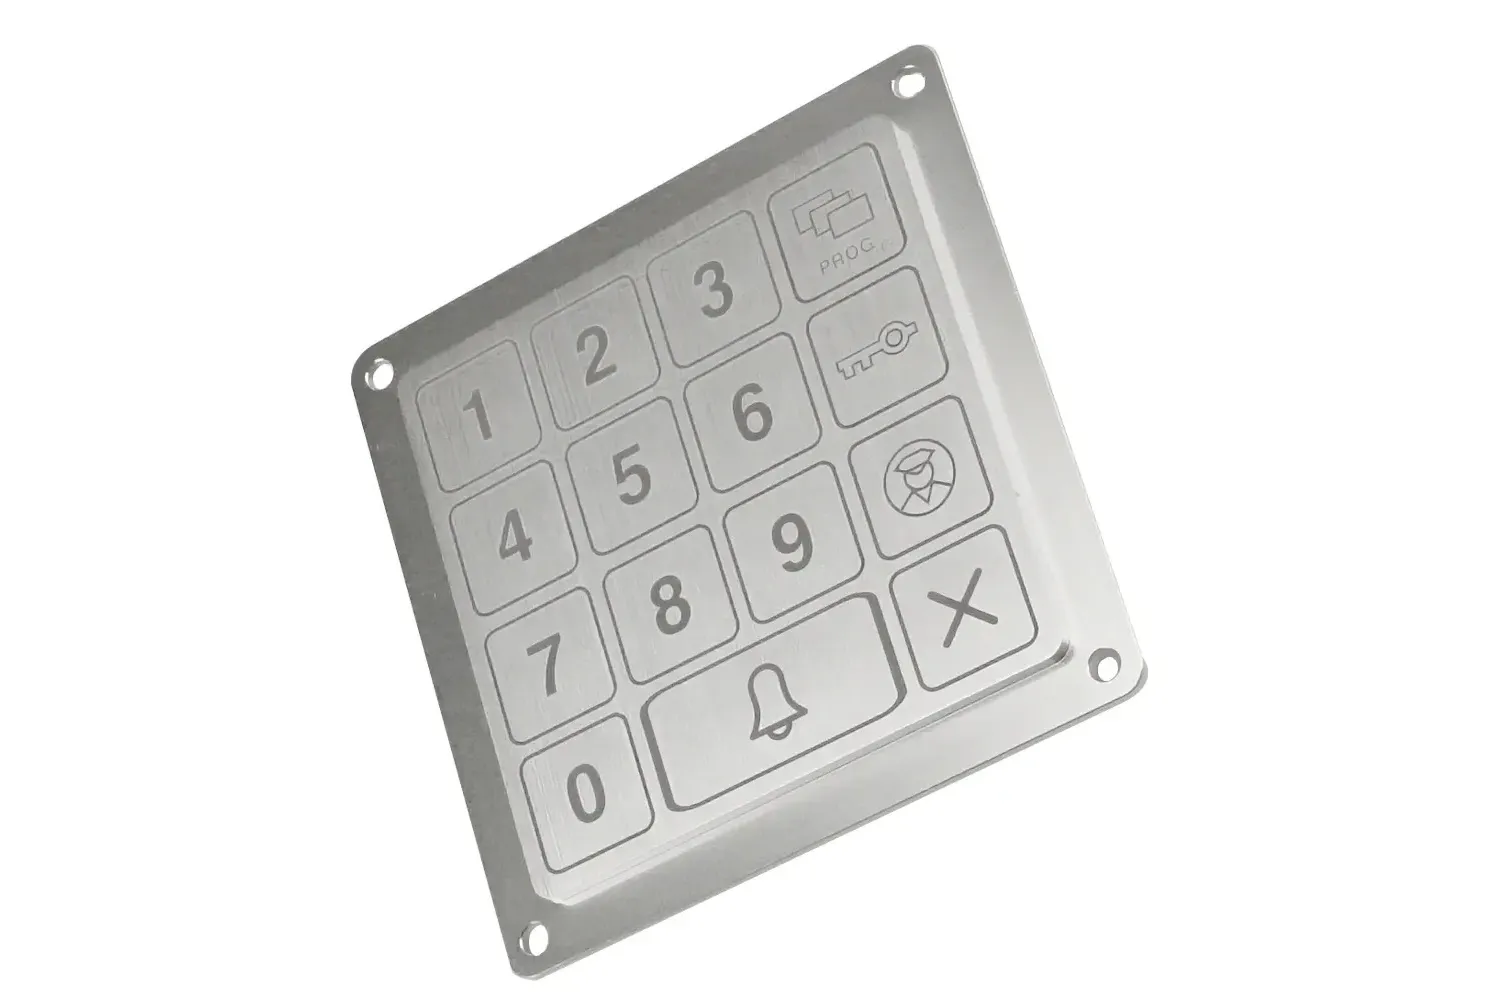
Proper disposal of old keypad components is a must to keep home security tight and avoid any emergency mishaps. The expert advises handling items like stainless steel panels, joystick connectors, and motion detector parts with care to prevent accidental hazards:
- Sort components based on material
- Recycle metal parts following local guidelines
- Secure electronic parts for safe disposal
Cleaning and Repairing the Installation Surface
The technician ensures that the installation surface gets a thorough clean to remove any remnants of dust and grime that might interfere with the security system’s electronics, including sensors and contact points; they also check that the area is level and free from damage to support a safe reset-up of devices like sfw123gdc:
- Remove dust and debris
- Wipe down all surfaces using a light cleaner
- Inspect sensor and contact areas for damage
Assessing for Replacement Keypad Options
The expert inspects replacement keypads with a focus on proven control protocols, ensuring that the new touchpad supports smooth communication and integrates a reliable panic button, all set up with zigbee tech. This hands-on review helps spot the best choices for keeping safety measures efficient and the system user-friendly. A practical approach like this keeps everyone in control without any unnecessary frills.
Troubleshooting Common Issues During Keypad Removal
The expert tackles stubborn screws and adhesives, wiring conflicts, and security system errors head-on. This quick guide now covers how even a tough numeric keypad or wireless device—from a trusted brand to the latest sentrysafe sfw123es or camera setup—can be handled with confidence, ensuring every step makes sense and stays safe.
Dealing With Stubborn Screws and Adhesives
When screws stick or adhesives act up, the pro handles it with steady pressure while keeping an eye on the signal from every component; it’s like checking your telephone number or using a trackball to steady the hand. If things still resist, switching tactics can clear the jam:
Identifying and Resolving Wiring Conflicts
The technician spots mismatched wires and loose connectors that can disrupt the alarm system or interfere with a google nest setup, and he quickly tightens each aluminium-covered connection to avoid any snags during professional monitoring. Before moving ahead with repairs, the expert notes:
Addressing Potential Security System Errors
The technician spots that security system errors often hide in plain sight, like when a duress code misfires or a wyze keypad gives off a glitch, leaving home automation and the garage door controller out of sync. With a keen eye, the pro ensures every piece of glass and wiring is checked for bugs before moving on, keeping the system sharp and ready for the next go-round.
How to Remove an Old Security System Keypad | FAQs
The expert tackles common keypad removal dilemmas. He reviews signs of a malfunctioning unit, discusses tackling the task solo vs. enlisting pro help, and points out steps for handling damage. He also weighs if replacement keypads suit every setup—from steel builds to smart home security systems with a smooth smoke icon on your garage door—and details the typical time needed.
How Do I Know if My Keypad Is Malfunctioning?
The expert observes that a malfunctioning keypad might show sticky or unresponsive plastic buttons, inconsistent hub signals to the alarm system, and glitches in the intercom and smoke detector features. They look for any erratic responses and unusual delays in system feedback to pinpoint issues before removal:
Can I Remove a Keypad Without Professional Help?
The expert believes you can remove the keypad without a pro if you have the right tools and a clear idea of the wiring power setup, keeping that laser-sharp focus on every detail. This hands-on process not only ensures a solid user experience but also fine-tunes the alarm signal and ring functionality during each step of the work.
What Should I Do if I Encounter Damage?
The expert advises that if damage is spotted while working on old metal security keypads, such as with faulty wiring in alarm systems or glitches similar to those seen in adt keypad models, it’s best to pause and assess the situation before proceeding further with any systems or software adjustments:
Are Replacement Keypads Universally Compatible?
The expert notes that replacement keypads might not fit every setup without a little tweak—compatibility often depends on the system’s menu settings and how the manufacturing details align, like with a Honeywell Tuxedo Touch series or a trusted backup setup used in telecommunications. Key factors include wiring standards and specific design tweaks that ensure every unit plugs in smoothly, which the professional reviews with a keen eye:
How Long Does It Take to Remove a Keypad?
The expert finds that removing an old alarm keypad typically takes around 20 to 30 minutes when clear steps are followed, letting the technician enable all tools quickly before getting started. With careful work on the wall mount and precise detachment from the adt alarm panel and control panel, the alarm keypad is safely handled every time.
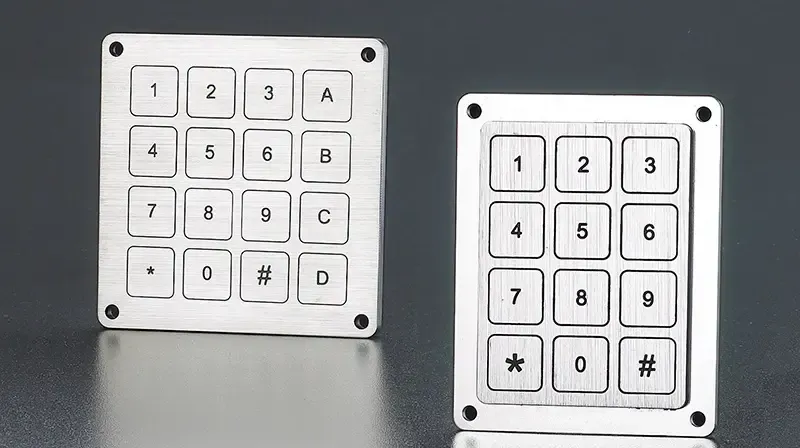
What parts make up an old security system keypad?
An old security system keypad typically includes a circuit board, key switches, plastic housing, and wiring. These parts work together for precise inputs, power management, and seamless user interaction in industrial settings.
What tools are needed for keypad removal?
To remove a keypad, a snug screwdriver, pliers, and a plastic pry tool work best for handling delicate push button switch parts safely and efficiently.
How should wiring be disconnected safely?
Disconnect wiring safely by powering off equipment and verifying no electricity flows. Wear protective gear and use proper tools. Carefully remove connectors, avoiding accidental contact. Safety first in every step.
How long does removal usually take?
Removal usually takes just a few minutes. Langir’s streamlined process ensures efficient push button switch removal, even on bulk orders or custom designs.
What steps help fix keypad issues?
Clean the keypad, tighten loose parts, and inspect wiring connections for proper alignment. Replace damaged components as needed and test thoroughly, ensuring reliable push button performance.
