
 EN
EN
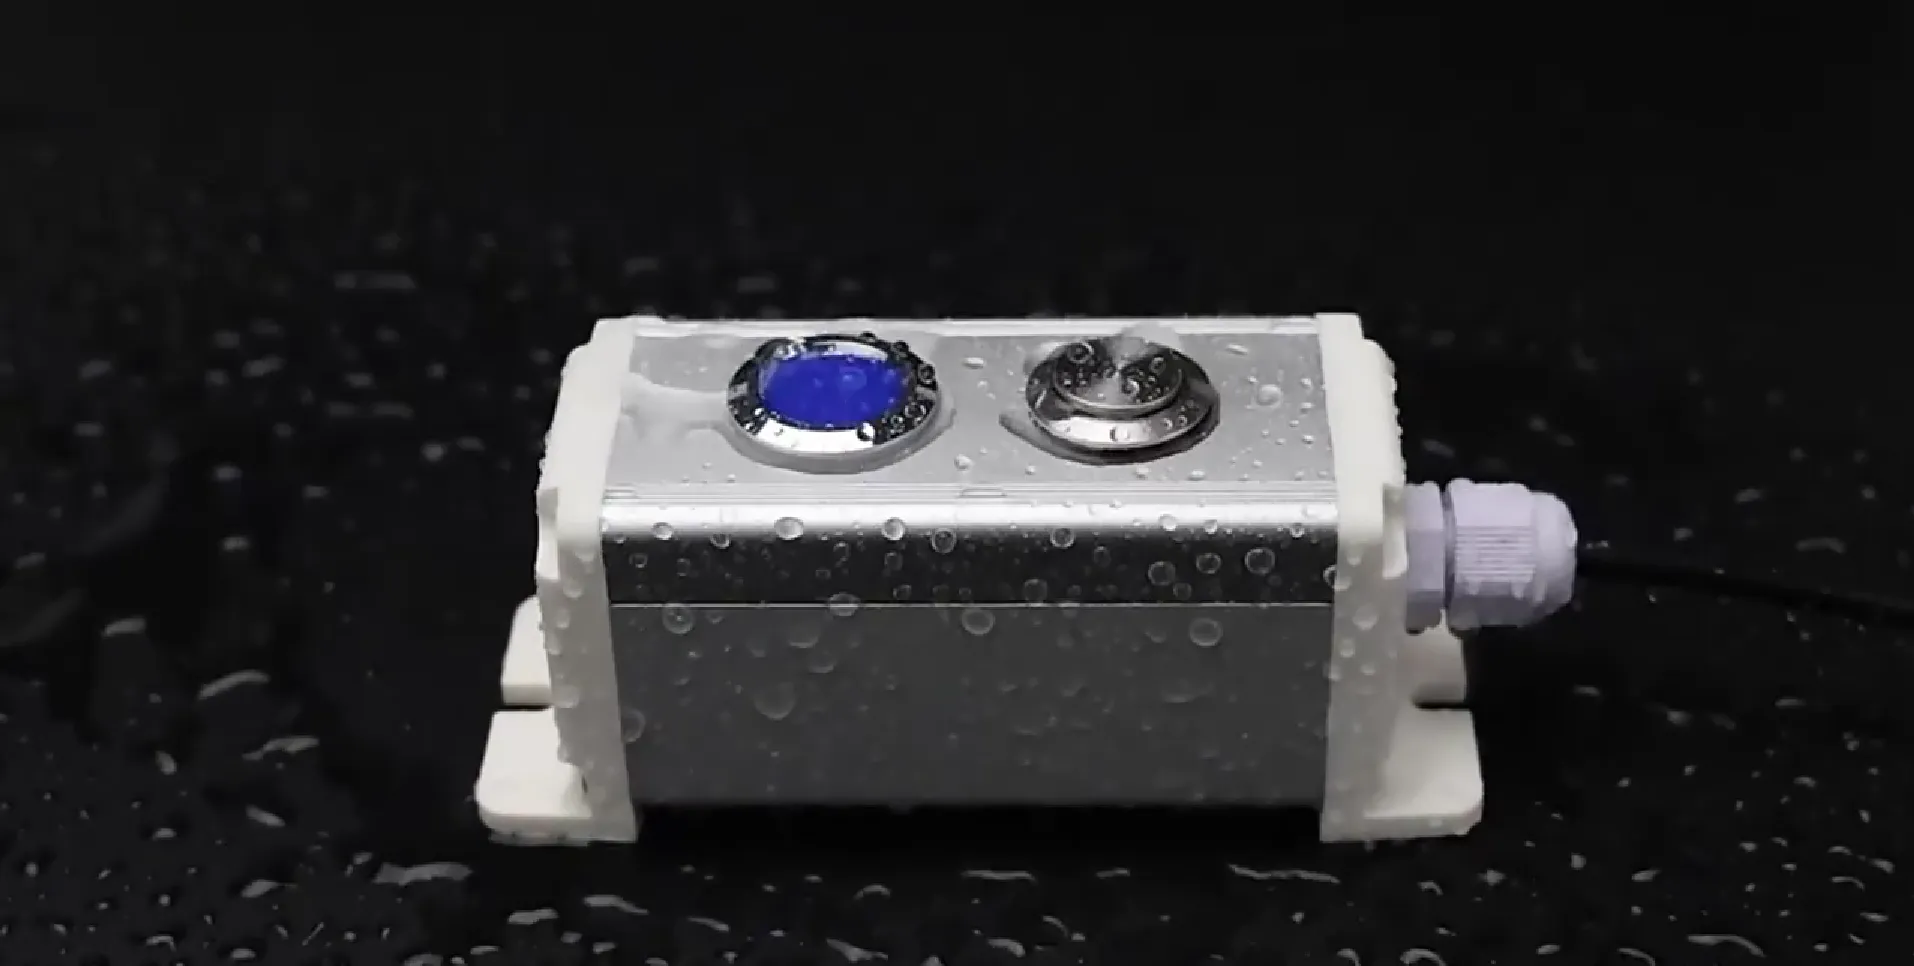
When it comes to waterproofing small push button switches, the process isn’t just crucial for enhancing durability, especially in outdoor or wet environments, but it also allows for a level of assurance that your electronics will function flawlessly, even during a surprise rain shower.
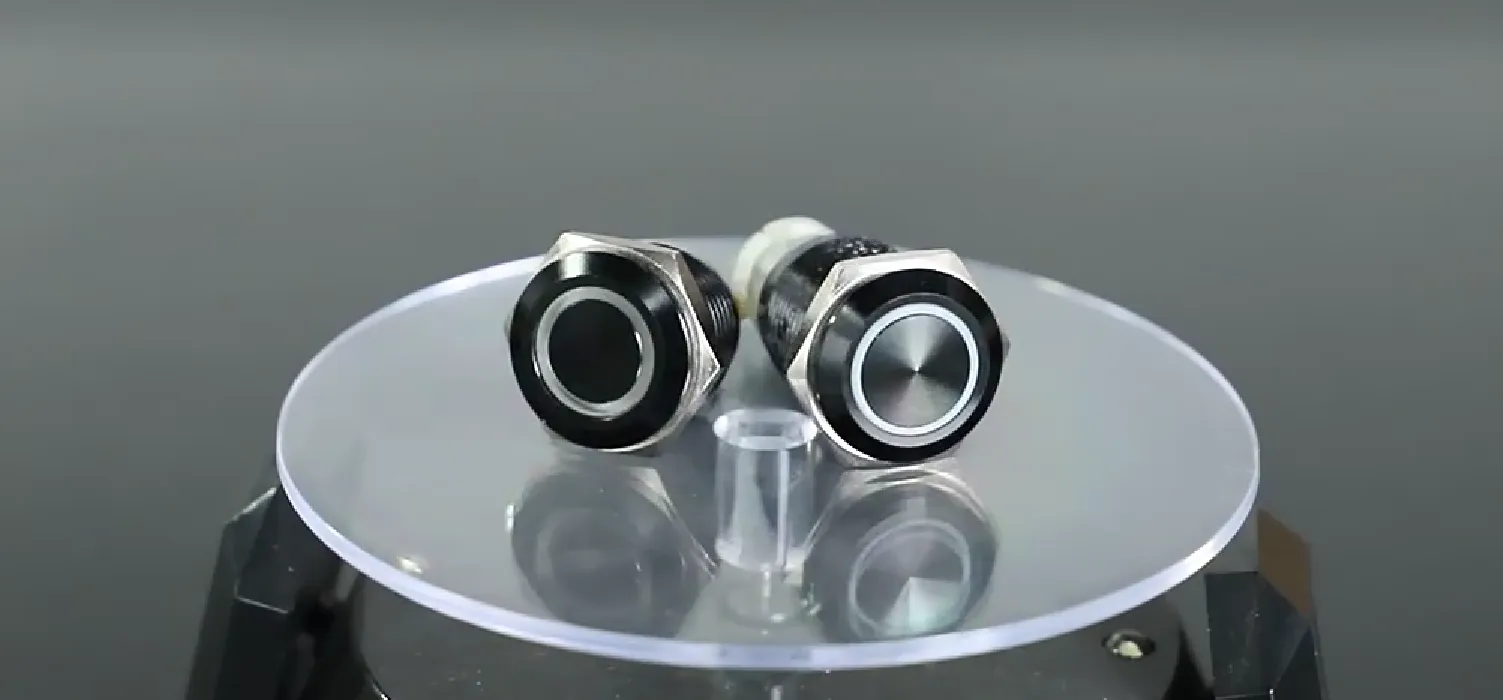
Moisture Risks for Your Small Push Button Switch
Small push button switches can be real divas when moisture gets involved. They’re designed for precise operations, but water—humidity, splashes, or condensation—can throw them off balance. Common environmental threats include high humidity, splashing water during cleaning, rain exposure in outdoor applications, and sudden temperature changes that may cause condensation. For additional support and solutions, contact Langir for expert advice on maintaining these sensitive components.
Contact Langir for Custom Small Push Button Switches
Common Environmental Threats to Small Switches
Moisture might sneak in from heavy rains, industrial cleaning processes, or even in a damp workspace. These conditions weaken the switch contacts, cause corrosion, and might even lead to internal short-circuits. Over time, this degrades performance and can lead to unexpected failures.
Ingress Protection (IP) Ratings for Switches
Understanding IP ratings is essential. An IP67 rating means the switch is protected from immersion in water up to 1 meter, whereas an IP55 might only resist spit and light jets. Knowing the right rating helps choose a switch that fits your unique environment.
Required Water Resistance Level for Your Application
For industrial settings, a higher water resistance—often above IP65—is recommended. Think about applications where splash or condensate is expected; it’s better to be safe than sorry.
Effects of Water Ingress on a Small Push Button Switch
Water damage can lead to non-responsive switches, erratic behavior, or permanent corrosion on contacts. Users might experience repetitive malfunction, requiring frequent repairs or replacements—a headache for any manufacturing setup.
Appropriate Waterproofing Methods for Small Push Button Switches
There are plenty of options to shield your switches from moisture. Waterproof covers or boots add an extra barrier. Conformal coatings act like a protective film over the circuitry, while potting or encapsulating creates a sealed, resin-filled environment. Pre-sealed components are available off-the-shelf for faster deployment. In some cases, building a custom enclosure might be the best call to guard your delicate switch.
Contact Langir for Custom Small Push Button Switches
Protective Covers and Boots for Small Push Button Switches
These are usually made from silicone or other flexible polymers. They slide over the switch and create a physical barrier against splashes. Quality covers should fit snugly to prevent any water droplets from sneaking in.
Conformal Coatings for Circuit Protection on a Small Switch
These coatings, often acrylic or polyurethane-based, form a thin, resilient film that protects internal contacts. They’re great for boards already mounted inside enclosures that might still see the occasional spill.
Potting or Encapsulating Your Small Push Button Switch Assembly
Using potting compounds seals all internal components. Though it adds weight, it offers superb protection where exposure to harsh conditions is inevitable.
Pre-Sealed Waterproofing Switch Components
Choosing components with factory-applied waterproofing can save time. They may come with a warranty, ensuring durability in challenging settings.
Constructing a Custom Waterproof Enclosure for Your Small Push Button Switch
Sometimes, off-the-shelf solutions won’t cut it. Custom enclosures let you design a housing tailored to your system’s needs. Use gasket seals and waterproof adhesives to build a reliable barrier.
Preparing the Small Push Button Switch and Work Area for Waterproofing
Before waterproofing, the work area and switch must be spotless. Clean the switch thoroughly, removing any oil or residue. Ensure that the environment is dry and the temperature controlled. This way, nothing interferes with adhesives or coatings.
Contact Langir for Custom Small Push Button Switches
Gathering Necessary Tools and Materials for Waterproofing a Switch
Tools you might need include sealing compounds, waterproof boots, adhesives, and masking tape. Assembling these beforehand saves time and ensures consistency.
Thoroughly Cleaning the Small Push Button Switch Surface
Use isopropyl alcohol to wipe down the surfaces. Dirt or oils interfering with the adhesion can spell disaster later.
Ensuring a Dry and Controlled Setting for Application
Try to work in a low-humidity room. A controlled environment means the waterproofing compounds cure faster and bond better.
Masking Sections of the Small Switch Not Requiring Waterproof Treatment
Cover areas like labels or connectors that don’t need waterproofing to avoid unnecessary complications.
Step-by-Step Application of Waterproofing Solutions to Your Switch
The process starts by applying viscosities of waterproof sealant around the switch base. Fit a waterproof boot snugly over the actuator. Use uniform strokes while applying conformal coating for even protection. Follow each product’s curing and drying times religiously. Some users even combine shrink wrap and sealant to achieve a DIY waterproof solution for momentary push switches.
Contact Langir for Custom Small Push Button Switches
Applying Waterproof Sealant Around the Small Push Button Switch Base
Squeeze the sealant carefully, noticing that every gap is filled. This prevents any moisture from creeping in from the sides.
Correctly Fitting a Waterproof Boot Over the Push Button Actuator
Make sure the boot locks in without loose spots. A snug boot equals better protection.
Techniques for Uniform Conformal Coating Application on a Small Switch
Use a fine brush or spray to ensure even coverage, then allow it to dry completely.
Curing Procedures for Various Waterproofing Materials on Switches
Follow manufacturer guidelines on curing times—a critical step for optimum waterproofing.
DIY Waterproofing a Momentary Push Switch With Shrink Wrap and Sealant
Shrink wrap can be a temporary fix. Wrap the switch tightly, add sealant to edges, and let it set for extra protection.
Verifying the Water Resistance of Your Modified Small Push Button Switch
After the waterproofing process, testing is vital. Non-destructive water exposure tests let you see if any leaks exist. Inspect the seal integrity with a magnifying glass and check for moisture. Document your procedures and results to improve future waterproofing runs.
Contact Langir for Custom Small Push Button Switches
Performing Non-Destructive Water Exposure Tests on the Waterproofing Switch
Lightly spray the switch with water and monitor its response. Look for any erratic behavior.
Checking Seal Integrity Around the Small Push Button Switch
Run your fingers along the edges. Any gaps could signal weak points.
Inspecting for Signs of Moisture Ingress After Testing
After a few hours, if the switch remains dry, it’s a job well done.
Documenting Your Waterproofing Switch Process and Test Results
Keep a record of all materials used and test conditions. This helps fine-tune your process over time.
Long-Term Care and Maintenance for Your Waterproofed Small Push Button Switch
Even waterproofed switches need some TLC. Regular inspections are a must. Over time, adhesives degrade and seals can show wear. Routine maintenance ensures your switch continues performing optimally. Check the waterproofing material periodically and reapply as necessary to extend its life.
Contact Langir for Custom Small Push Button Switches
Establishing Regular Inspection Schedules for the Waterproofing Switch Seal
Set up a routine—maybe once every few months—to evaluate the integrity of the seals.
Recognizing Wear and Degradation of Waterproofing Materials on a Small Switch
Look for discoloration, cracking, or peeling. These are signs it might be time to reapply your waterproofing method.
Guidelines for Reapplying Waterproof Coatings on Your Push Button Switch
When you notice wear, clean the switch once more and reapply a thin layer of your chosen waterproofing solution.
Proper Storage and Operation of the Waterproofed Small Push Button Switch
Even after waterproofing, avoid operating in extreme conditions. Store in a cool, dry place when not in use to maintain its longevity.
How to Waterproof Small Push Button Switches | FAQs
How do I know if my push button switch is adequately waterproofed?
Test it with a light water exposure, check for any signs of moisture ingress, and inspect the seals closely.
What tools are essential for waterproofing my switch?
Essential tools include a quality waterproof sealant, conformal coating, waterproof boots, and proper cleaning supplies like isopropyl alcohol.
How often should I inspect the waterproof seal on my switch?
A routine inspection every few months is ideal. Regular checks help catch early signs of wear and ensure your switch maintains its performance.

